


Fun DIY Vintage Photo Frame Craft Activity for Kids - Activity Single - FeviCreate
Vintage Photo Frame Craft Activity with Cardboard Sheet
Let your kids explore their creativity and surprise their siblings with a unique vintage-style DIY photo frame craft using Fevicreate's easy step-by-step guide. All they need is a cardboard sheet and black chart paper to bring their imaginative ideas to life.
Best Out of Waste Celebration 30 to 60 mins 9 to 14 years Art & Craft Class 5


Steps to Create this Activity
Login to see steps

Step - 01
To create mini vintage frame, take a sheet of corrugated now draw the diagram referring to template given with the help of pencil and scale.

Step - 02
Cut them with scissors.

Step - 03
To create vintage borders, refer to the template given or create borders of your choice with the help of pencil, now fill the borders using Fevicryl 3D Outliner and let it dry. Make sure lines made are bit thicker.

Step - 04
Using Fevicryl Acrylic Golden Colour paint the frame with help of paint brush or sponge dab it.

Step - 05
Using Fevicol A+, stick the cut outs behind the frame to create a frame holder and let it dry.

Step - 06
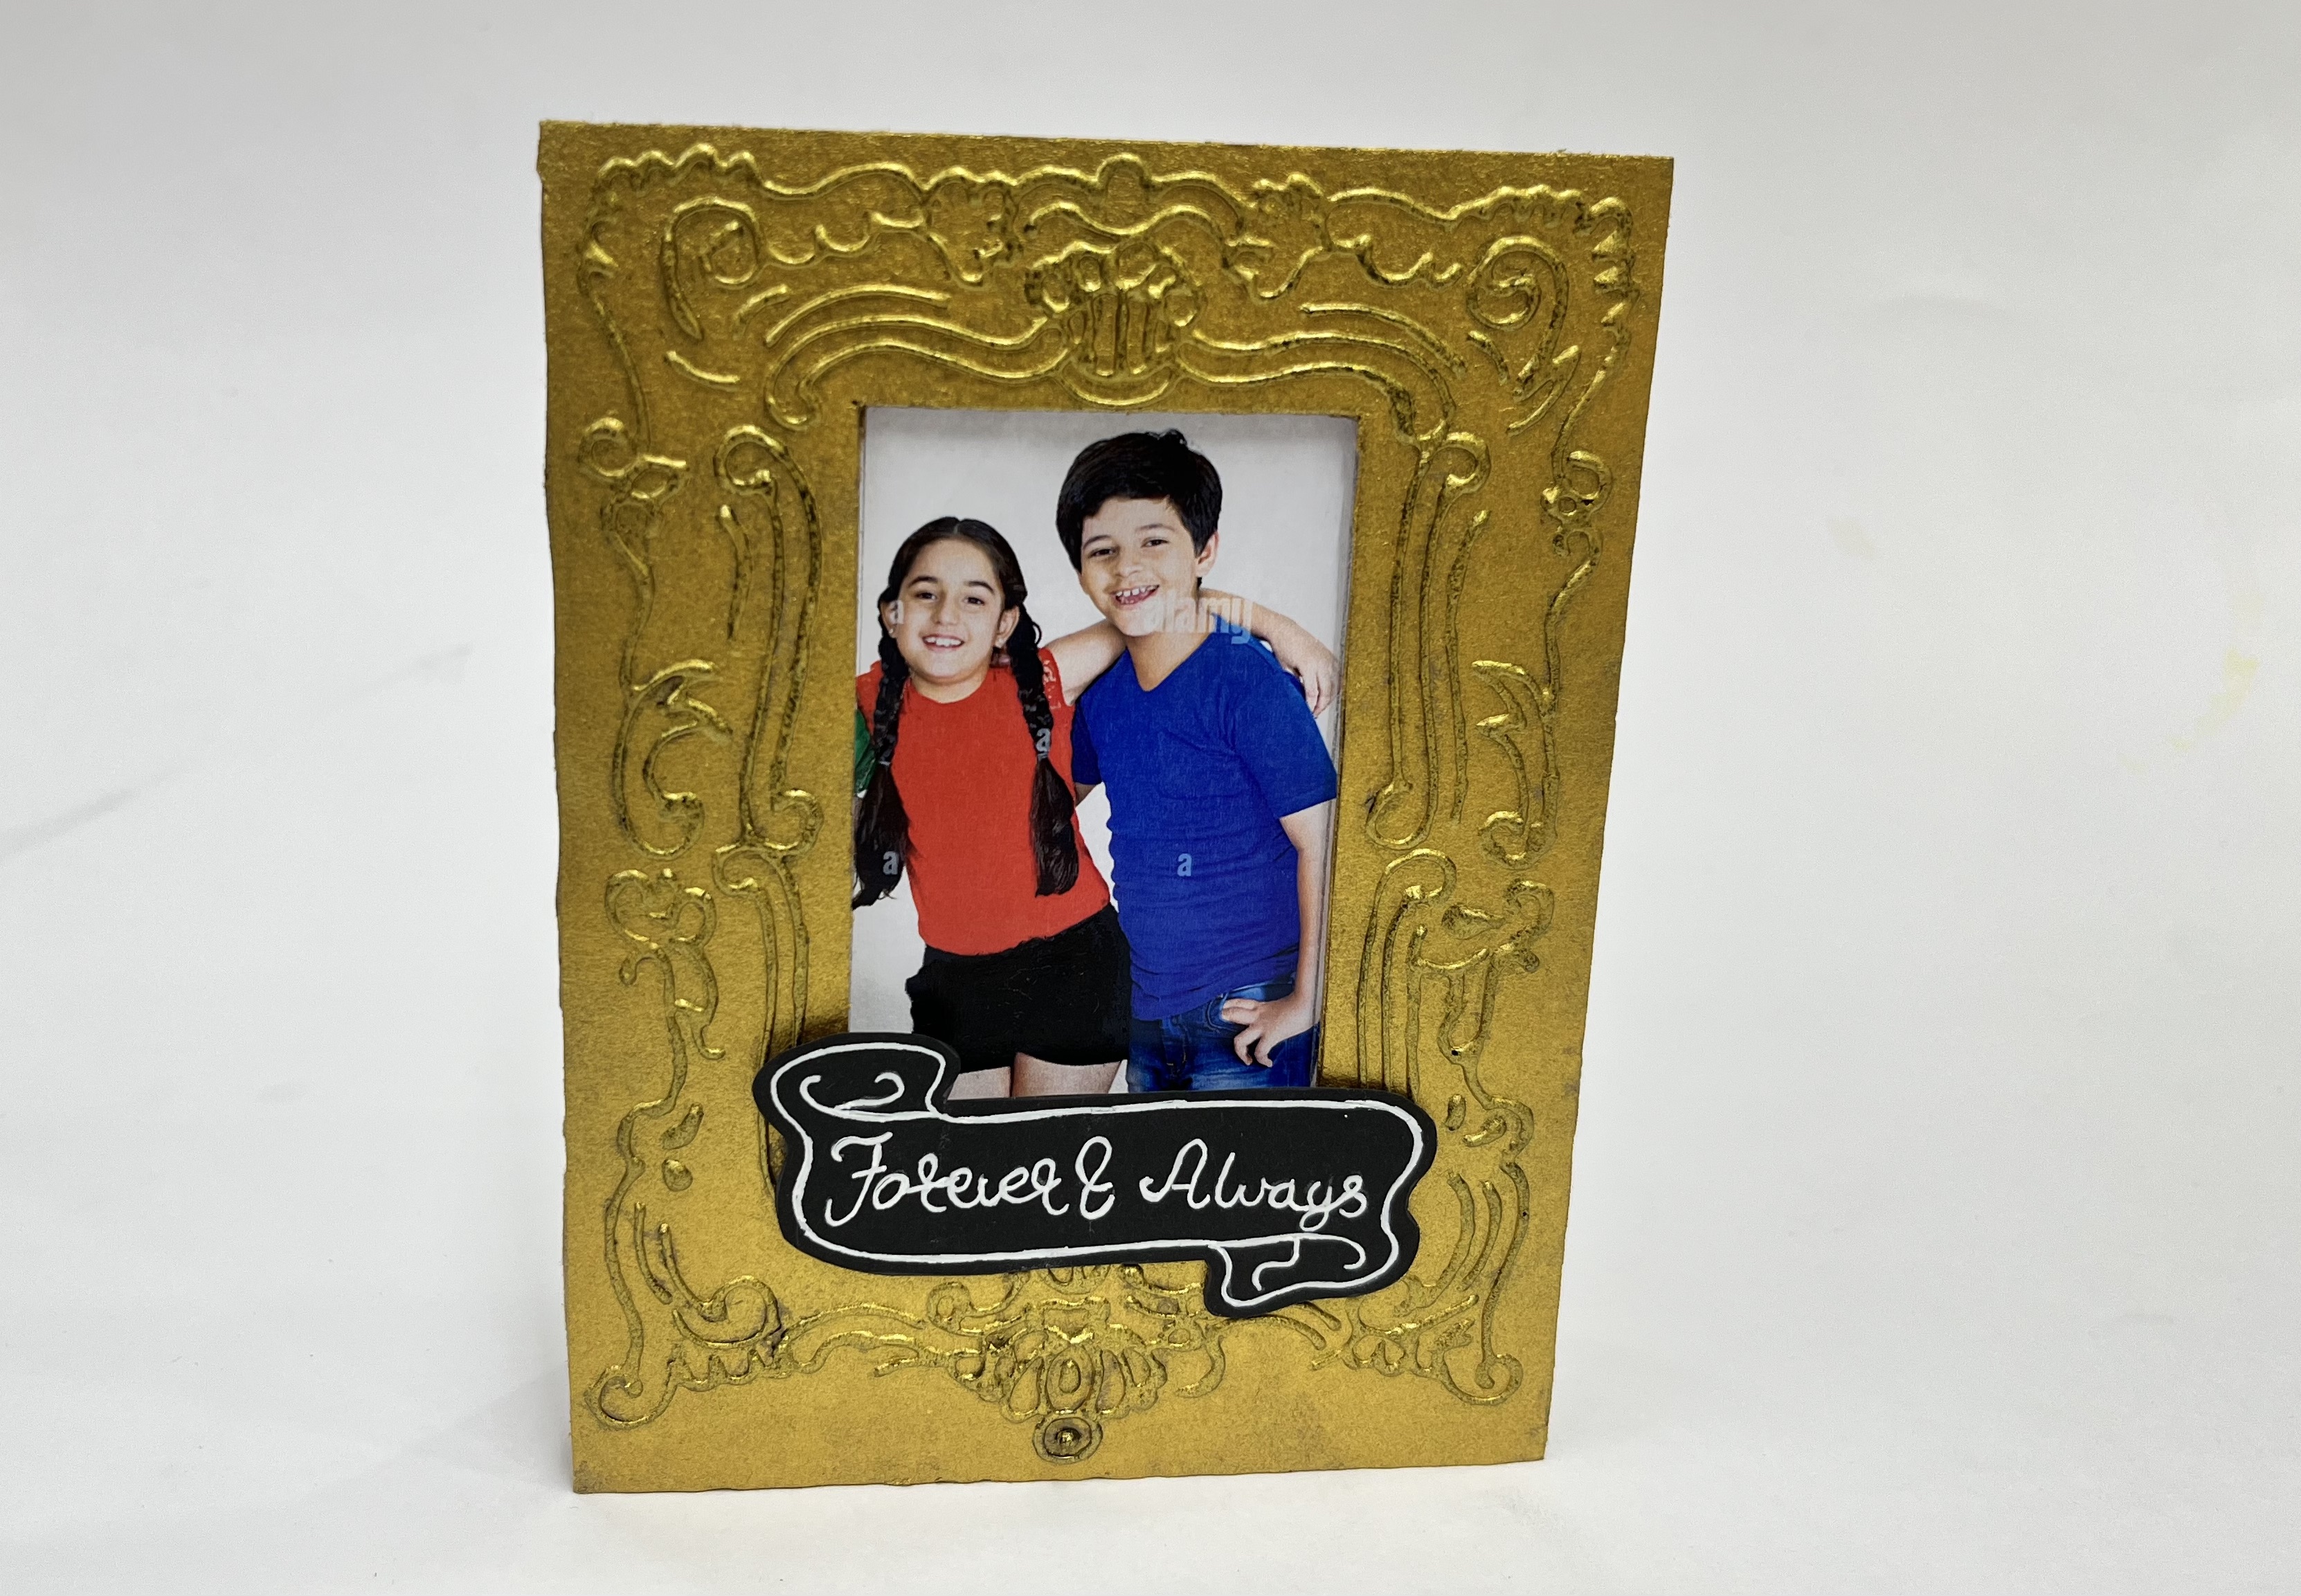
Now stick an image of your sibling as shown. To write a message onto the frame take black chart paper, create a dialogue box of your choice or refer to the image given. Now write a text of your choice with the help felt pen or write text “FOREVER AND ALWAYS “. Handmade table top vintage frame is ready!

Step - 07
Design Template

Step - 08
Design Template
Steps to Create this Activity
Login to see steps
Step - 01
To create mini vintage frame, take a sheet of corrugated now draw the diagram referring to template given with the help of pencil and scale.
Step - 02
Cut them with scissors.
Step - 03
To create vintage borders, refer to the template given or create borders of your choice with the help of pencil, now fill the borders using Fevicryl 3D Outliner and let it dry. Make sure lines made are bit thicker.
Step - 04
Using Fevicryl Acrylic Golden Colour paint the frame with help of paint brush or sponge dab it.
Step - 05
Using Fevicol A+, stick the cut outs behind the frame to create a frame holder and let it dry.
Step - 06
Now stick an image of your sibling as shown. To write a message onto the frame take black chart paper, create a dialogue box of your choice or refer to the image given. Now write a text of your choice with the help felt pen or write text “FOREVER AND ALWAYS “. Handmade table top vintage frame is ready!
Step - 07
Design Template
Step - 08
Design Template


