Create the Water Cycle on a Paper Plate with Kids | FeviCreate - Activity Single - FeviCreate

Water Cycle on Paper Plate
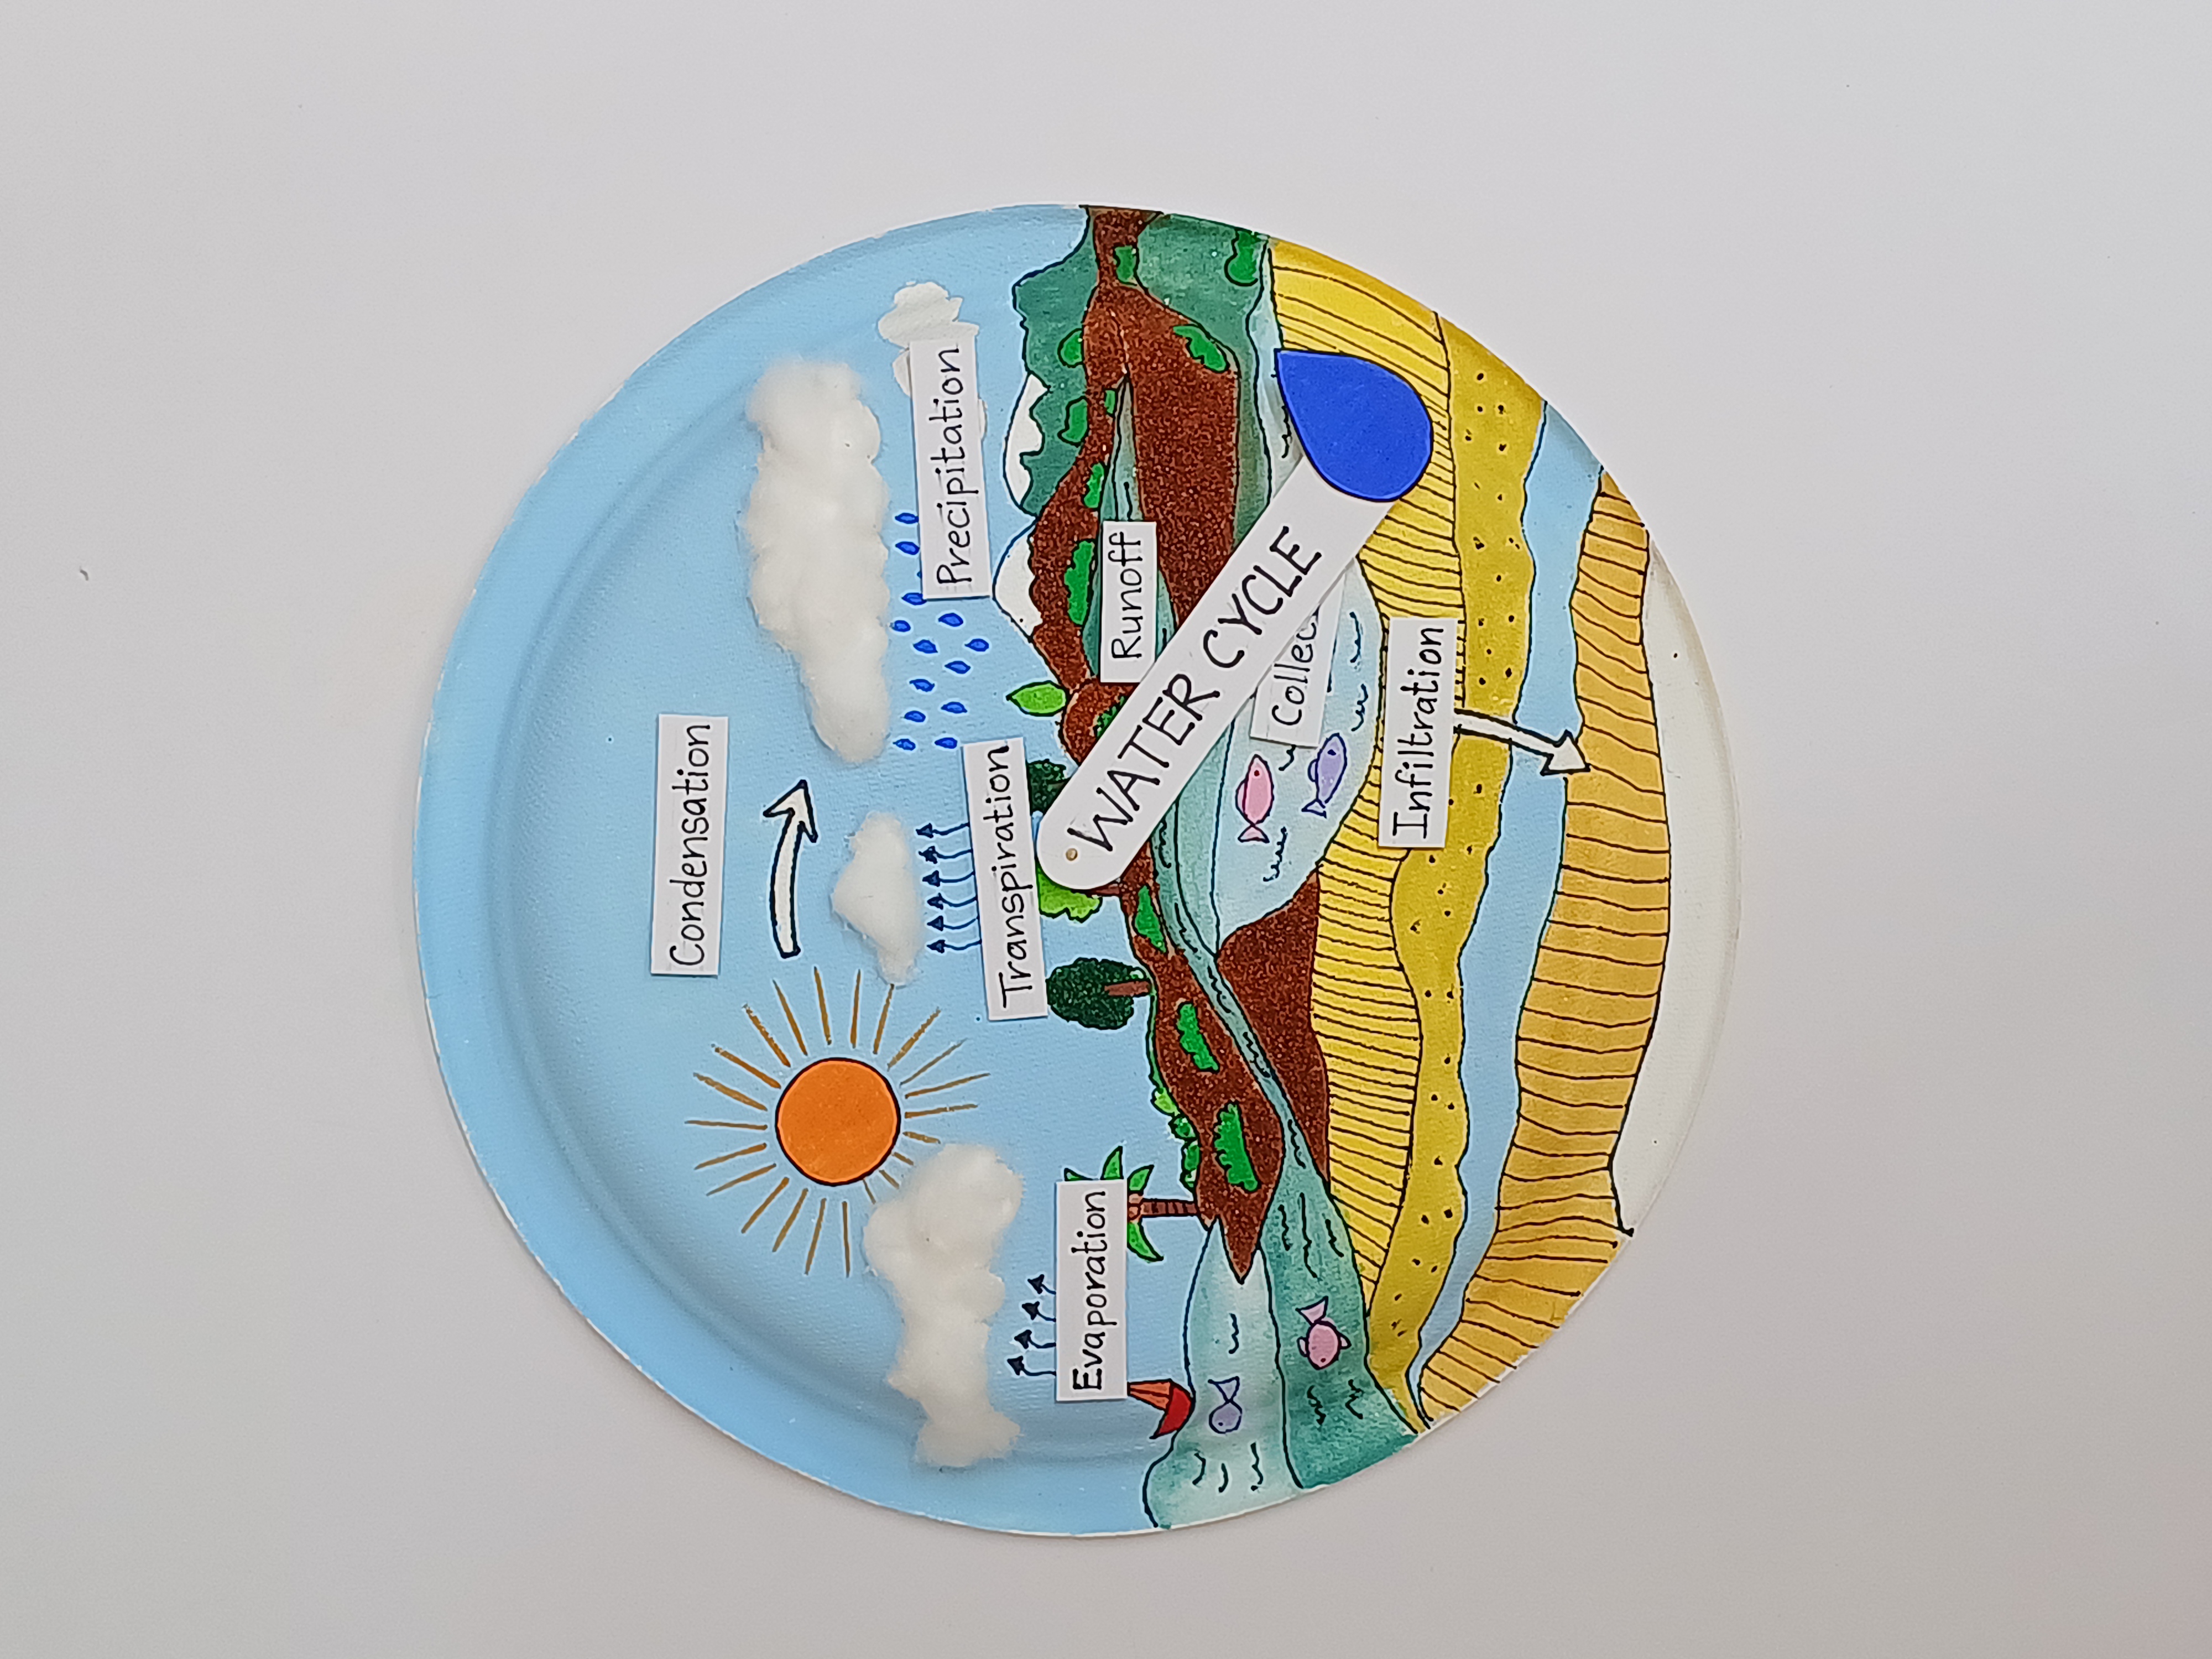
Show the water cycle on a paper plate using cotton clouds, blue arrows, sun cutouts, raindrops, and labelled steps like evaporation and condensation. This hands-on science craft helps kids visualise how water moves in nature while building diagram skills.
Painting Best Out of Waste 30 to 60 mins 6 to 8 years Art & Craft Class 4
- Search Suggestions :
- science craft
Steps to Create this Activity
Login to see steps
Step –7
Stick the cutouts - Take some cotton and stick it on the clouds using Fevicol MR. Stick the sun on its place, Let it dry. Prick a hole in the center and attach a toothpick. Insert the strip inside the toothpick to rotate around. Stick the water droplet at the end of the strip and let it dry. Write names of each stage of the cycle and cut the strips. Stick the strips on the plate at their respective stages using Fevicol MR. Let it dry.
Steps to Create this Activity
Login to see steps

Step –1
Procure the base - Let’s paint a water cycle on a paper plate and learn how the flow of water works in nature. Take a plain round paper plate to the base.

Step –2
Draw the cycle - Draw the water cycle on the paper plate with a pencil. Draw the arrows for the direction of the flow.

Step –3
Paint the cycle - Take Rangeela Tempera Pastel Colours and paint the elements of the cycle. Take a Black Sketch Pen or Black Pen to draw the borders.

Step –4
Draw Sun and Water droplet - Take a thick plain white paper and draw sun and water droplets on it.

Step –5
Paint the sun and water droplet - Take Rangeela Tempera Pastel Colours and paint the sun and the water droplet in their respective orange and blue colour. Make the borders with the black sketch pen or colour. Let it dry. Cut it out. Draw a strip on plain white paper and cut it out.

Step –6
Apply Sand - Apply Fevicol MR on the paper plate and stick the green and brown sand on it. Let it dry for some time.

Step –7
Stick the cutouts - Take some cotton and stick it on the clouds using Fevicol MR. Stick the sun on its place, Let it dry. Prick a hole in the center and attach a toothpick. Insert the strip inside the toothpick to rotate around. Stick the water droplet at the end of the strip and let it dry. Write names of each stage of the cycle and cut the strips. Stick the strips on the plate at their respective stages using Fevicol MR. Let it dry.

Step –8
Final Look - Your water cycle painting is completed!


