Easy Visor Cap Craft Ideas for Kids - Activity Single - FeviCreate

Visor Cap Craft for Kids
This summer make your own visor and go out with your friends to play
Paper Crafting Paper Crafting 30 to 60 mins 6 to 8 years Art & Craft Class 2
Steps to Create this Activity
Login to see steps
Step - 03
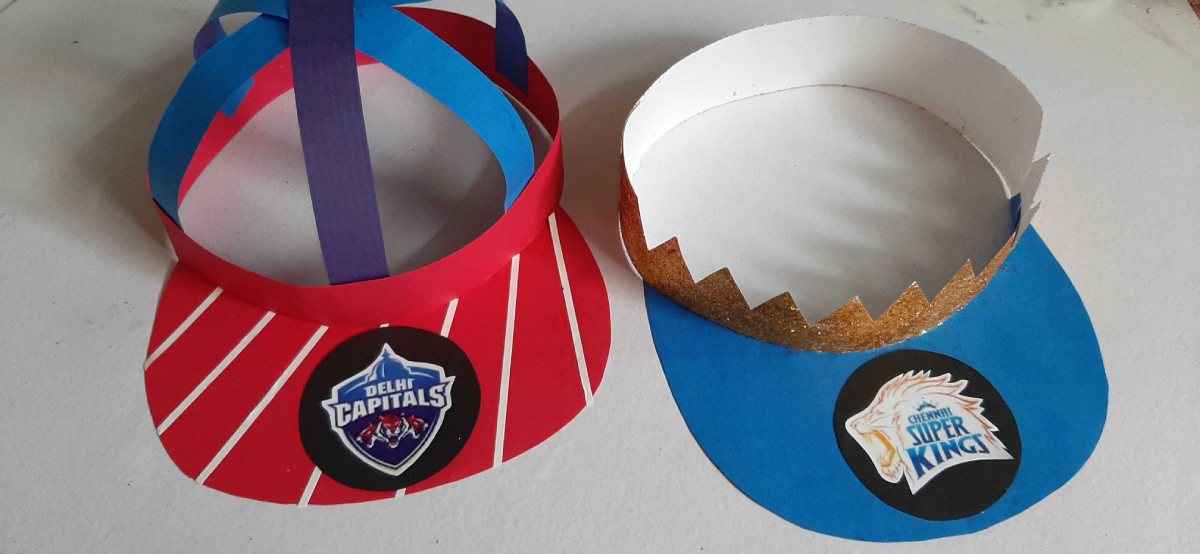
Using Fevistik assemble the cutouts as shown. To enhance it, take printouts of your favourite IPL team logo. Now take piece of coloured chart paper of your choice contrast in colour & cut-out a circle as seen in the image. Now cut out logo and stick it exactly in the centre using Fevistik.
Steps to Create this Activity
Login to see steps

Step - 01
Take coloured chart paper of your choice, draw and cut the contour of the visor referring to the template given. Now with the help of scale fold the strips cut as shown.

Step - 02
Now take coloured chart paper of your choice & cut a strip measuring width into 1”. Make sure diameter is measured according to your head cap size. Using Fevistik seal the edges as shown and let it dry.

Step - 03
Using Fevistik assemble the cutouts as shown. To enhance it, take printouts of your favourite IPL team logo. Now take piece of coloured chart paper of your choice contrast in colour & cut-out a circle as seen in the image. Now cut out logo and stick it exactly in the centre using Fevistik.

Step - 04
Now take glitter powder of your choice and stick on the head band evenly using Fevistik and let it dry. With the help of scissors cut out a pattern of your choice. Here we have done cut-outs in triangular pattern.

Step - 05
Similarly, you can create different type as shown. Your handmade Visor are ready!


