


Shiny Star Danglers with Paper & Sequins | FeviCreate - Activity Single - FeviCreate
Star Danglers
Make shimmering star danglers with glitter paper, sequins, thread, and colourful beads. Kids can cut out stars, decorate both sides, and string them vertically for a lovely hanging that adds sparkle to any celebration or festive room setup.
Clay Modelling Celebration More than 60 mins 9 to 14 years Art & Craft Class 8


Steps to Create this Activity
Login to see steps

Step –1
Prepare Star Base - Take a corrugated sheet. Measure and draw a star figure onto it, then carefully cut it out using scissors. This will be the sturdy base for your dangler.

Step –2
Prepare Clay Dough - Take Fevicryl Mouldit, mix the resin and hardener in equal amounts, and mix them to create a smooth, even dough.

Step –3
Trace & Sculpt - Take tracing paper and draw your desired design (e.g., Santa's face, socks) with a pencil.

Step –5
Stick the clay - Use more Mouldit to sculpt the 3D structures of Santa and his socks, then stick these clay pieces onto the star base using Fevicol MR. Allow the clay to dry completely.

Step –6
Paint Danglers - Once the clay is dry, take your Fevicryl Carnival Kit and begin painting all parts of the star dangler with different vibrant colours.

Step –7
Paint the details - Ensure all details are covered and allow the paint to dry. You can use a thin brush to paint the details.

Step –8
Assemble for Hanging - Attach a piece of thread to the top of the star dangler. Thread a decorative bead onto the thread to complete the hanging mechanism.

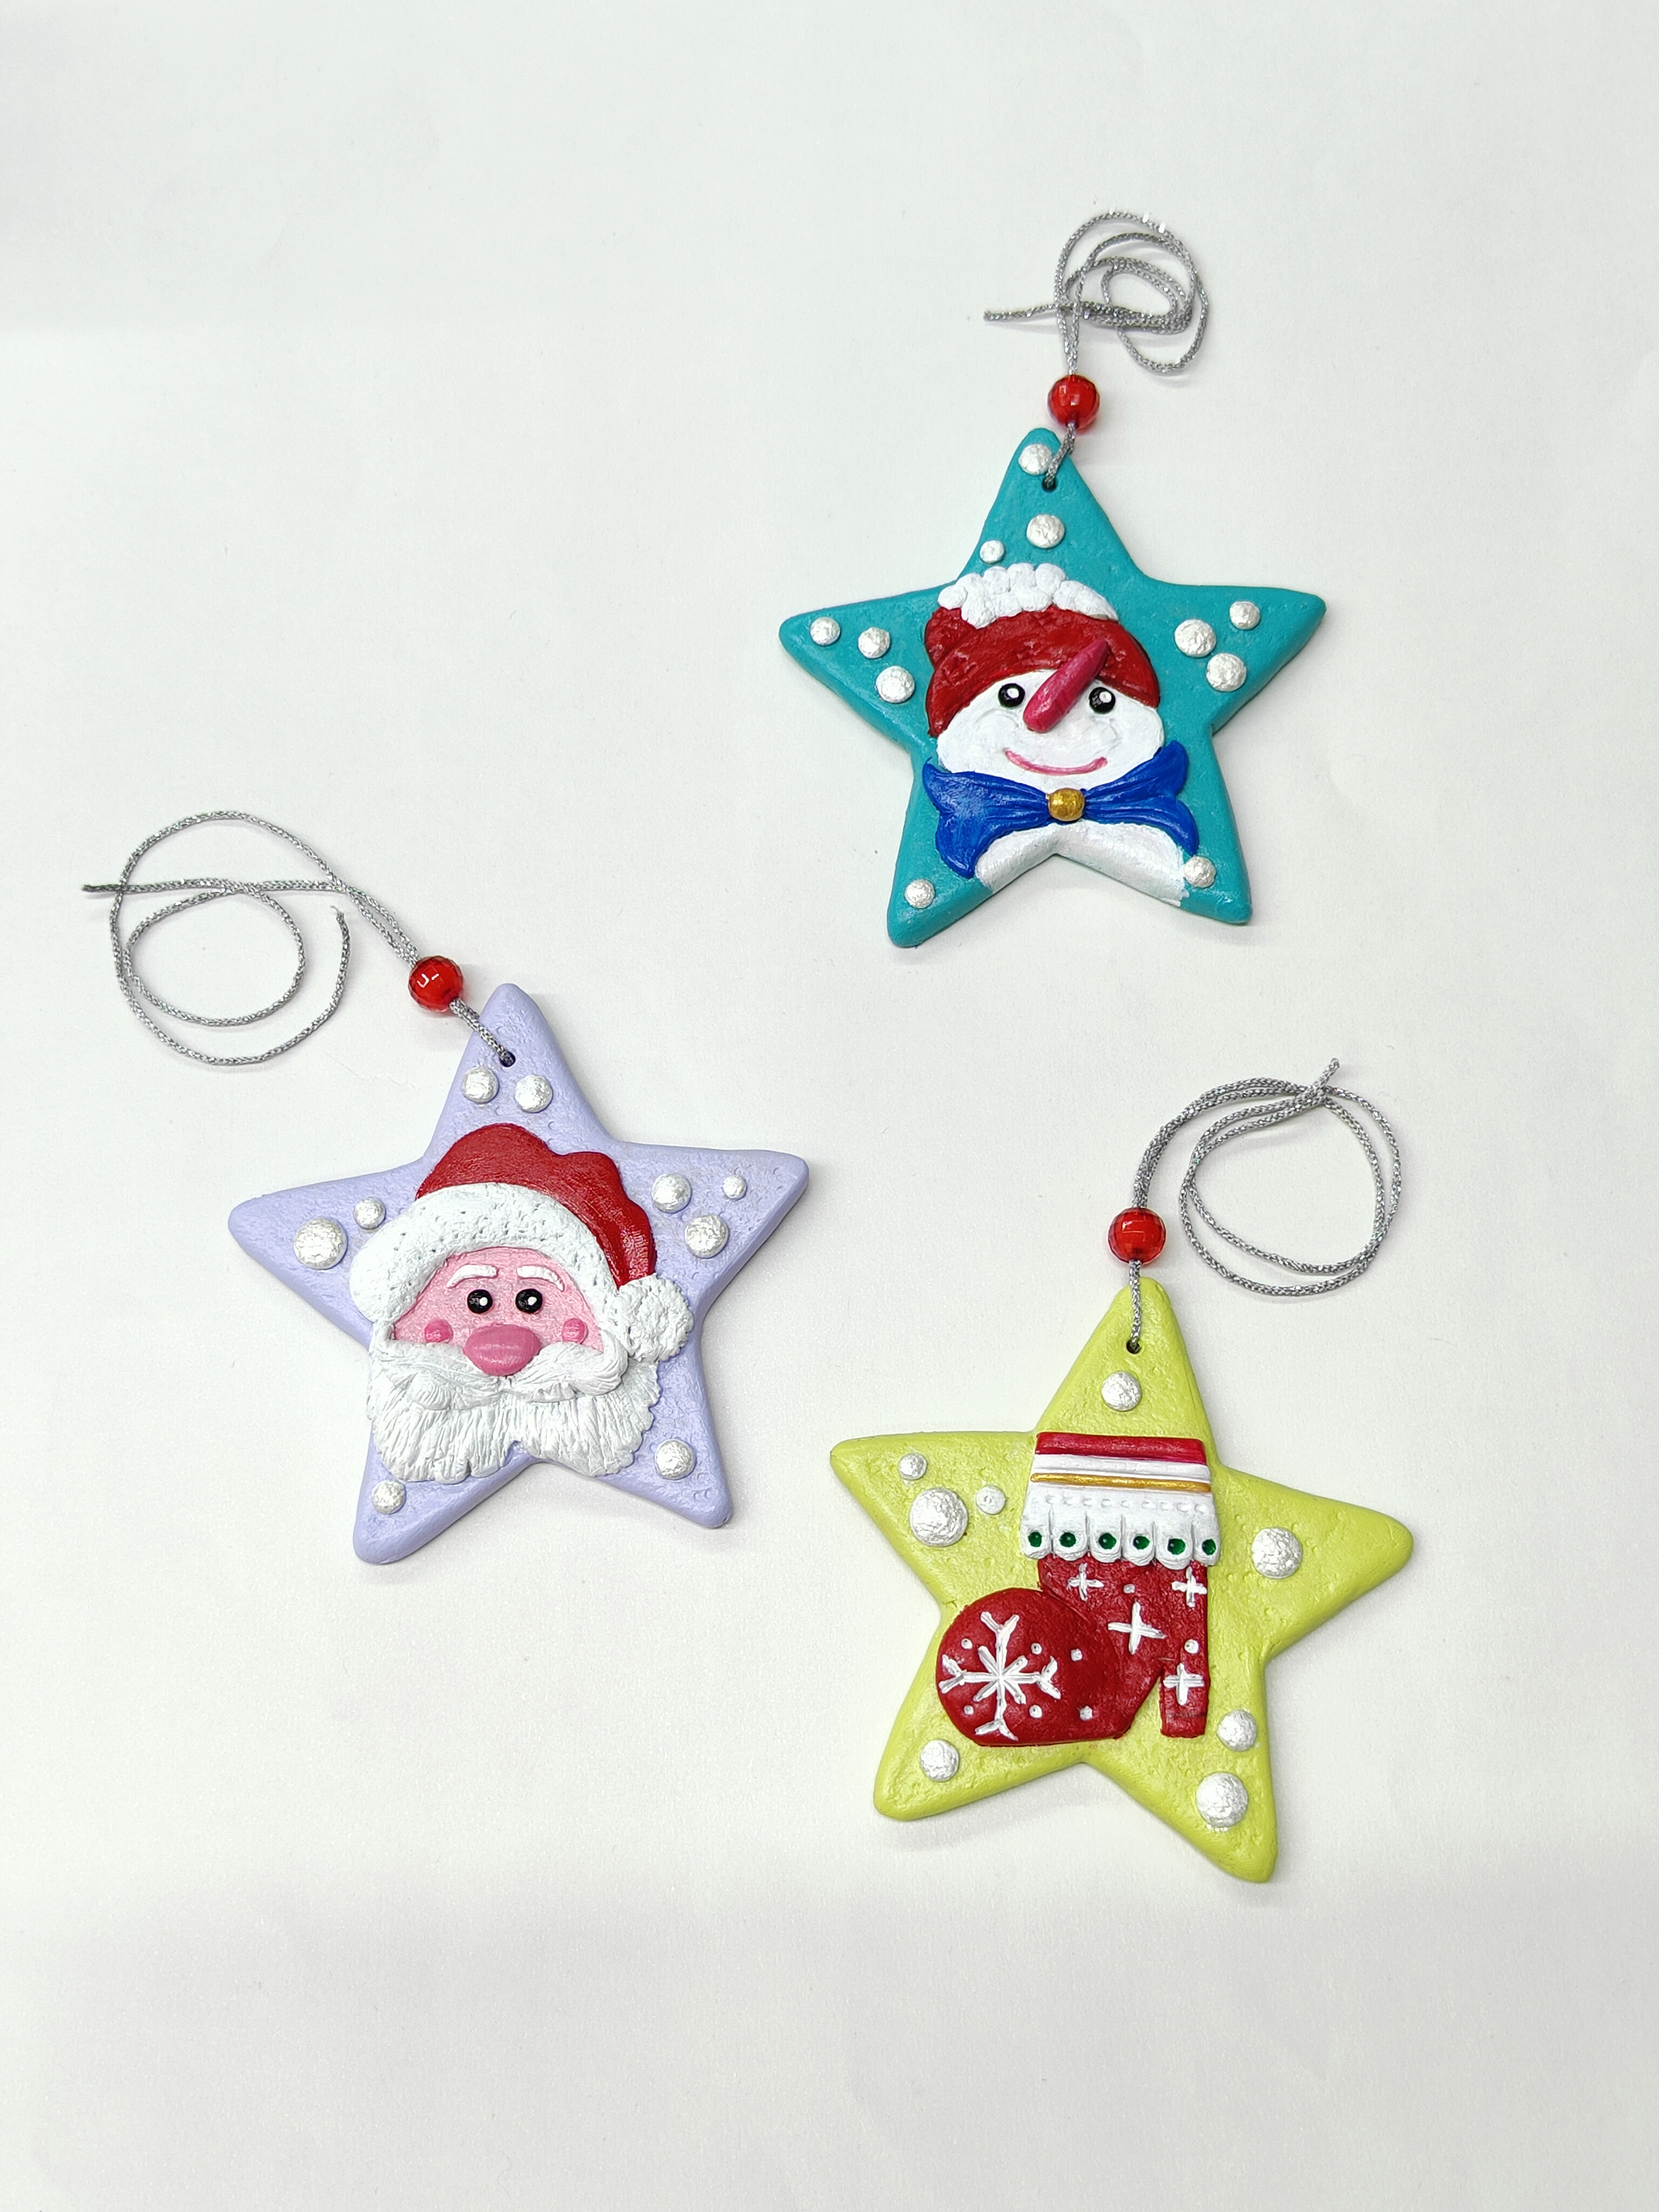
Step –9
Final Look - This is the final look of your crafted Star Dangler.
Steps to Create this Activity
Login to see steps
Step –1
Prepare Star Base - Take a corrugated sheet. Measure and draw a star figure onto it, then carefully cut it out using scissors. This will be the sturdy base for your dangler.
Step –2
Prepare Clay Dough - Take Fevicryl Mouldit, mix the resin and hardener in equal amounts, and mix them to create a smooth, even dough.
Step –3
Trace & Sculpt - Take tracing paper and draw your desired design (e.g., Santa's face, socks) with a pencil.
Step –4
Trace the design on the clay - Trace this design onto the prepared clay base with pencil. Make sure you lay your clay base on an even slab.
Step –5
Stick the clay - Use more Mouldit to sculpt the 3D structures of Santa and his socks, then stick these clay pieces onto the star base using Fevicol MR. Allow the clay to dry completely.
Step –6
Paint Danglers - Once the clay is dry, take your Fevicryl Carnival Kit and begin painting all parts of the star dangler with different vibrant colours.
Step –7
Paint the details - Ensure all details are covered and allow the paint to dry. You can use a thin brush to paint the details.
Step –8
Assemble for Hanging - Attach a piece of thread to the top of the star dangler. Thread a decorative bead onto the thread to complete the hanging mechanism.
Step –9
Final Look - This is the final look of your crafted Star Dangler.


