





 Activities
 How to Videos
 Products
 Contests & Events
 Freebies
 Live TV
 Blogs
Blogs




Pollination Working Model - FeviCreate - Activity Single - FeviCreate
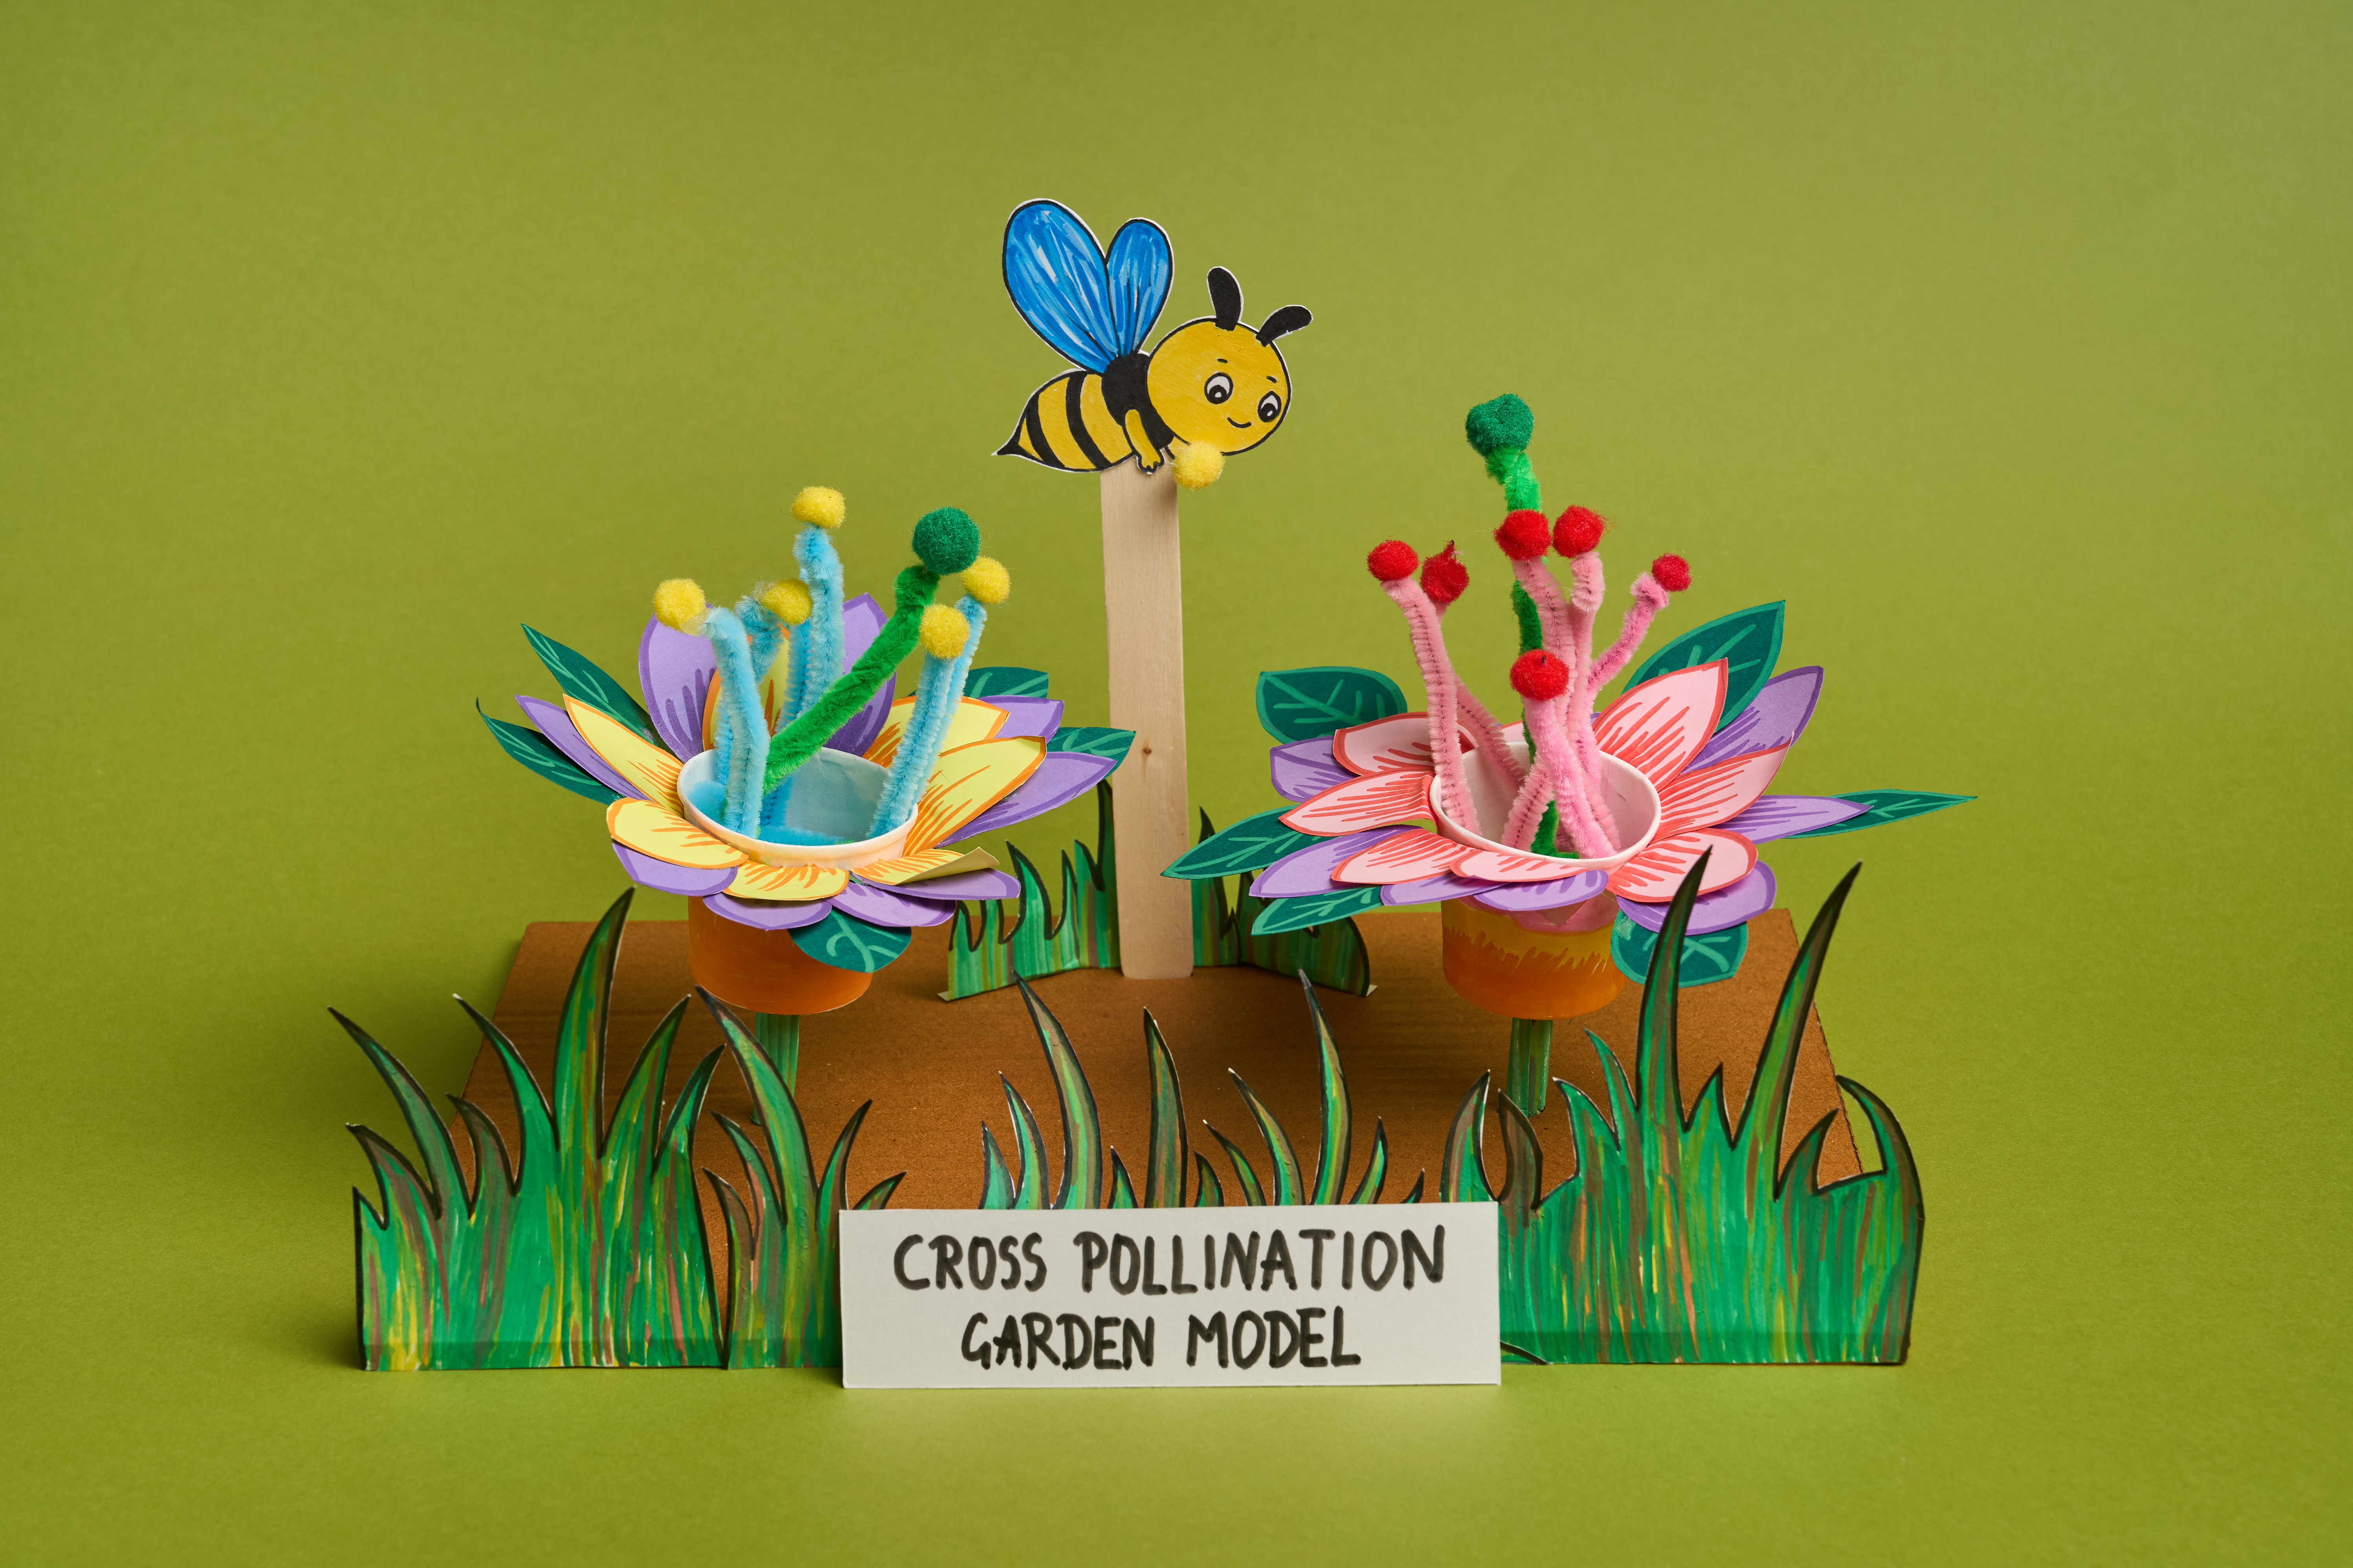
Pollination of Flowers Working Model
Create an interactive model to demonstrate how pollination takes place between flowers with the help of a bee. Children will understand the pollination process while developing observation skills, paper crafting techniques, and creative expression.


Steps to Create this Activity
Login to see steps

Prepare the Flower Parts
Trace and cut the flower petals and leaves from coloured paper. Add the veins and petal details using Fevicryl Acrylic Markers – 12 pc.

Assemble the Flowers
Stick the layered petals and leaves around the paper cups using Fevistik Power.

Make the Flower Centres
Cut pipe cleaners into different lengths and stick pom-poms to their tips using Fevistik Power. Arrange them inside the paper cups to create the stamens and stigma of each flower.

Create the Garden and Bee
Draw and colour the grass, stems and bee using Fevicryl Acrylic Markers – 12 pc. Cut out all the pieces. Stick an ice cream stick behind the bee.

Assemble the Model
Using Fevistik Power, fix both flowers onto the base and insert the bee between them. Stick the grass vertically in front of the base. Finally, label your model.

Demonstrate Pollination
Stick a pom pom in the bee's hands with Fevistik Power. This would demonstrate the transfer of pollen during pollination!
Steps to Create this Activity
Login to see steps
Prepare the Flower Parts
Trace and cut the flower petals and leaves from coloured paper. Add the veins and petal details using Fevicryl Acrylic Markers – 12 pc.
Assemble the Flowers
Stick the layered petals and leaves around the paper cups using Fevistik Power.
Make the Flower Centres
Cut pipe cleaners into different lengths and stick pom-poms to their tips using Fevistik Power. Arrange them inside the paper cups to create the stamens and stigma of each flower.
Create the Garden and Bee
Draw and colour the grass, stems and bee using Fevicryl Acrylic Markers – 12 pc. Cut out all the pieces. Stick an ice cream stick behind the bee.
Assemble the Model
Using Fevistik Power, fix both flowers onto the base and insert the bee between them. Stick the grass vertically in front of the base. Finally, label your model.
Demonstrate Pollination
Stick a pom pom in the bee's hands with Fevistik Power. This would demonstrate the transfer of pollen during pollination!


