





 Activities
 How to Videos
 Products
 Contests & Events
 Freebies
 Live TV
 Blogs
Blogs




Parts of a Flower 3D Model | Science Day | FeviCreate - Activity Single - FeviCreate
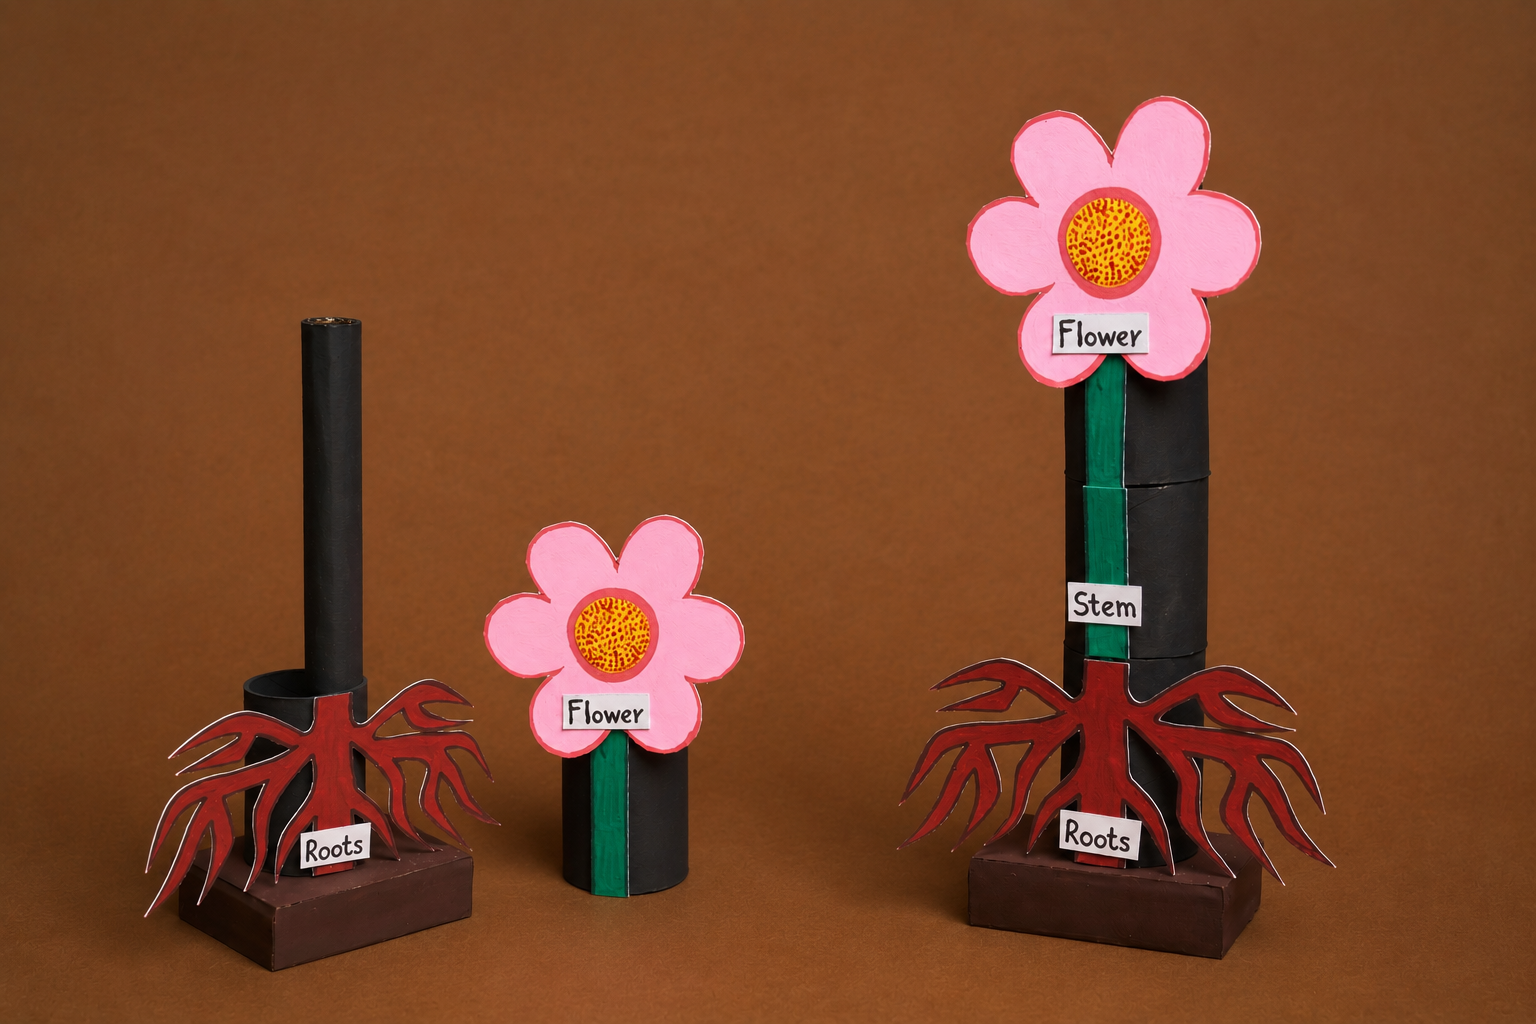
Parts of a Flower 3D Model Making - Science Day
Create a 3D model of a flowering plant using cardboard tubes and painted paper cut-outs. Children will identify the different parts of a plant while developing observation skills, model-making techniques, and creativity through a fun hands-on science activity.


Steps to Create this Activity
Login to see steps

Prepare the Stem and Base
Keep two tissue rolls, one corrugated strip and one box ready to make your stem, flower and leaf!

Paint the Pieces
Draw the flower, leaf and roots on the white chart paper. Paint them using Rangeela Tempera Pastel Colours. Paint the cardboard tubes black, the rolled stem green and the base brown. Allow all the painted pieces to dry completely.

Cut the Plant Parts
Carefully cut out the painted flower, leaf and roots from the chart paper using child-safe scissors.

Assemble the Model
Stick the painted cardboard tubes, rolled stem and base together using Fevicol Glue Drops to create the standing model.

Attach the Plant Parts
Stick the roots, stem, leaf and flower onto the model using Fevicol Glue Drops, placing each part in its correct position.

Label the Parts
Write and stick the labels for Flower, Leaf, Stem and Roots using Fevicol Glue Drops. Your Parts of a Flower – 3D Learning Model is now ready for learning.
Steps to Create this Activity
Login to see steps
Prepare the Stem and Base
Keep two tissue rolls, one corrugated strip and one box ready to make your stem, flower and leaf!
Paint the Pieces
Draw the flower, leaf and roots on the white chart paper. Paint them using Rangeela Tempera Pastel Colours. Paint the cardboard tubes black, the rolled stem green and the base brown. Allow all the painted pieces to dry completely.
Cut the Plant Parts
Carefully cut out the painted flower, leaf and roots from the chart paper using child-safe scissors.
Assemble the Model
Stick the painted cardboard tubes, rolled stem and base together using Fevicol Glue Drops to create the standing model.
Attach the Plant Parts
Stick the roots, stem, leaf and flower onto the model using Fevicol Glue Drops, placing each part in its correct position.
Label the Parts
Write and stick the labels for Flower, Leaf, Stem and Roots using Fevicol Glue Drops. Your Parts of a Flower – 3D Learning Model is now ready for learning.


