





 Activities
 How to Videos
 Products
 Contests & Events
 Freebies
 Live TV
 Blogs
Blogs




Christmas Wish Box Craft - Fevicreate - Activity Single - FeviCreate
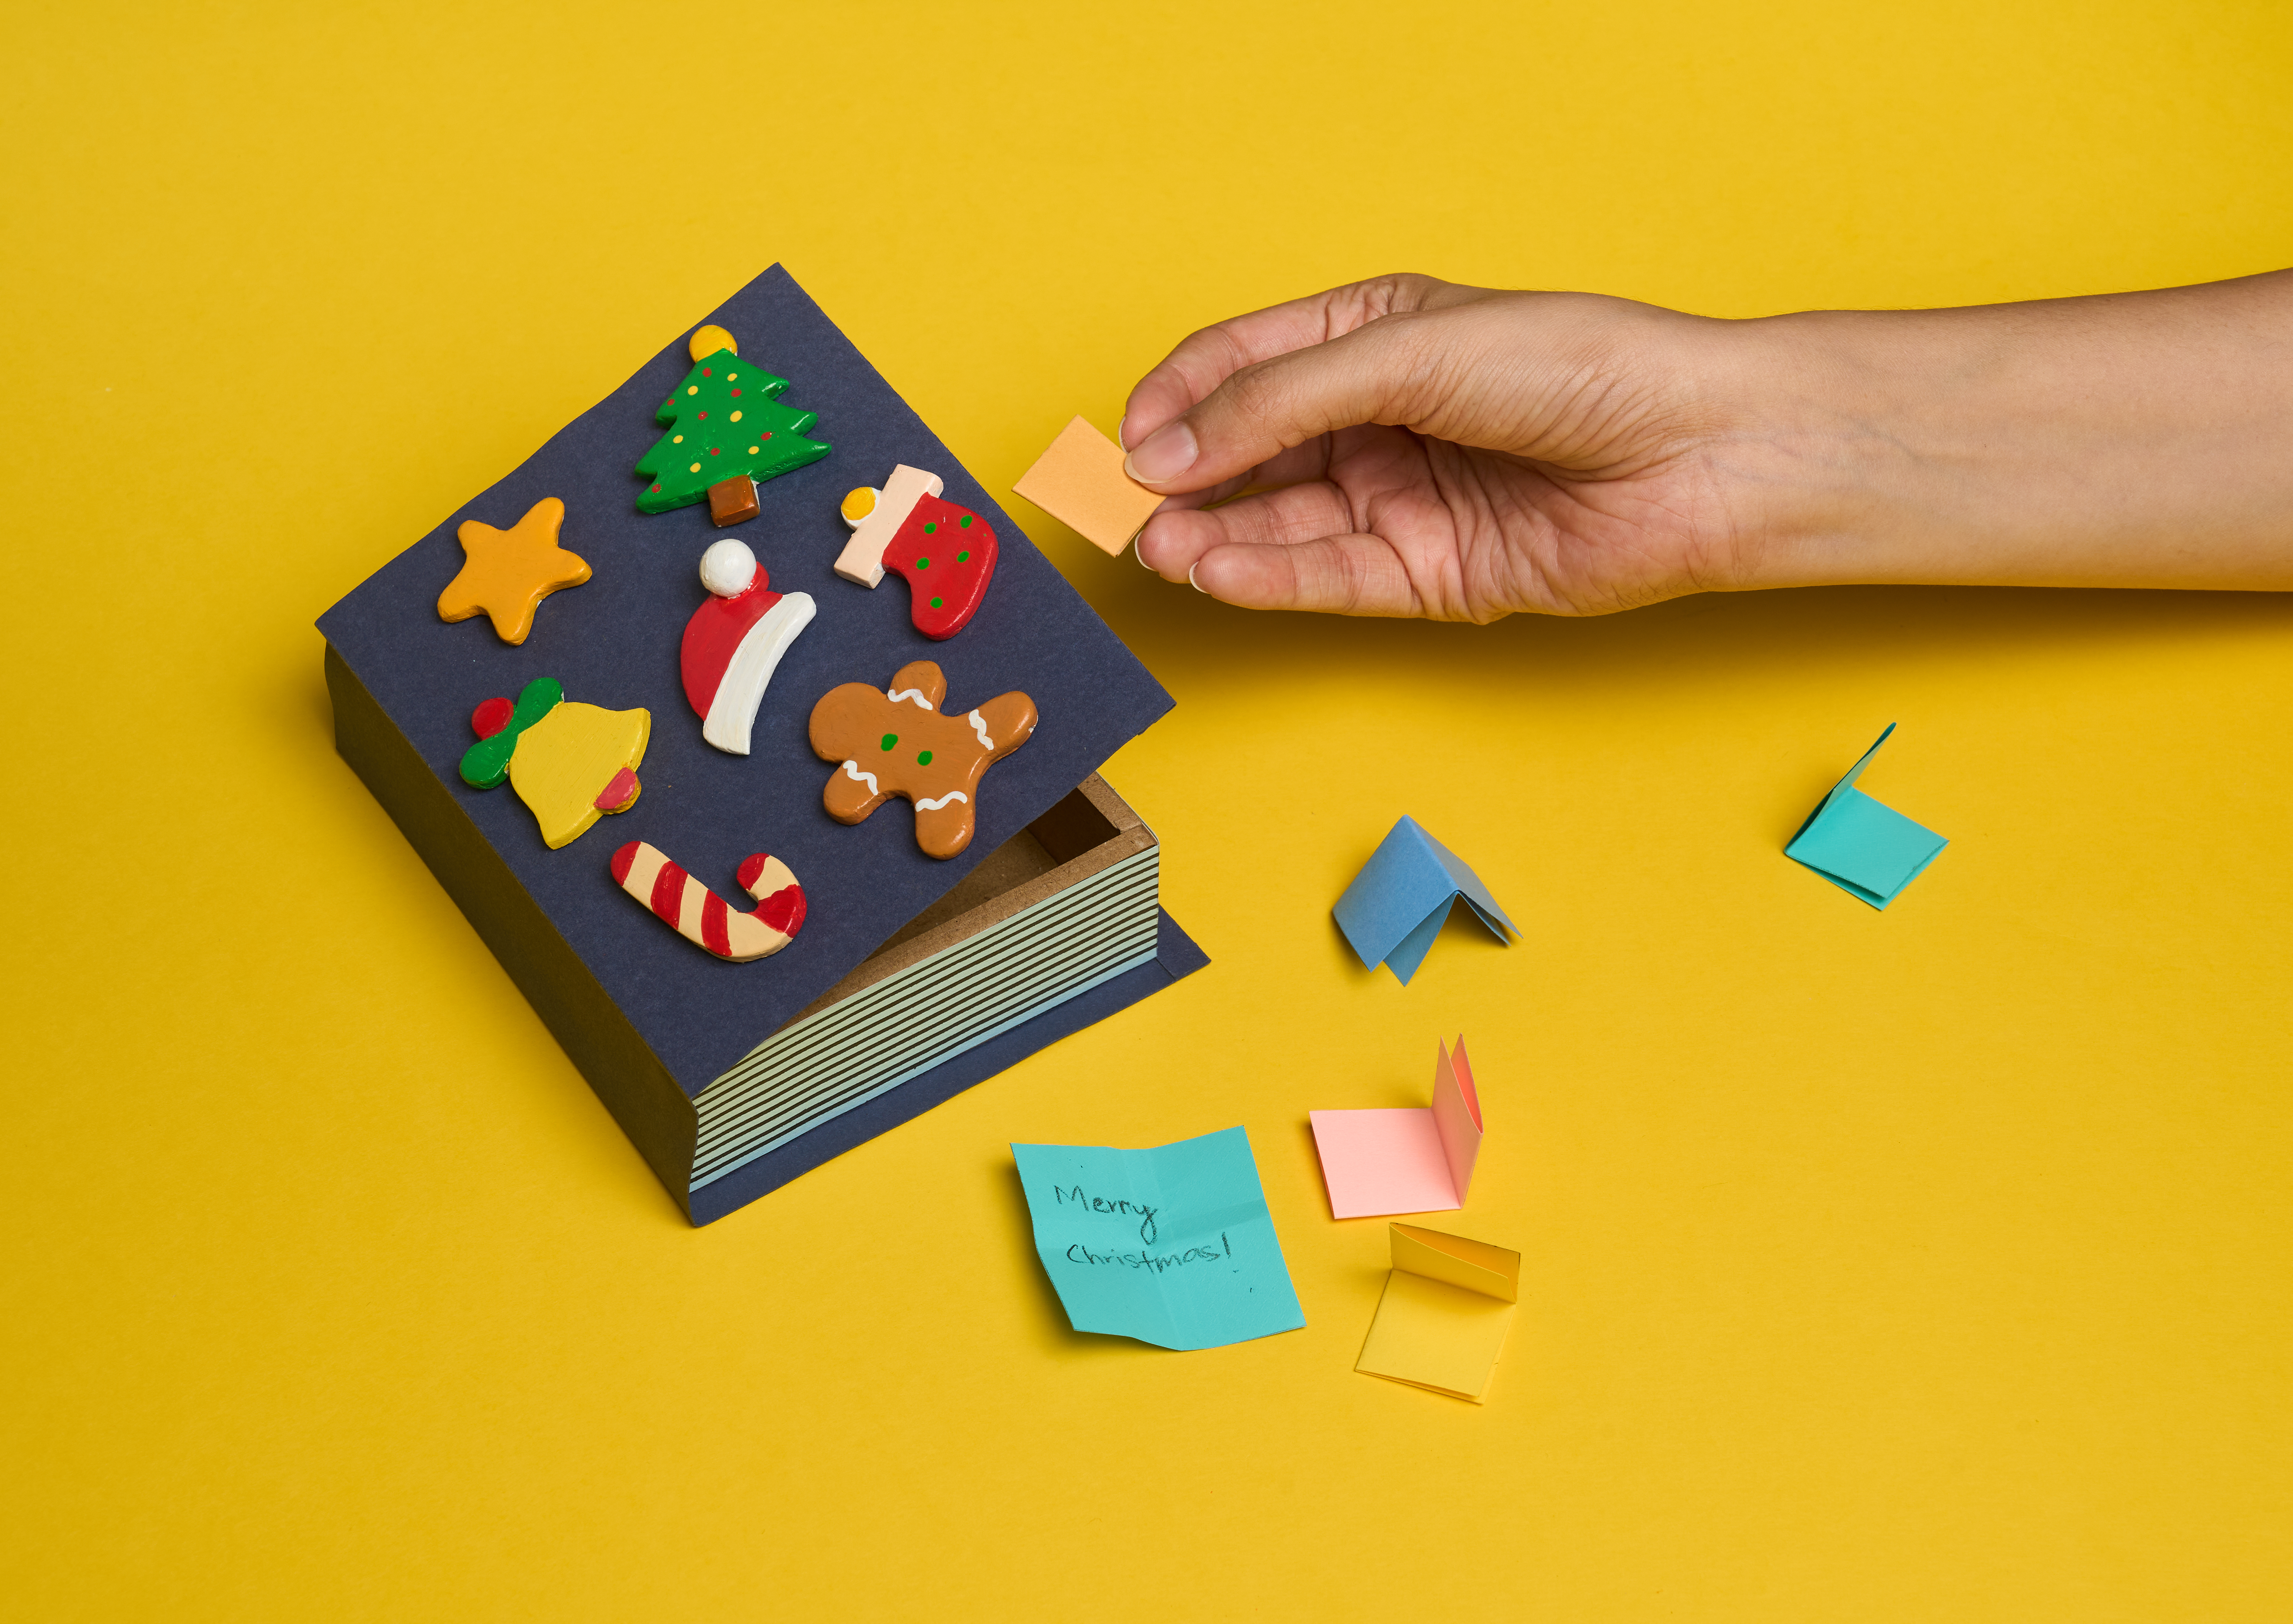
Make Your Own Wish Box - Christmas
Create a festive Christmas Wish Box decorated with colourful handmade clay ornaments. Children will learn basic clay modelling and box assembly while expressing creativity by designing a personalised keepsake box for storing Christmas wishes or small gifts.


Steps to Create this Activity
Login to see steps

Trace the Box Pieces
Draw the base, lid, and side panels of the wish box onto cardboard using the template shown in the image.

Cut and Assemble the Box
Cut out all the cardboard pieces and stick them together using Fevicol MR to make the base and hinged lid. Allow the box to dry.

Cover the Box
Apply Fevicol MR and neatly cover the outside of the box with blue chart paper. Trim away any excess paper.

Prepare the Clay
Mix the resin and hardener of Fevicryl Mouldit thoroughly until the clay becomes smooth and ready for modelling.

Make the Christmas Ornaments
Shape the Fevicryl Mouldit into a bell, star, candy cane, Santa hat, Christmas tree, stocking, and gingerbread man. Allow them to dry completely.

Paint the Ornaments
Paint the dried ornaments using colours from the Fevicryl Carnival Pack and leave them to dry thoroughly.

Decorate the Wish Box
Stick the painted ornaments onto the lid using Fevicol MR. Let everything dry well. Your Christmas Wish Box is now ready to fill with festive wishes and tiny treasures.
Steps to Create this Activity
Login to see steps
Trace the Box Pieces
Draw the base, lid, and side panels of the wish box onto cardboard using the template shown in the image.
Cut and Assemble the Box
Cut out all the cardboard pieces and stick them together using Fevicol MR to make the base and hinged lid. Allow the box to dry.
Cover the Box
Apply Fevicol MR and neatly cover the outside of the box with blue chart paper. Trim away any excess paper.
Prepare the Clay
Mix the resin and hardener of Fevicryl Mouldit thoroughly until the clay becomes smooth and ready for modelling.
Make the Christmas Ornaments
Shape the Fevicryl Mouldit into a bell, star, candy cane, Santa hat, Christmas tree, stocking, and gingerbread man. Allow them to dry completely.
Paint the Ornaments
Paint the dried ornaments using colours from the Fevicryl Carnival Pack and leave them to dry thoroughly.
Decorate the Wish Box
Stick the painted ornaments onto the lid using Fevicol MR. Let everything dry well. Your Christmas Wish Box is now ready to fill with festive wishes and tiny treasures.


