





 Activities
 How to Videos
 Products
 Contests & Events
 Freebies
 Live TV
 Blogs
Blogs




DIY New Year Chalkboard Craft | FeviCreate - Activity Single - FeviCreate
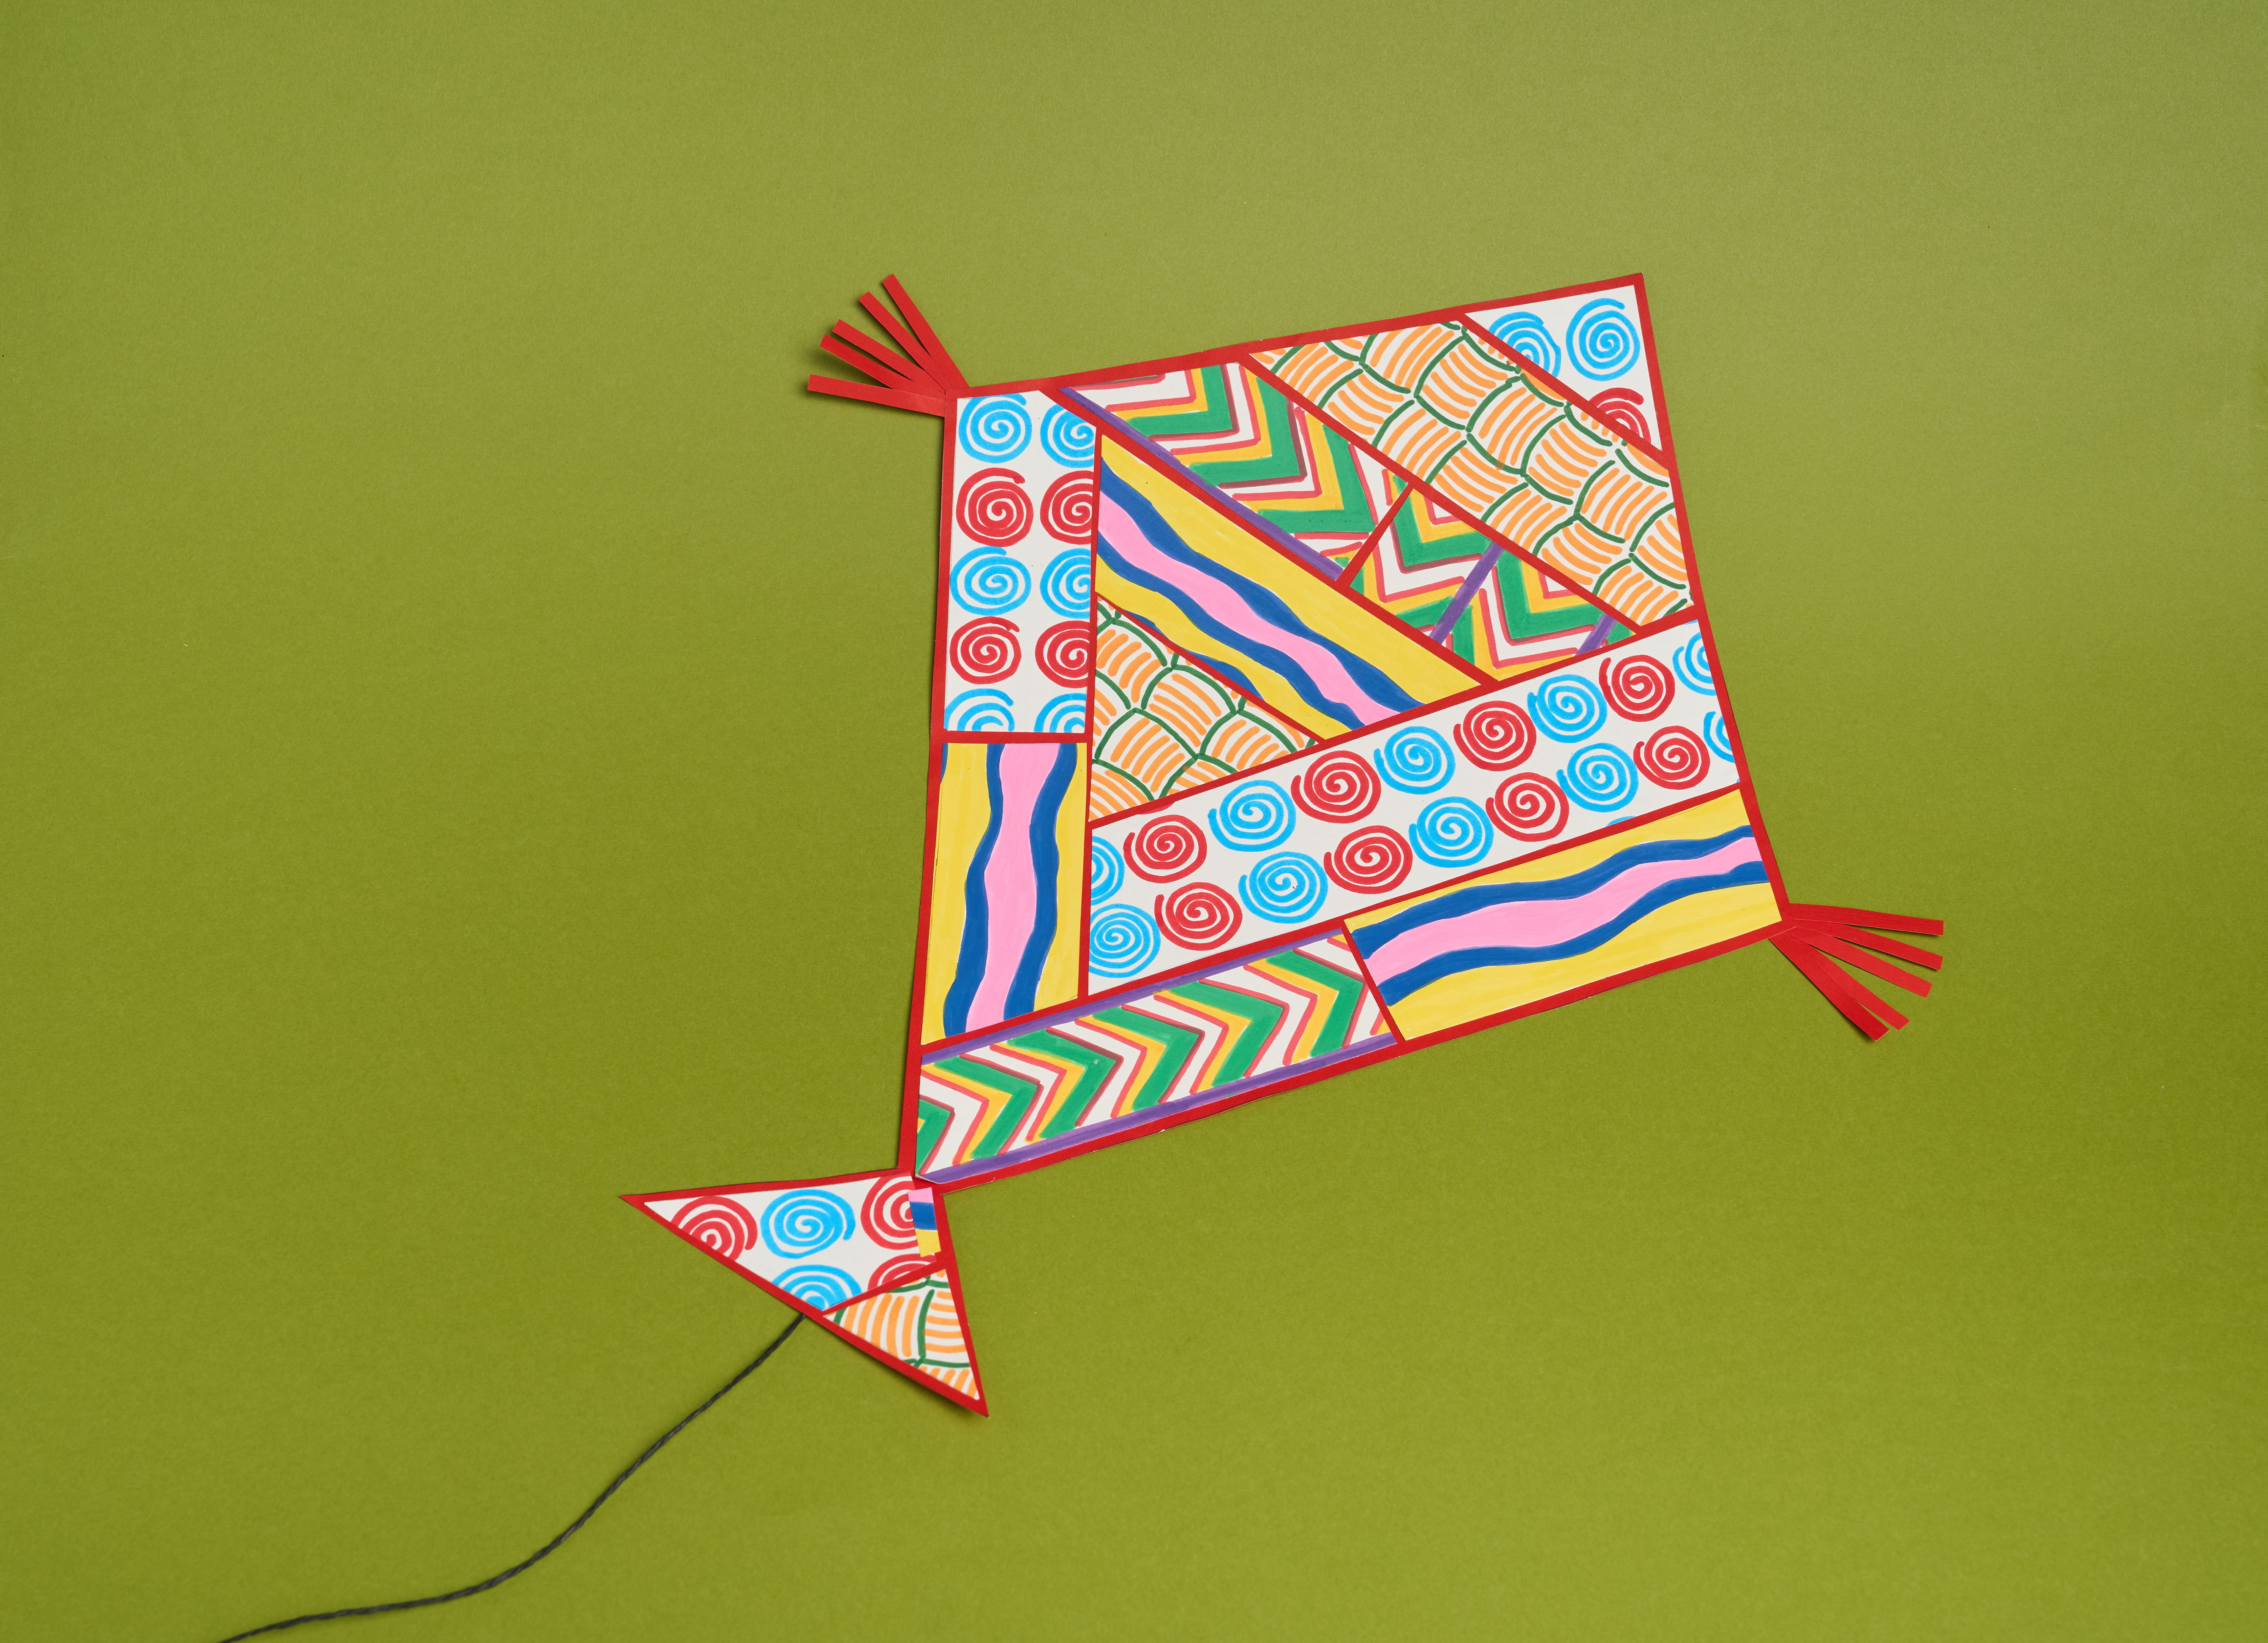
Make a Patterned Paper Kite
Encourages children to plan, organize, and express their goals for the upcoming year. Building the interlocking pieces teaches basic spatial engineering, while mixing the custom paint introduces a fun lesson in material textures.


Steps to Create this Activity
Login to see steps

Draw the Kite Base
Trace a kite shape with a tail on red chart paper and carefully cut it out to prepare the base.

Create Pattern Papers
Decorate white chart paper with colourful designs using Fevicryl Acrylic Markers. Make different patterns and let the ink dry completely.

Cut Decorative Pieces
Cut the patterned sheets into strips and geometric pieces of different sizes to fit inside the kite outline.

Fill the Kite
Arrange the patterned paper pieces inside the kite shape and stick them neatly using Fevistik Power, covering the entire surface.

Add the Finishing Details
Trim any extra paper, attach paper tassels on both sides, and fix a paper thread to complete the kite.

Display Your Kite
Check that all the pieces are firmly attached and your colourful patterned paper kite is now ready to fly in your imagination or display!
Steps to Create this Activity
Login to see steps
Draw the Kite Base
Trace a kite shape with a tail on red chart paper and carefully cut it out to prepare the base.
Create Pattern Papers
Decorate white chart paper with colourful designs using Fevicryl Acrylic Markers. Make different patterns and let the ink dry completely.
Cut Decorative Pieces
Cut the patterned sheets into strips and geometric pieces of different sizes to fit inside the kite outline.
Fill the Kite
Arrange the patterned paper pieces inside the kite shape and stick them neatly using Fevistik Power, covering the entire surface.
Add the Finishing Details
Trim any extra paper, attach paper tassels on both sides, and fix a paper thread to complete the kite.
Display Your Kite
Check that all the pieces are firmly attached and your colourful patterned paper kite is now ready to fly in your imagination or display!


