Lifecycle of a Butterfly - Activity Single - FeviCreate

Lifecycle of a Butterfly
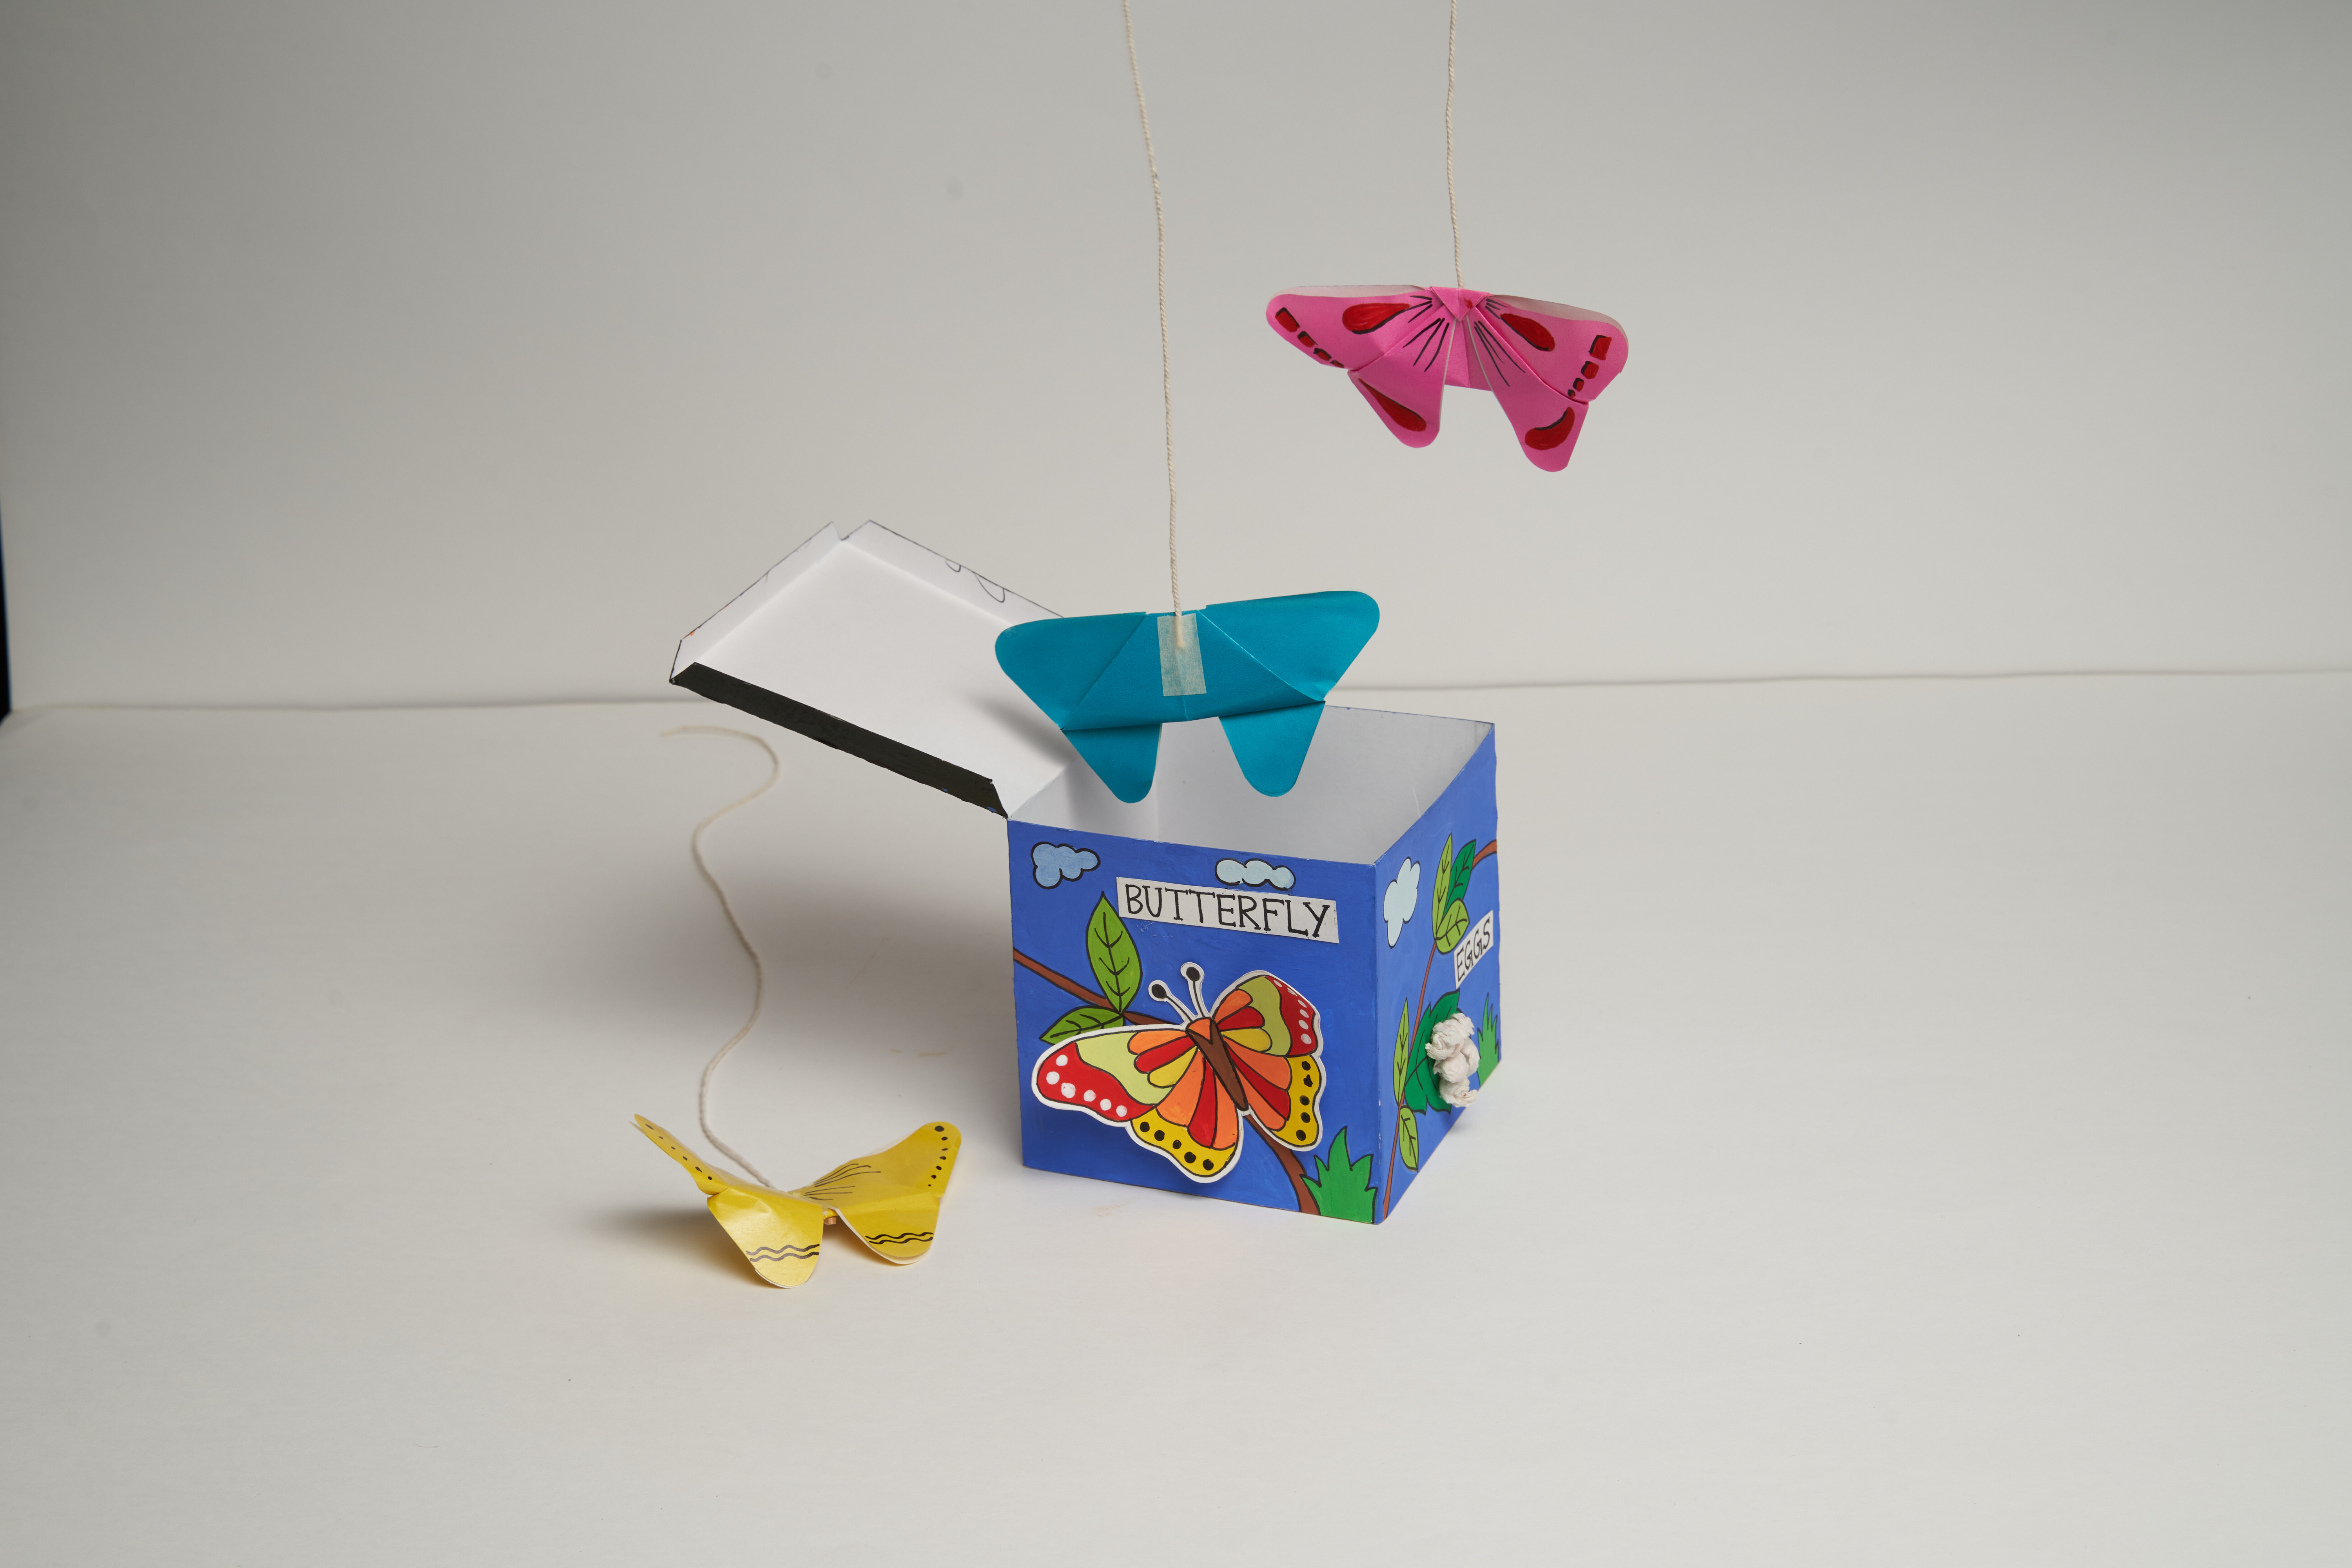
This small cube, made of folded paper, shows the butterflys life. It is a simple way to learn about how butterflies grow. The sturdy paper box holds the sequence, making each stage easy to see and understand. It is a hands-on lesson in nature's transformation.
Paper Crafting Environment 30 to 60 mins 9 to 14 years Science Class 7
- Search Suggestions :
Steps to Create this Activity
Login to see steps
Steps to Create this Activity
Login to see steps

Step - 01
Lets prepare a box and paint the cycle of a butterfly for children to learn. Take two A-4 size White Plain Thick Paper to start with the drawing.

Step - 02
Draw the box template and the design of cycle of a butterfly on the sides of the box. You can use scales and pencils for the same. On another plain white paper, draw the design of a butterfly.

Step - 03
Pick Rangeela Tempera Colour and paint the sides of the boxes and the flower design on it. Similarly, paint the butterfly design in any colour of your choice. Let it dry. Cut the box template and the butterfly.

Step - 04
Assemble Green, White and Yellow Kite Papers and cotton.

Step - 05
Crumple the kite papers in small circular shape to stick on the stages of the cycle for a 3D look.

Step - 06
Join the edges of the box template and stick it using Fevicol MR. Stick the butterfly in the last stage. Take a small white strip, cut it and write the name of each stage of the cycle on every side. Let it dry.

Step - 07
Take the crumpled balls and stick them on the caterpillar figure in alternate colours. Stick the white crumpled balls on the eggs. Stick a small patch of cotton on the pupa stage. Let it dry.

Step - 08
Note: The colours in the article might appear light in shade, you can mix lighter shades like yellow and white to obtain the light shade from the dark colours.


