





 Activities
 How to Videos
 Products
 Contests & Events
 Freebies
 Live TV
 Blogs
Blogs




Christmas Letter Box Craft - Fevicreate - Activity Single - FeviCreate
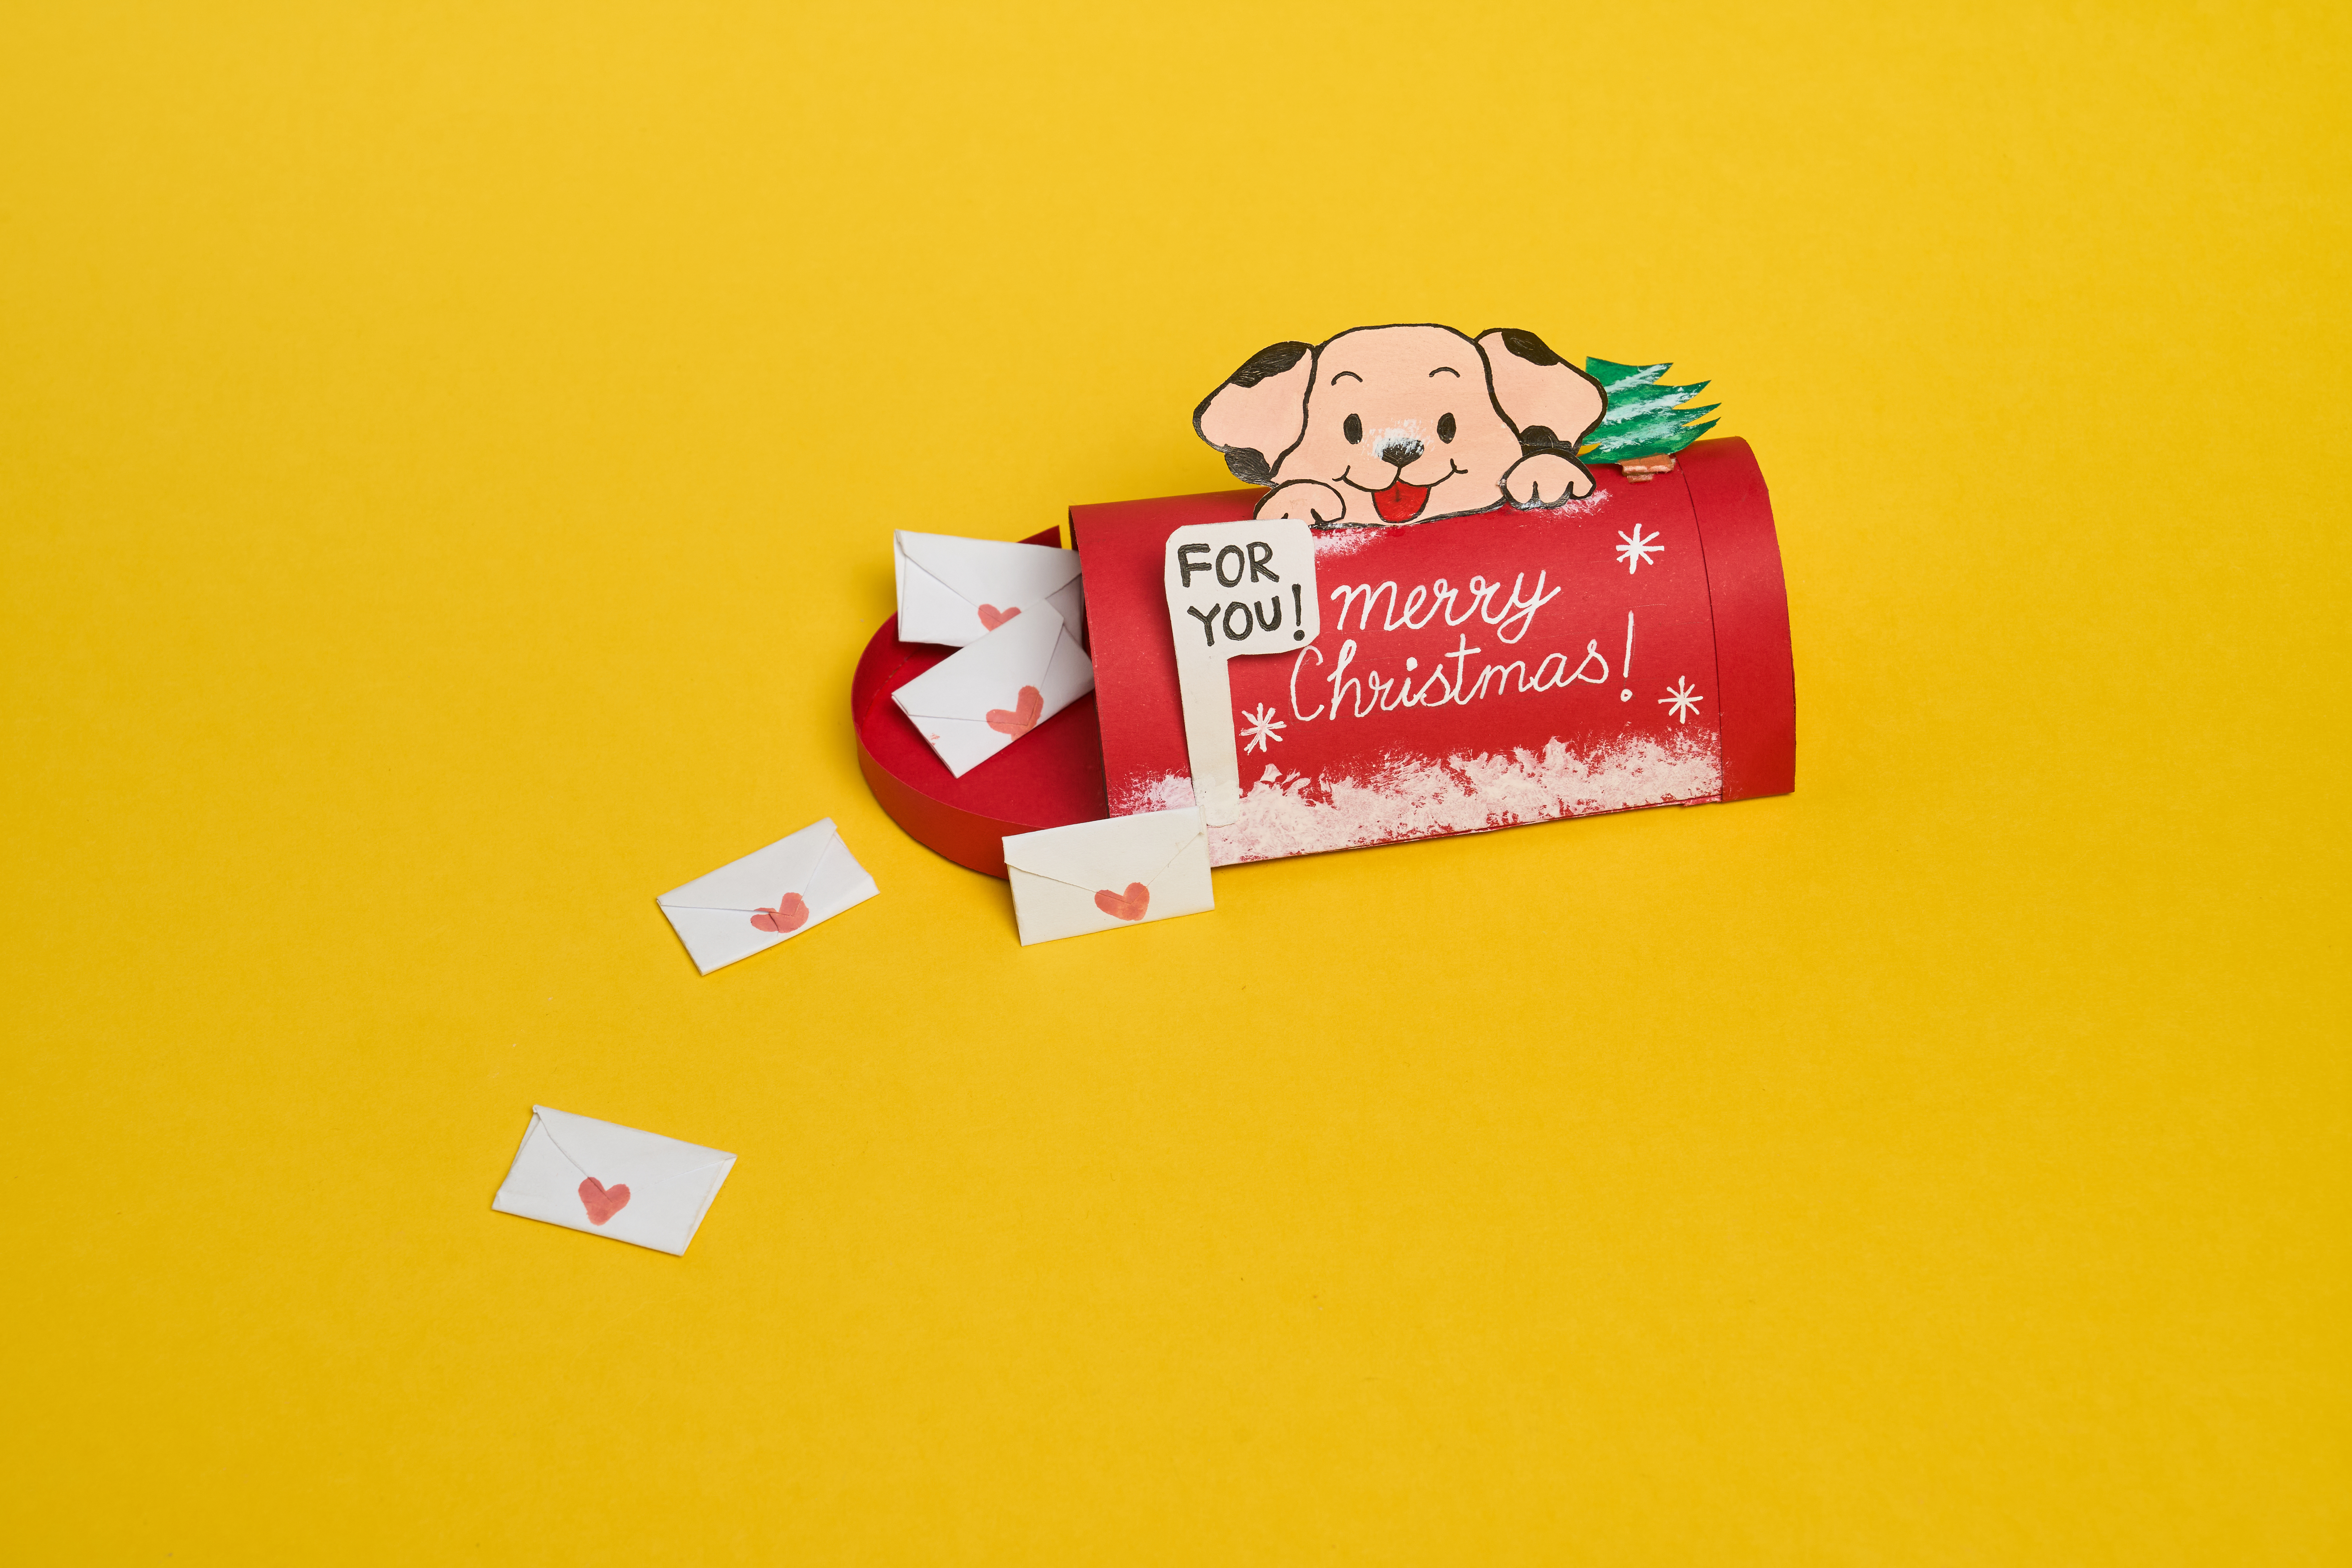
Letter Box for Christmas
Build a festive 3D letterbox to send holiday wishes! Kids learn basic paper engineering, cutting, and miniature decorating while creating a functional holiday toy box.


Steps to Create this Activity
Login to see steps

Measure the Base Circle
Use a pencil and scale to measure and draw a circular base on thick red colored paper. This circle will form the main bottom support layout for your holiday letterbox.

Snip the Folding Tabs
Cut the red paper circle with scissors. Snipping small, foldable tabs around the circular curved edge will help you easily stick to the main walls of the letterbox later.

Build the Box Cylinder
Take a large rectangular red cutout to create the curved body of the box. Roll it neatly and stick its edges to the circular base tabs securely using Fevicol MR.

Create the Removable Lid
Measure, cut, and assemble a matching round lid from the thick red paper. This lid will fit perfectly over your cylindrical structure to close and open the letterbox.

Craft the Festive Details
Paint a dog, a Christmas tree, and mini envelopes with Rangeela Tempera Colours. Add tiny red thumbprint seals to the envelopes before gluing everything down onto the red box base.

Add the Final Greeting
Label a small white paper strip with a message using a marker. Stick it on the front alongside your elements and paint some white colour some snow effect on the edges to complete this letterbox!
Steps to Create this Activity
Login to see steps
Measure the Base Circle
Use a pencil and scale to measure and draw a circular base on thick red colored paper. This circle will form the main bottom support layout for your holiday letterbox.
Snip the Folding Tabs
Cut the red paper circle with scissors. Snipping small, foldable tabs around the circular curved edge will help you easily stick to the main walls of the letterbox later.
Build the Box Cylinder
Take a large rectangular red cutout to create the curved body of the box. Roll it neatly and stick its edges to the circular base tabs securely using Fevicol MR.
Create the Removable Lid
Measure, cut, and assemble a matching round lid from the thick red paper. This lid will fit perfectly over your cylindrical structure to close and open the letterbox.
Craft the Festive Details
Paint a dog, a Christmas tree, and mini envelopes with Rangeela Tempera Colours. Add tiny red thumbprint seals to the envelopes before gluing everything down onto the red box base.
Add the Final Greeting
Label a small white paper strip with a message using a marker. Stick it on the front alongside your elements and paint some white colour some snow effect on the edges to complete this letterbox!


