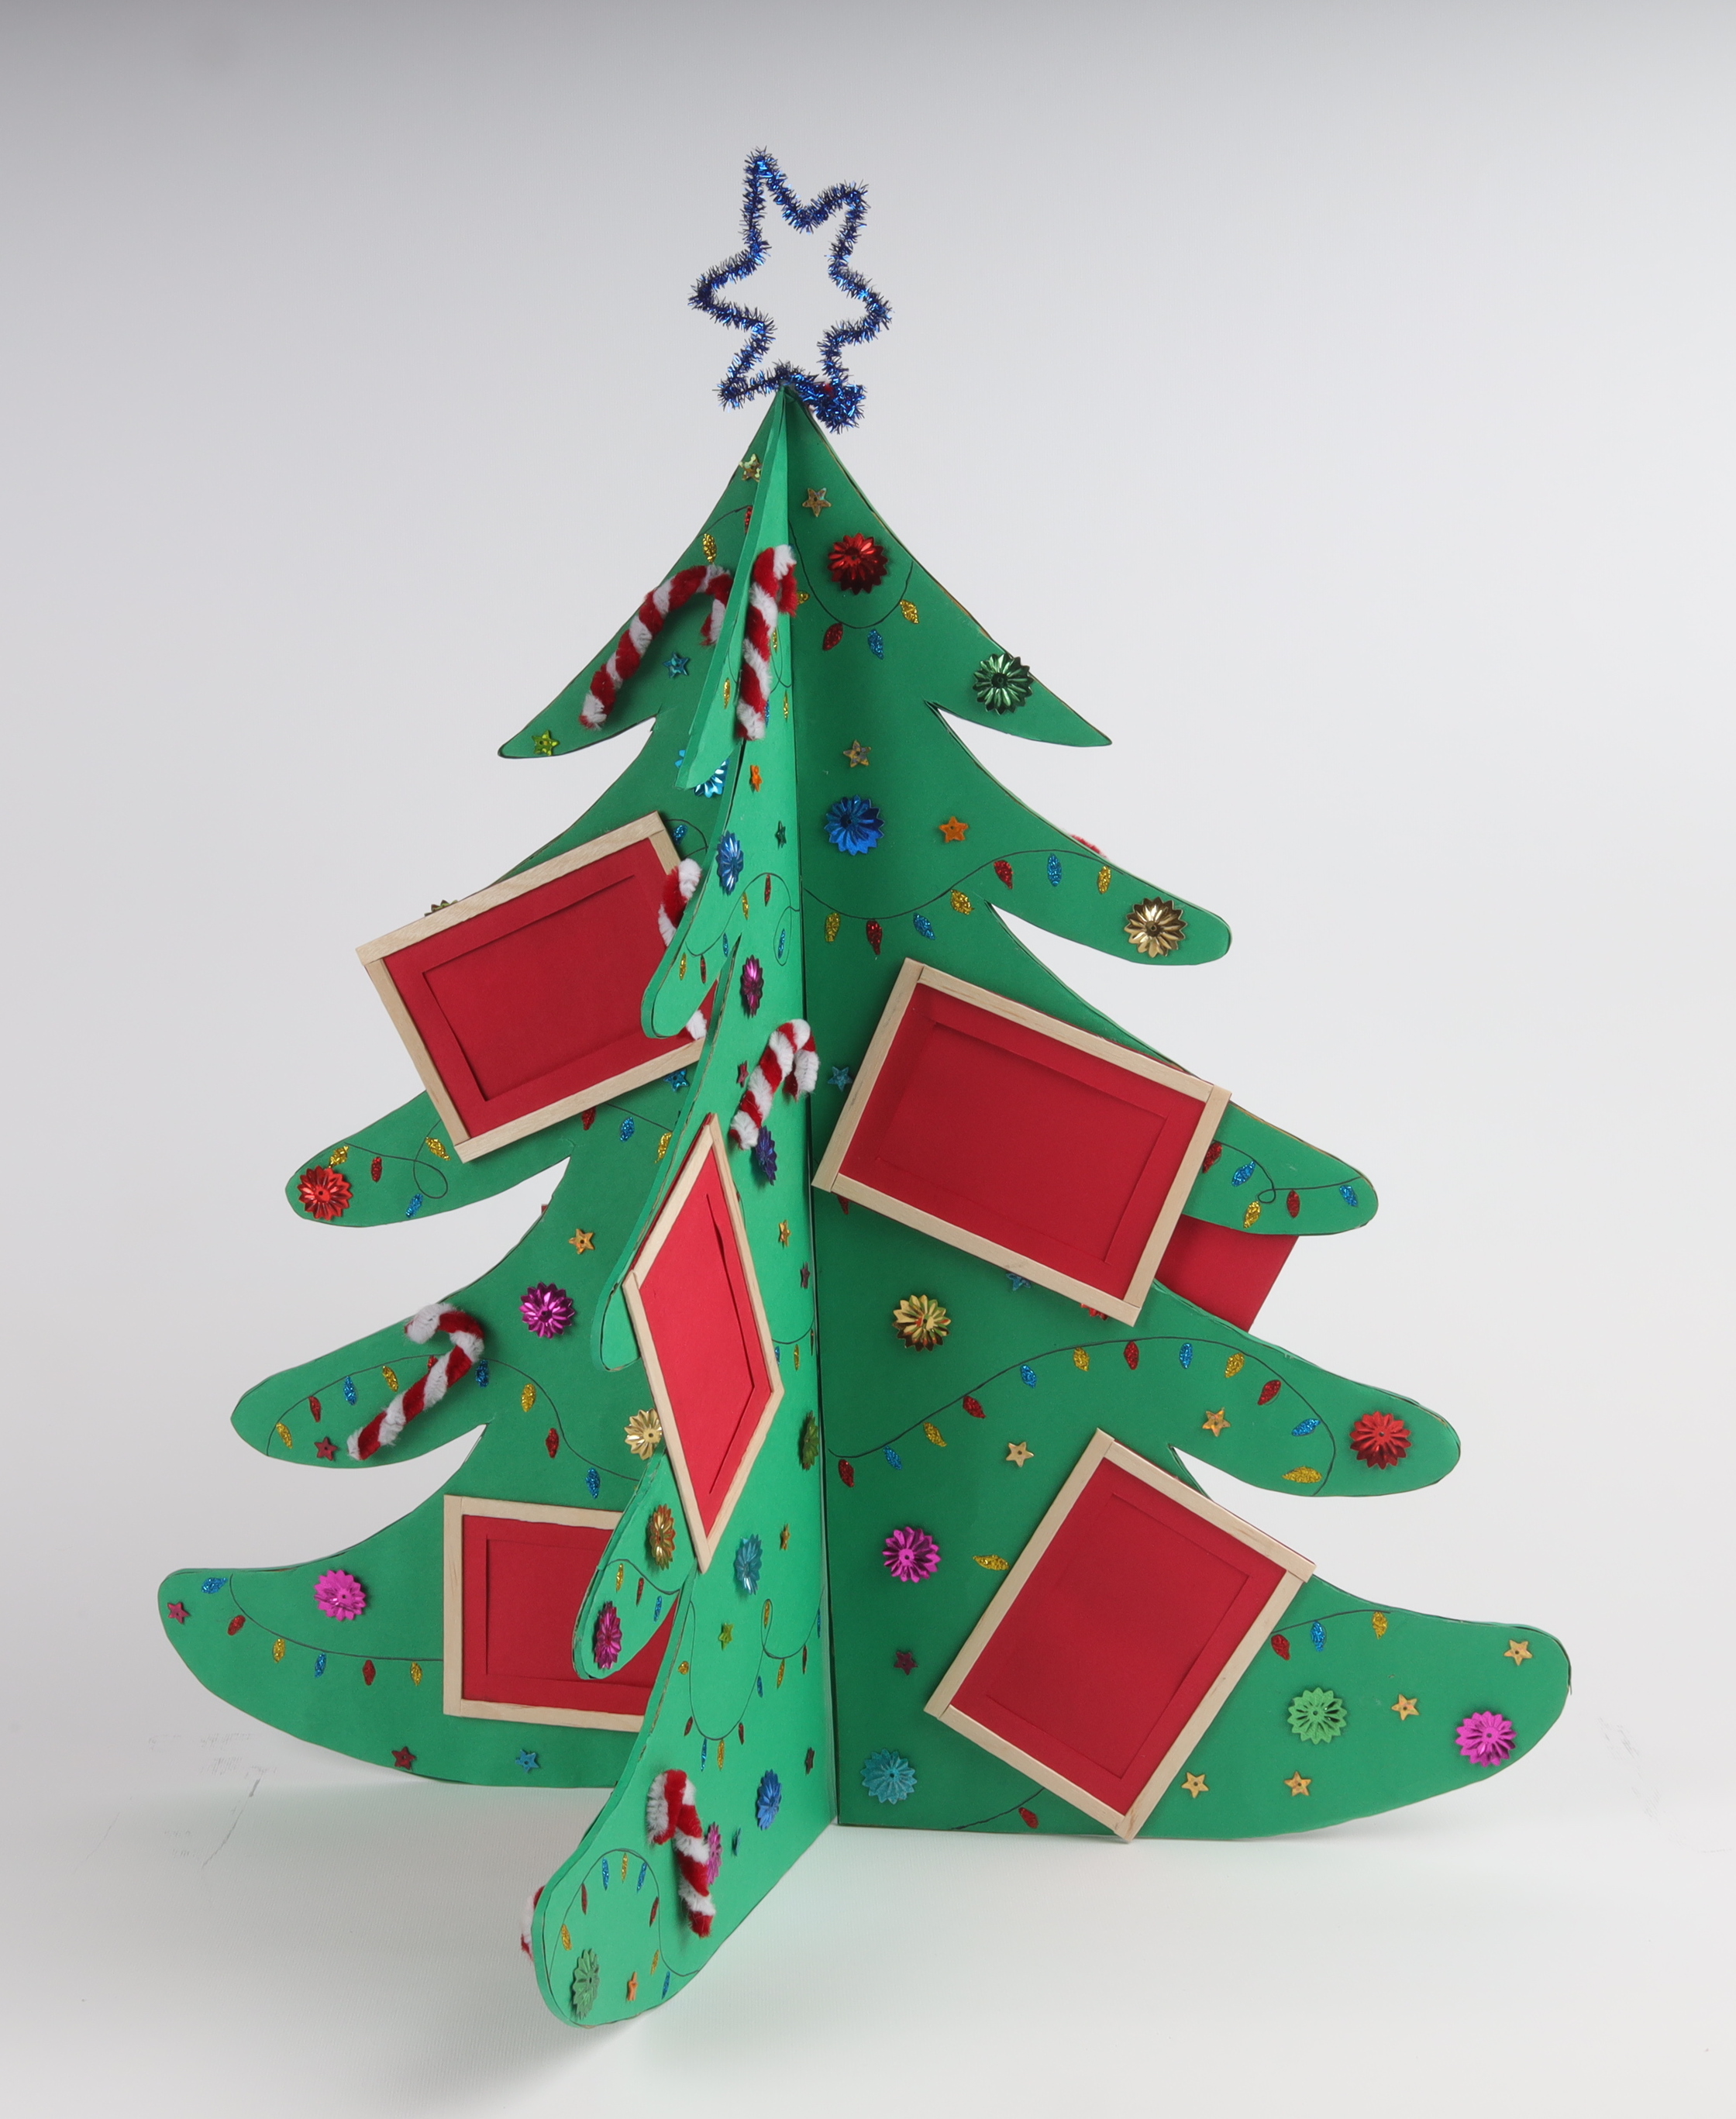
Polaroid Christmas Tree Craft - Activity Single - FeviCreate

Quick 8-Step Guide for Polaroid Xmas Tree Craft for Kids
Time to embark on a fun-filled holiday adventure with your kids! Gather materials, snap festive Polaroid photos, cut and decorate with ornaments. Watch as your customised DIY Christmas tree craft transforms into a masterpiece, adding a touch of unique charm to your celebrations.
Paper Crafting Celebration 30 to 60 mins 9 to 14 years Art & Craft Class 7
- Search Suggestions :
- christmas tree
- christmas
- polaroid christmas tree
Steps to Create this Activity
Login to see steps
Step - 07
Take the tree cut-outs and place them upright together, perpendicular to the other tree cut-out as shown. Insert images of your loved ones through the polaroid frames and stick them onto the tree structure using Fevistik Power. To create candies, take red and white pipe cleaners, twirl them around each other, cut them into pieces and create candy-like shapes as shown; stick these randomly around the tree. Similarly using pipe cleaner, create a star shape and stick it. To add more detailing to the tree, stick different types of sequins using Fevistik Power; let them dry. Your handmade Polaroid Christmas Tree is ready!
Steps to Create this Activity
Login to see steps

Step - 01
On two A3 sized corrugated sheets, draw and cut out the diagram of the tree on each sheet (refer to image).

Step - 02
Using green chart paper, cover the contour cut-out using Fevistik Power; let it dry.

Step - 03
To enhance the tree, using a black felt pen, draw random wavy lines back and forth of the tree cut-outs. Using Rangeela Paper Glitter, create bulb bunting as shown; let it dry.

Step - 04
To create a polaroid frame, on a sheet of red chart paper, draw the diagram (refer to image) using a pencil and scale.

Step - 05
Cut them with scissors and fold it into half.

Step - 06
Using Fevistik Power, stick any two edges of the frame. To enhance the frame, stick thin ice cream sticks as a border to the frame as shown; let it dry. Similarly, create a few frames following the same procedure.

Step - 07
Take the tree cut-outs and place them upright together, perpendicular to the other tree cut-out as shown. Insert images of your loved ones through the polaroid frames and stick them onto the tree structure using Fevistik Power. To create candies, take red and white pipe cleaners, twirl them around each other, cut them into pieces and create candy-like shapes as shown; stick these randomly around the tree. Similarly using pipe cleaner, create a star shape and stick it. To add more detailing to the tree, stick different types of sequins using Fevistik Power; let them dry. Your handmade Polaroid Christmas Tree is ready!

Step - 08
Design Template


