


Easy DIY Bag Tag Craft for Kids Using Clay - Activity Single - FeviCreate
DIY Bag Tag Craft Activity with Clay
Let your kids explore their crafting skills with this easy DIY bag tag activity using clay. Follow Fevicreate's illustrated step-by-step guide to create a personalised bag tag that adds flair to your kid's backpacks and luggage.
Clay Modelling Gifting 30 to 60 mins 6 to 8 years Art & Craft Class 3


Steps to Create this Activity
Login to see steps

Step - 01
To create bag tag, take a piece of mount board, and draw a circle with the diameter of 1” approximately.

Step - 02
Cut them with scissors. To cover the base, take Rangeela Creative Clay of your choice create a slab with the help of rolling pin and cut out circle with the help of paper cutter.

Step - 03
Using Fevicol MR, stick the clay cut out onto the mount board. To create face and features take Rangeela Creative Clay of your choice, and create feature I.e., hair , nose, mouth and contour of the face by creating a thin coil as shown in the image.

Step - 04
Assemble the elements and features made onto the clay structure as shown. Now apply a thin layer of Fevicol MR with the help of fine art Brushes and let it dry.

Step - 05
To create a bag tag holder, take any cord form a loop like structure and stick behind and let it dry.

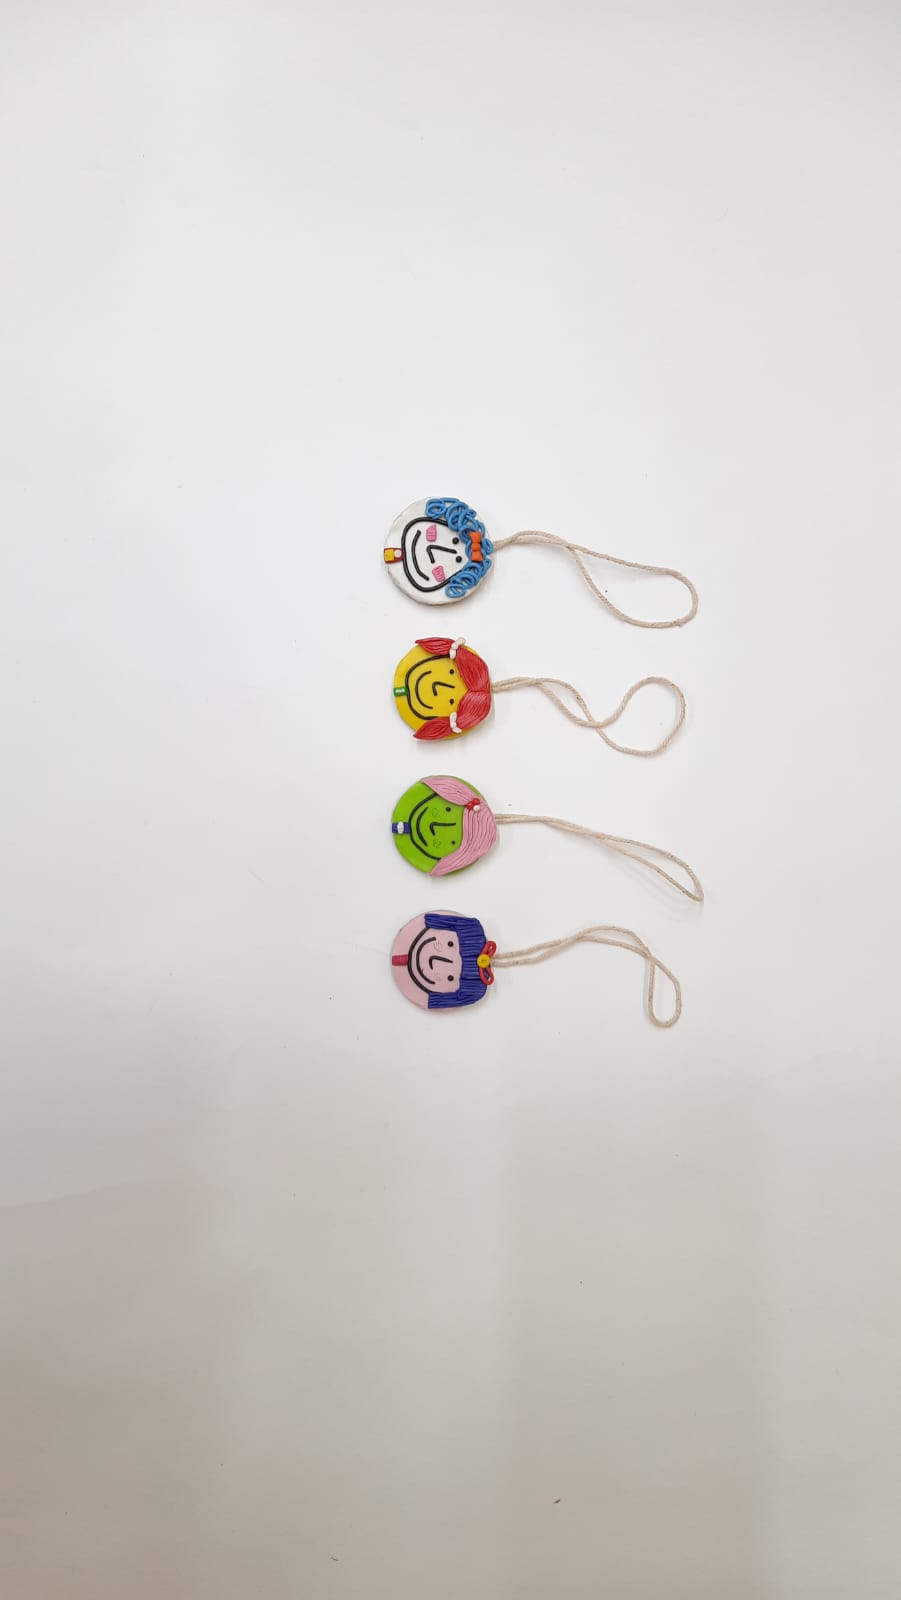
Step - 06
Similarly, create bag tags for friends for gifting. Your personalised bag tag is ready! It can also be used as keychains

Step - 07
Design Template
Steps to Create this Activity
Login to see steps
Step - 01
To create bag tag, take a piece of mount board, and draw a circle with the diameter of 1” approximately.
Step - 02
Cut them with scissors. To cover the base, take Rangeela Creative Clay of your choice create a slab with the help of rolling pin and cut out circle with the help of paper cutter.
Step - 03
Using Fevicol MR, stick the clay cut out onto the mount board. To create face and features take Rangeela Creative Clay of your choice, and create feature I.e., hair , nose, mouth and contour of the face by creating a thin coil as shown in the image.
Step - 04
Assemble the elements and features made onto the clay structure as shown. Now apply a thin layer of Fevicol MR with the help of fine art Brushes and let it dry.
Step - 05
To create a bag tag holder, take any cord form a loop like structure and stick behind and let it dry.
Step - 06
Similarly, create bag tags for friends for gifting. Your personalised bag tag is ready! It can also be used as keychains
Step - 07
Design Template


