


Learn How to Make an Independence Day Badge Fevicreate - Activity Single - FeviCreate
Learn How to Make an Independence Day Badge Fevicreate
Fevicreate Art & Craft Activities are structured activities that involve a step-by-step method to create an end product. This crafting journey gives you something to show, you enjoy your journey and get a sense of achievement too. What more can one ask for!
Best Out of Waste Celebration More than 60 mins 6 to 8 years Art & Craft Class 3


Steps to Create this Activity
Login to see steps

Step -01
To create tissue Mache, take some tissue papers & tear them into tiny pieces.

Step - 02
Take a bowl filled with tissue paper pieces and add some water to it until paper is completely soaked.

Step - 03
Squeeze out the excess water and add some Fevicol MR to it.

Step - 04
Mix it well until it turns out like dough.

Step - 05
Using Rangeela Tempera Colour, add tri colour to tissue mache made as shown in the image. Take a piece of mount board & and draw the illustration referring to the template given with the help of pencil.

Step - 06
With the help of barbeque stick fill up the illustration using tissue mache as shown and let it dry.

Step - 07
To create a badge holder, take a piece of chart paper create a loop like structure and stick it using Fevicol MR as shown, now insert a safety pin through it as shown.

Step - 08
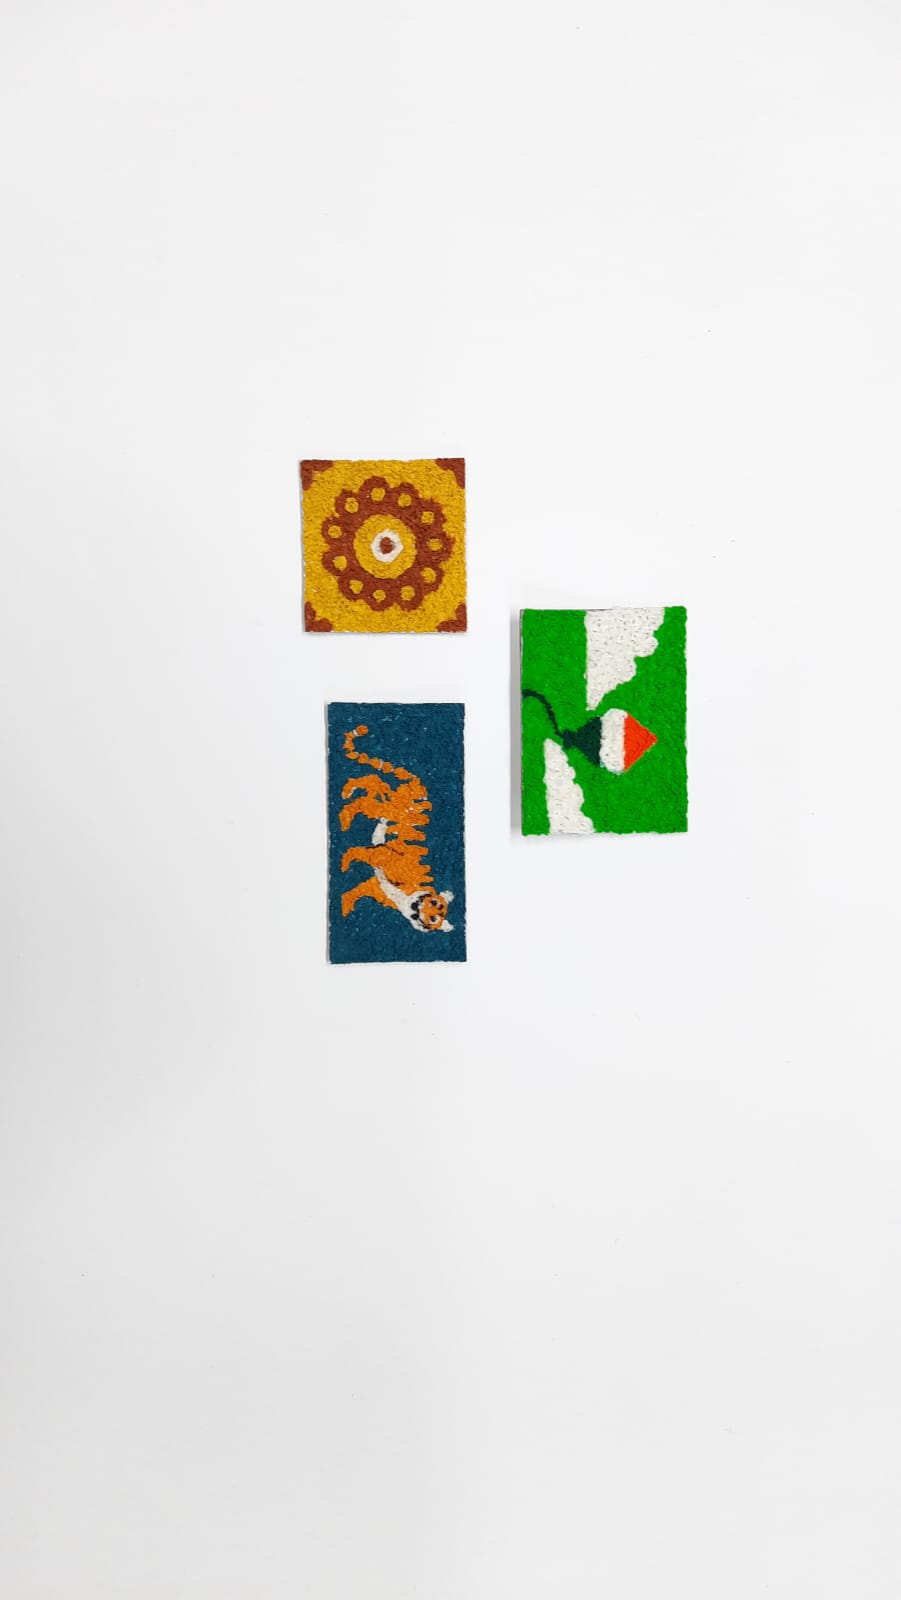
Your handmade independence badge is ready! Similarly, following the same procedure create other illustrative badges referring to the template given, or you can create illustration of your choice.

Step - 09
Design Template
Steps to Create this Activity
Login to see steps
Step -01
To create tissue Mache, take some tissue papers & tear them into tiny pieces.
Step - 02
Take a bowl filled with tissue paper pieces and add some water to it until paper is completely soaked.
Step - 03
Squeeze out the excess water and add some Fevicol MR to it.
Step - 04
Mix it well until it turns out like dough.
Step - 05
Using Rangeela Tempera Colour, add tri colour to tissue mache made as shown in the image. Take a piece of mount board & and draw the illustration referring to the template given with the help of pencil.
Step - 06
With the help of barbeque stick fill up the illustration using tissue mache as shown and let it dry.
Step - 07
To create a badge holder, take a piece of chart paper create a loop like structure and stick it using Fevicol MR as shown, now insert a safety pin through it as shown.
Step - 08
Your handmade independence badge is ready! Similarly, following the same procedure create other illustrative badges referring to the template given, or you can create illustration of your choice.
Step - 09
Design Template


