Kite-Shaped Photo Frame for Kids | FeviCreate - Activity Single - FeviCreate

Kite Photo Frame
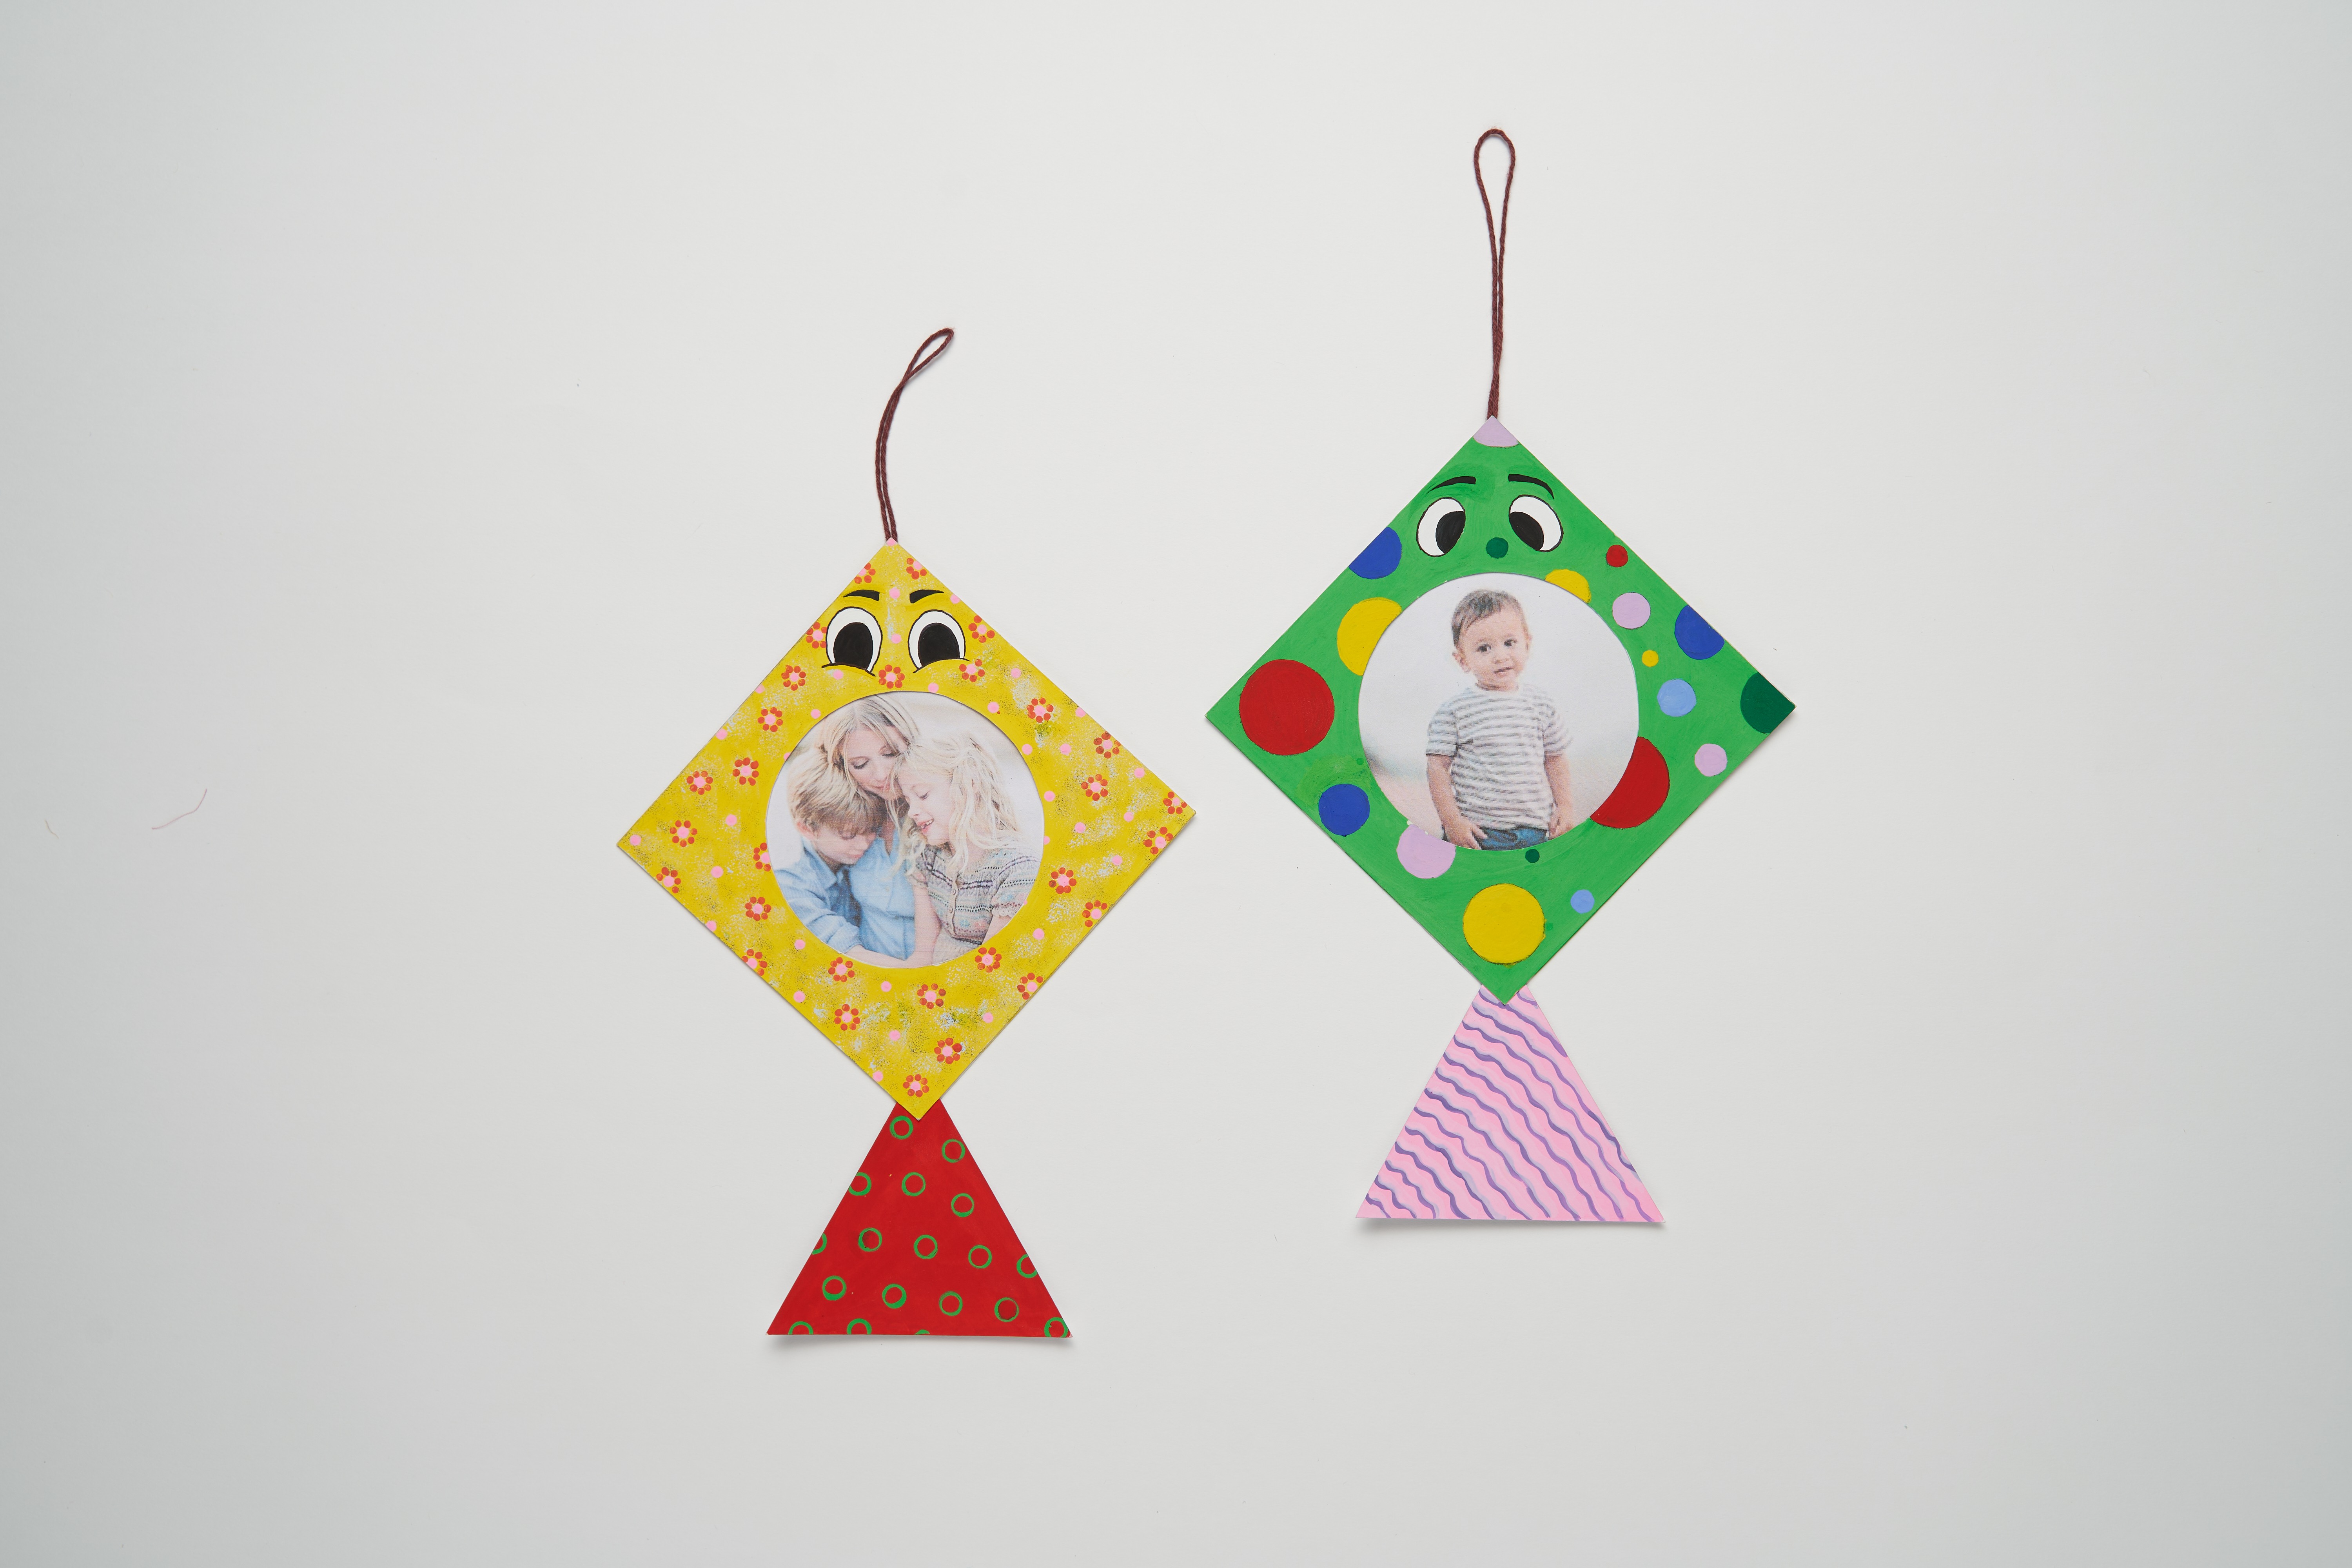
Make a kite-shaped photo frame using cardboard, chart paper, glitter, coloured thread, and stickers. Kids can place a favourite picture inside and decorate the kite with tails, bows, or sequins perfect for festivals, school projects, or gifting.
Paper Crafting Celebration 10 to 30 mins 3 to 5 years Art & Craft Pre-Primary
- Search Suggestions :
- kite craft ideas
Steps to Create this Activity
Login to see steps
Step –4
Stick the cutouts - Stick the square with the circle cut out with the square cutout in the base. Attach the triangle (tail) to the square's edge to form a kite shape using Fevistik Power. Cut two more squares into the same size as the kite square. Stick them to the back of the kite on three sides, leaving one side open to insert a photograph. Refer to the image.
Steps to Create this Activity
Login to see steps

Step –1
Procure the base - Let us make a simple yet cute looking photo frame in a kite shape. For the base, you will need a plain white thick sheet. Let’s draw four squares and two triangular shapes for the tail of the kite using pencils and scales.

Step –2
Cut the design - Take the scissors and cut the square and triangular shapes from the outline drawn.

Step –3
Cut the circular shape - Pick the two square cards and draw circles in the center. Take scissors and cut the circles.

Step –4
Stick the cutouts - Stick the square with the circle cut out with the square cutout in the base. Attach the triangle (tail) to the square's edge to form a kite shape using Fevistik Power. Cut two more squares into the same size as the kite square. Stick them to the back of the kite on three sides, leaving one side open to insert a photograph. Refer to the image.

Step –5
Paint the kites - Take Rangeela Tempera Colours and paint the kites with vibrant designs and colours. You can also make cute expressions to make the kit look playful. Let it dry.

Step –6
Cut the photos - Take the photograph prints and cut them in the same circular shape as the center of the kite. Refer to the image.

Step –7
Insert the photographs - Take both circular cut photos and insert them inside the shape of the kite from the open edges.

Step –8
Final Look - This is how you can create a fun and playful kite photo frame for your home.


