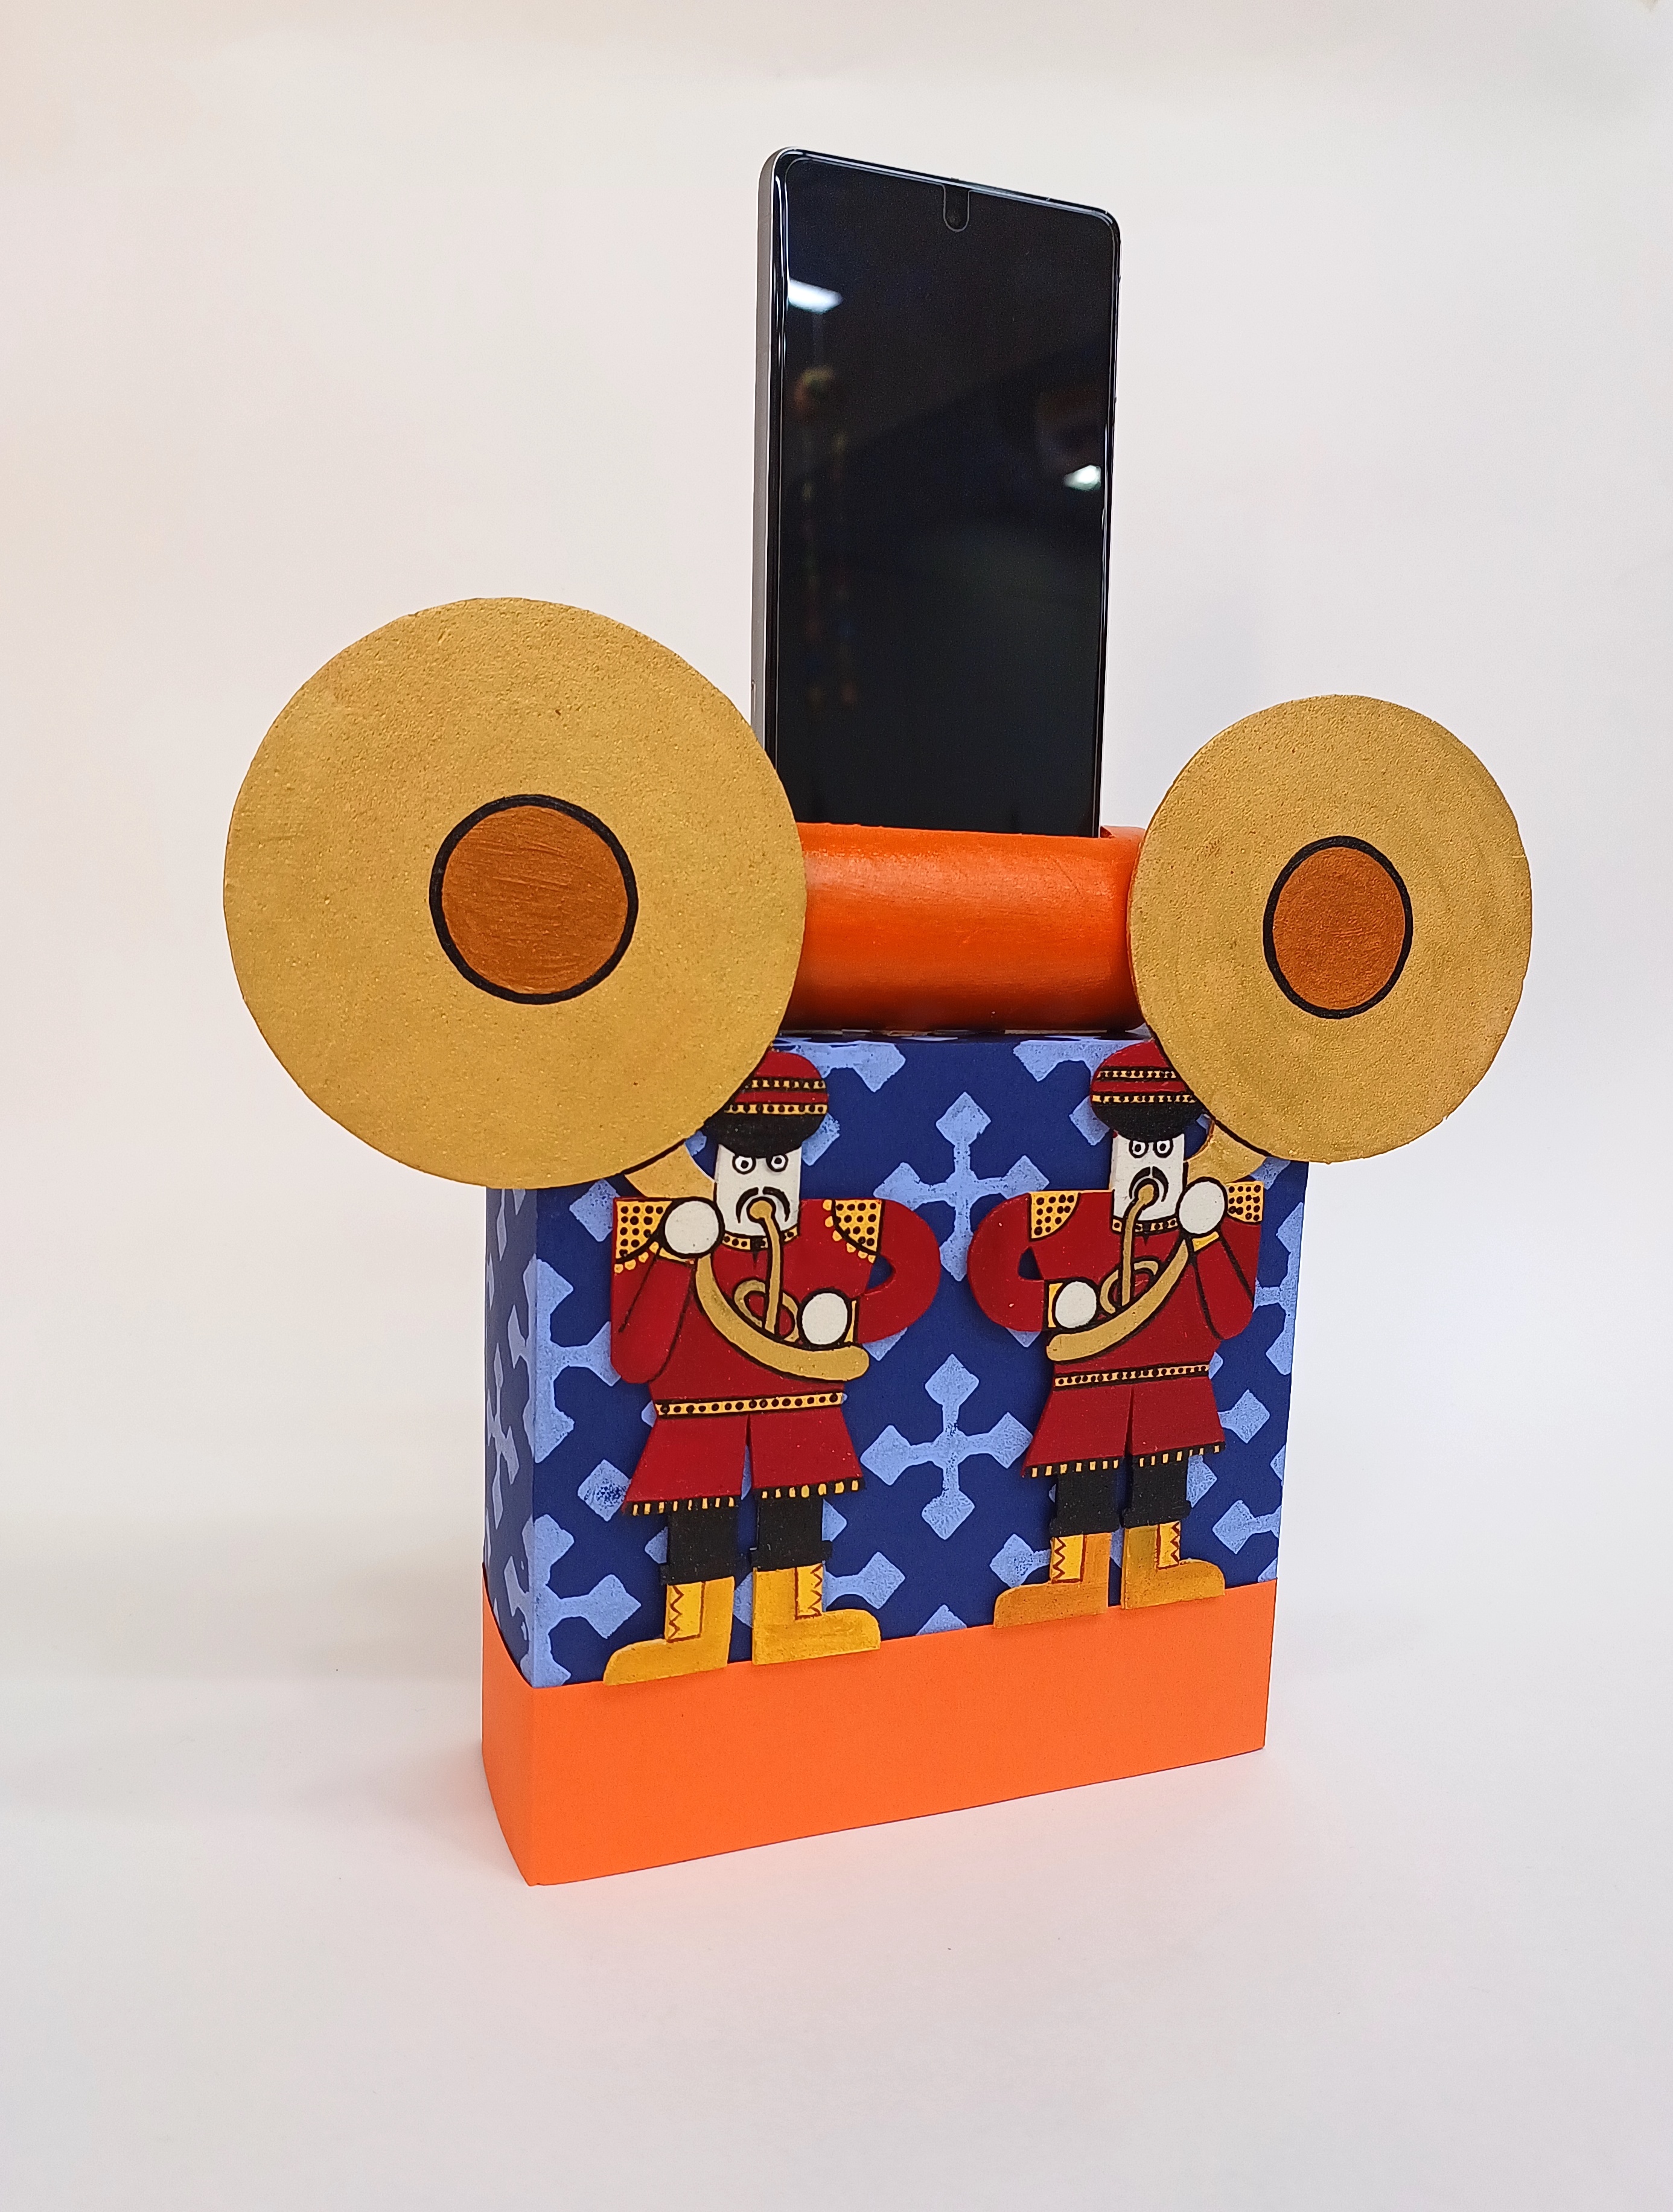
Tricolour Paper Speaker for Independence Day | FeviCreate - Activity Single - FeviCreate

Independence Day Paper Speaker
Independence Day by crafting a tricolour paper speaker using upcycled materials like tissue rolls and boxes. This activity enhances creativity and fine motor skills in children. Perfect for school projects or personal decoration.
Painting Best Out of Waste More than 60 mins 9 to 14 years Art & Craft Class 4
Steps to Create this Activity
Login to see steps
Steps to Create this Activity
Login to see steps

Step - 01
To create a speaker holder, take an upcycled box available. To cover the box, take a coloured chart paper of your choice & according to the size of the box draw the diagram onto the chart paper as shown with the help of pencil & scale.

Step - 02
Cut them with scissors.

Step - 03
To create Indian pattern onto the box, create a stamp to get an even print, take a piece of corrugated sheet & draw the diagram of the stamp holder as shown in the image. Similarly, take a piece of foam sheet and draw the diagram of the motif referring to the template given.

Step - 04
Cut them with scissors.

Step - 05
Using Fevicol MR, assemble the stamp cutouts as shown.

Step - 06
Using Fevicryl Acrylic Colour of your choice, print the pattern evenly onto chart paper with the help of stamp and let it dry.

Step - 07
Using Fevicol MR, cover the box as shown.

Step - 08
To create figurines, take white coloured foam sheet & draw the diagram referring to the template given, make sure figurine are proportionate to the box. To create a speaker, take an upcycled tissue roll and draw a rectangle for phone to insert through it.

Step - 09
Cut them with the help of paper cutter.

Step - 10
Using Fevicryl Acrylic Colour of your choice paint the figurine and speaker with the help of paint brushes and let it dry.

Step - 11
Take a coloured chart paper of your choice, draw & cut out a strip with width of 1” approximately.

Step - 12
Using Fevicol MR, assemble all the elements I.e. speaker, figurines & a strip as shown and let it dry. Insert your phone through the slit as shown. Your handmade speaker is ready!

Step - 13
Design Template


