Homemade Personalised Calendar for Kids| FeviCreate - Activity Single - FeviCreate

Personalised Calendar Project
This activity lets kids make their own calendar using photos, stickers, and coloured paper. Each month becomes a space to decorate with drawings or special dates. It helps them stay organised while adding a personalised, artistic touch to their study corner.
Paper Crafting Brand me 30 to 60 mins 9 to 14 years Art & Craft Class 6
- Search Suggestions :
- photo calendar maker
- custom wall calendar
- create your calendar
Steps to Create this Activity
Login to see steps
Steps to Create this Activity
Login to see steps

Step - 01
On a box board sheet, draw and cut out the diagram of the base and side holder, and fold the flaps using the scale (as shown).

Step - 02
Using Fevistik Power, seal the edges and let them dry. Similarly, create three beams (refer to template)for date, day and month.

Step - 03
Using Rangeela Tempera Colours, paint the base and side holder using Fine Art brushes; let it dry.

Step - 04
To create indicators for beams, on a box board sheet, draw and cut out the diagram of the cube (refer to template).

Step - 05
Using Fevistik Power, seal the edges and let them dry. Similarly, create two more cubes.

Step - 06
Using Rangeela Tempera Colours of your choice, paint the base and the side holder with Fine Art brushes; let it dry.

Step - 07
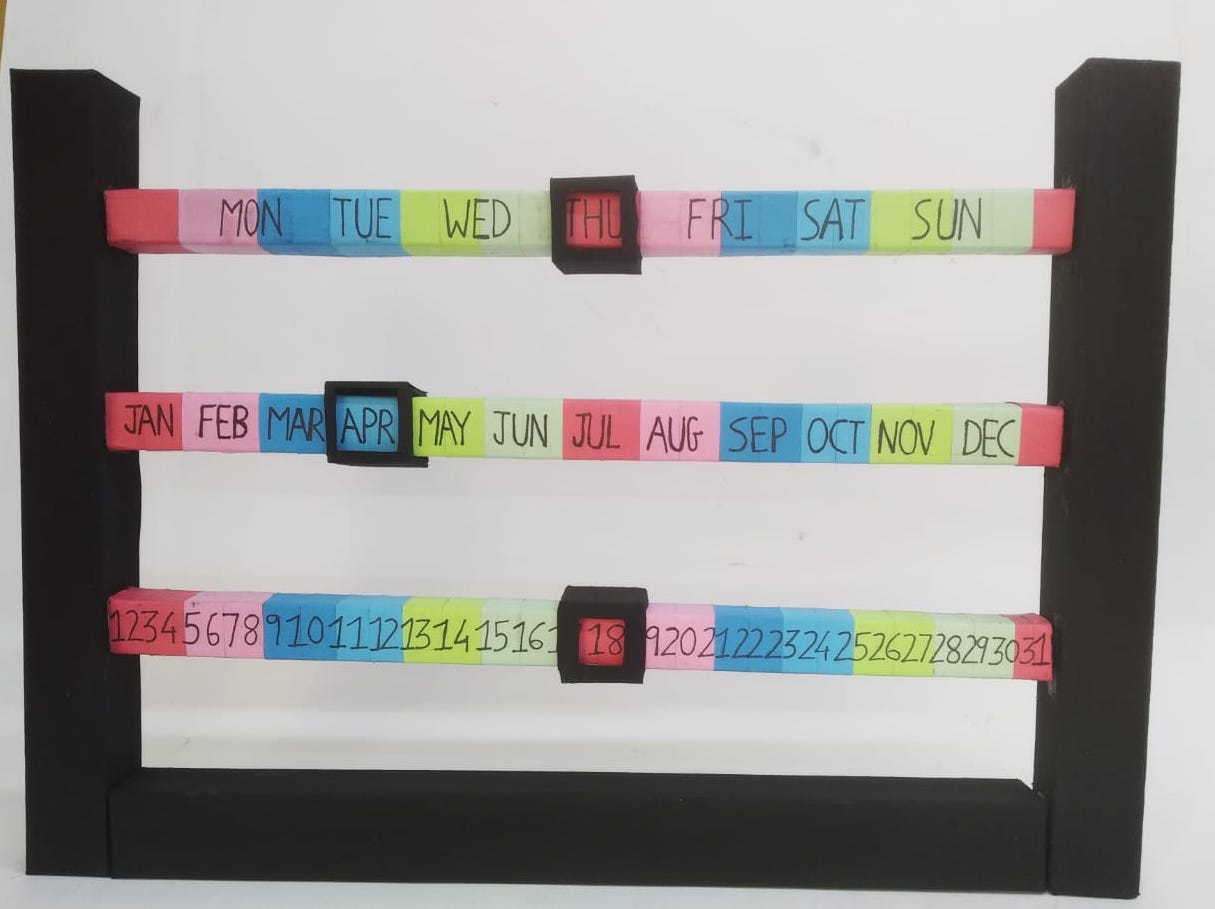
To enhance the beams, take coloured quilling strips of your choice and cover the beam using Fevistik Power.

Step - 08
With a felt pen, write dates, months and days on each beam, as shown. Now insert the indicator through the beam. Make sure they are moving smoothly.

Step - 09
Using Fevistik Power, assemble the elements, i.e., base, side holder and beams. Your handmade New Year Calendar is ready!

Step - 10
Design Template

Step - 11
Design Template


