


DIY Paper Dream Catcher Activity for Students - Activity Single - FeviCreate
Learn How to Make a DIY Paper Dream Catcher in Easy Steps
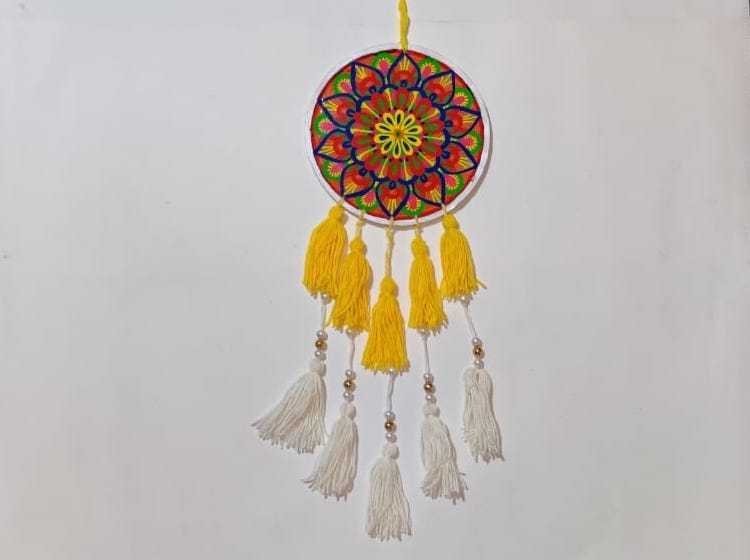
DIY dream catchers to enhance your personal space.
Mixed Media Brand me More than 60 mins 9 to 14 years Art & Craft Class 7


Steps to Create this Activity
Login to see steps

Step - 01
Make a design of your choice or can refer to the template given. Now take a wooden ring and place it onto OHP sheet.

Step - 02
Using Fevicryl 3D outliner of your choice make design on the inner side of the wooden ring as shown.

Step - 03
Once the 3D outliner is semi dried. Pour a layer of Fevicol MR. It takes 24 hours to dry completely

Step - 04
Now peel the wooden ring from OHP sheet. Using Fevicryl Acrylic colour of your choice paint the borders of wooden ring with the help of fine art brushes and let it dry. To enhance it more add tassel to Dream catcher made as shown using wool and beads. The dream catcher will have a translucent effect because of the Fevicol MR layer as well as stays sturdy at the same time
Steps to Create this Activity
Login to see steps
Step - 01
Make a design of your choice or can refer to the template given. Now take a wooden ring and place it onto OHP sheet.
Step - 02
Using Fevicryl 3D outliner of your choice make design on the inner side of the wooden ring as shown.
Step - 03
Once the 3D outliner is semi dried. Pour a layer of Fevicol MR. It takes 24 hours to dry completely
Step - 04
Now peel the wooden ring from OHP sheet. Using Fevicryl Acrylic colour of your choice paint the borders of wooden ring with the help of fine art brushes and let it dry. To enhance it more add tassel to Dream catcher made as shown using wool and beads. The dream catcher will have a translucent effect because of the Fevicol MR layer as well as stays sturdy at the same time


