





 Activities
 How to Videos
 Products
 Contests & Events
 Freebies
 Live TV
 Blogs
Blogs




Water Cycle Hanging Model | Science Day | FeviCreate - Activity Single - FeviCreate
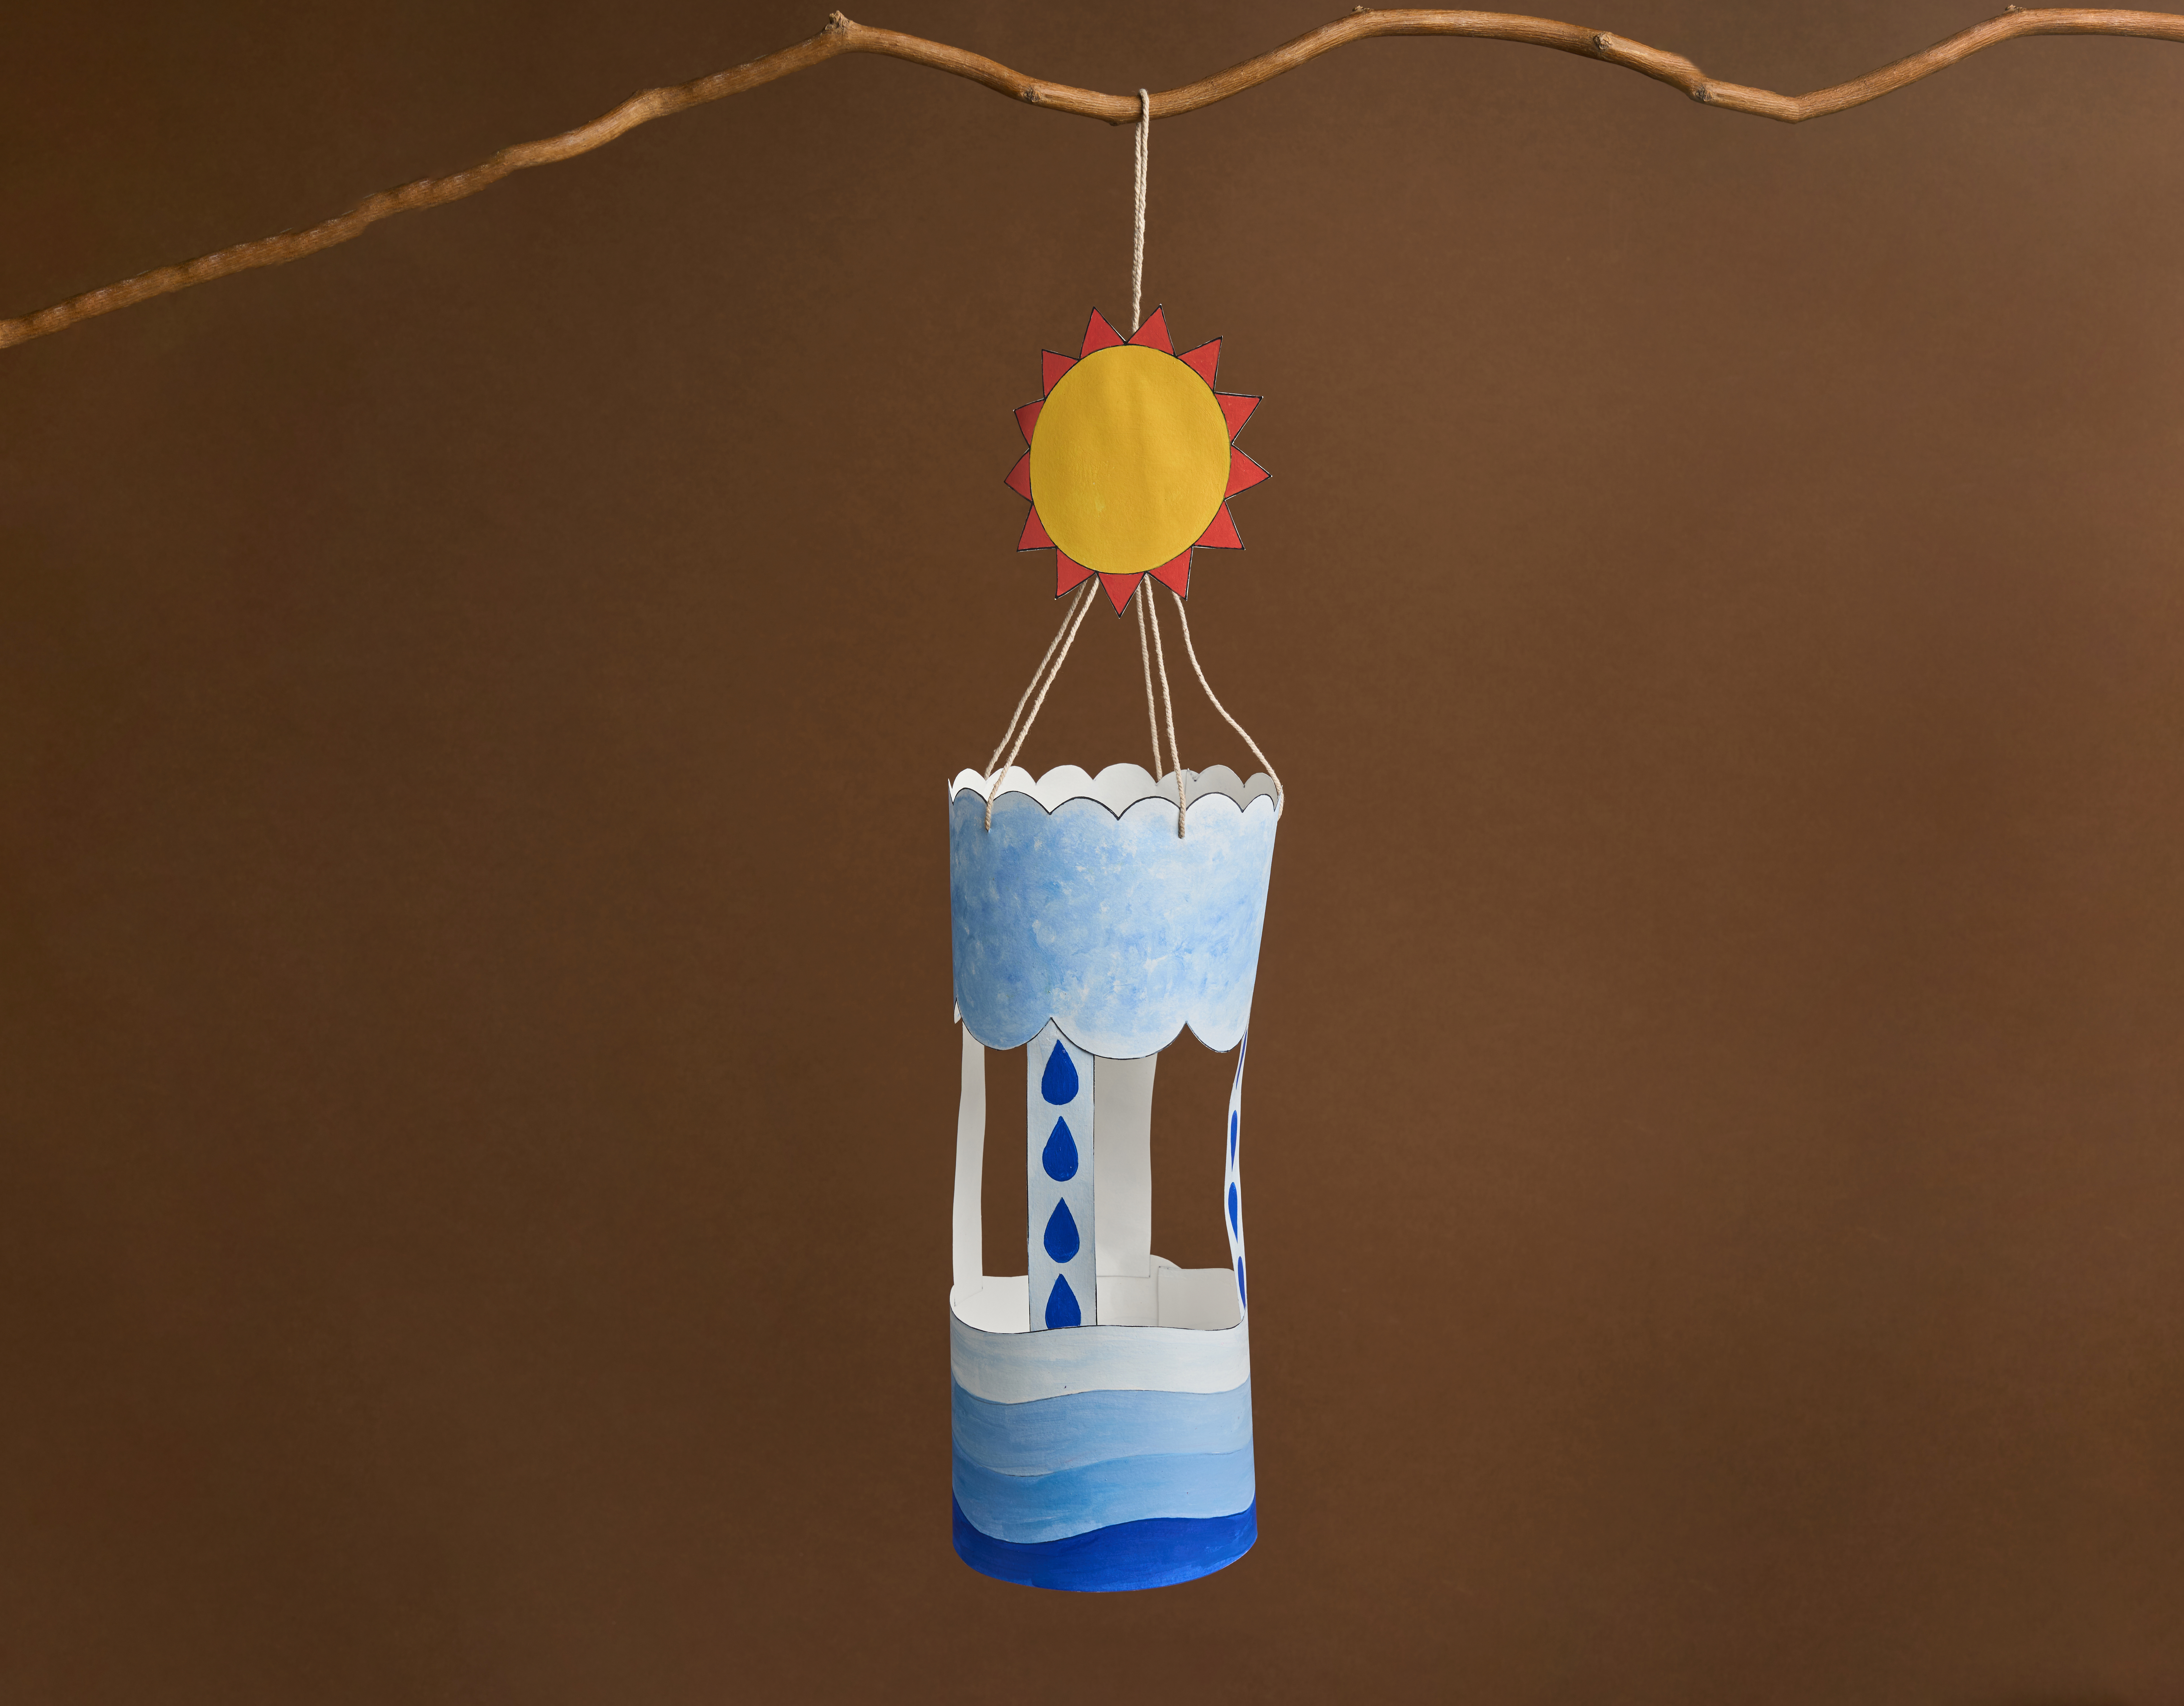
DIY Water Cycle Hanging Model - Science Day
Create an interactive water cycle hanging that demonstrates the journey of water through evaporation, condensation and precipitation. Children will paint, assemble and suspend the different parts to understand the water cycle while developing creativity and fine motor skills.


Steps to Create this Activity
Login to see steps

Prepare the Water Cycle Parts
Draw and cut the cloud strip, layered water waves, sun and five long rain strips from white chart paper using scissors.

Paint the Elements
Paint the cloud, water waves and rain strips in different shades of blue using the Fevicryl Pastel Colours and Paint Brushes. Paint the sun with a yellow centre and orange rays, then allow all the pieces to dry completely.

Add the Rain Details
Draw blue raindrops on each rain strip and outline the painted pieces using black paint to highlight the water cycle elements.

Assemble the Base
Stick the layered water waves at the bottom of the base and fix the cloud strip above them using Fevicol Glue Drops, leaving enough space for the hanging rain strips.

Attach the Hanging Rain
Cut five equal lengths of cobbler thread and stick one end of each thread behind the cloud using Fevicol Glue Drops. Attach a painted rain strip to the other end of each thread so the strips hang freely.

Complete the Water Cycle
Stick the painted sun above the cloud using Fevicol Glue Drops to complete the water cycle scene.
Steps to Create this Activity
Login to see steps
Prepare the Water Cycle Parts
Draw and cut the cloud strip, layered water waves, sun and five long rain strips from white chart paper using scissors.
Paint the Elements
Paint the cloud, water waves and rain strips in different shades of blue using the Fevicryl Pastel Colours and Paint Brushes. Paint the sun with a yellow centre and orange rays, then allow all the pieces to dry completely.
Add the Rain Details
Draw blue raindrops on each rain strip and outline the painted pieces using black paint to highlight the water cycle elements.
Assemble the Base
Stick the layered water waves at the bottom of the base and fix the cloud strip above them using Fevicol Glue Drops, leaving enough space for the hanging rain strips.
Attach the Hanging Rain
Cut five equal lengths of cobbler thread and stick one end of each thread behind the cloud using Fevicol Glue Drops. Attach a painted rain strip to the other end of each thread so the strips hang freely.
Complete the Water Cycle
Stick the painted sun above the cloud using Fevicol Glue Drops to complete the water cycle scene.


