





 Activities
 How to Videos
 Products
 Contests & Events
 Freebies
 Live TV
 Blogs
Blogs




DIY Types of Rocks Craft - Fevicreate - Activity Single - FeviCreate
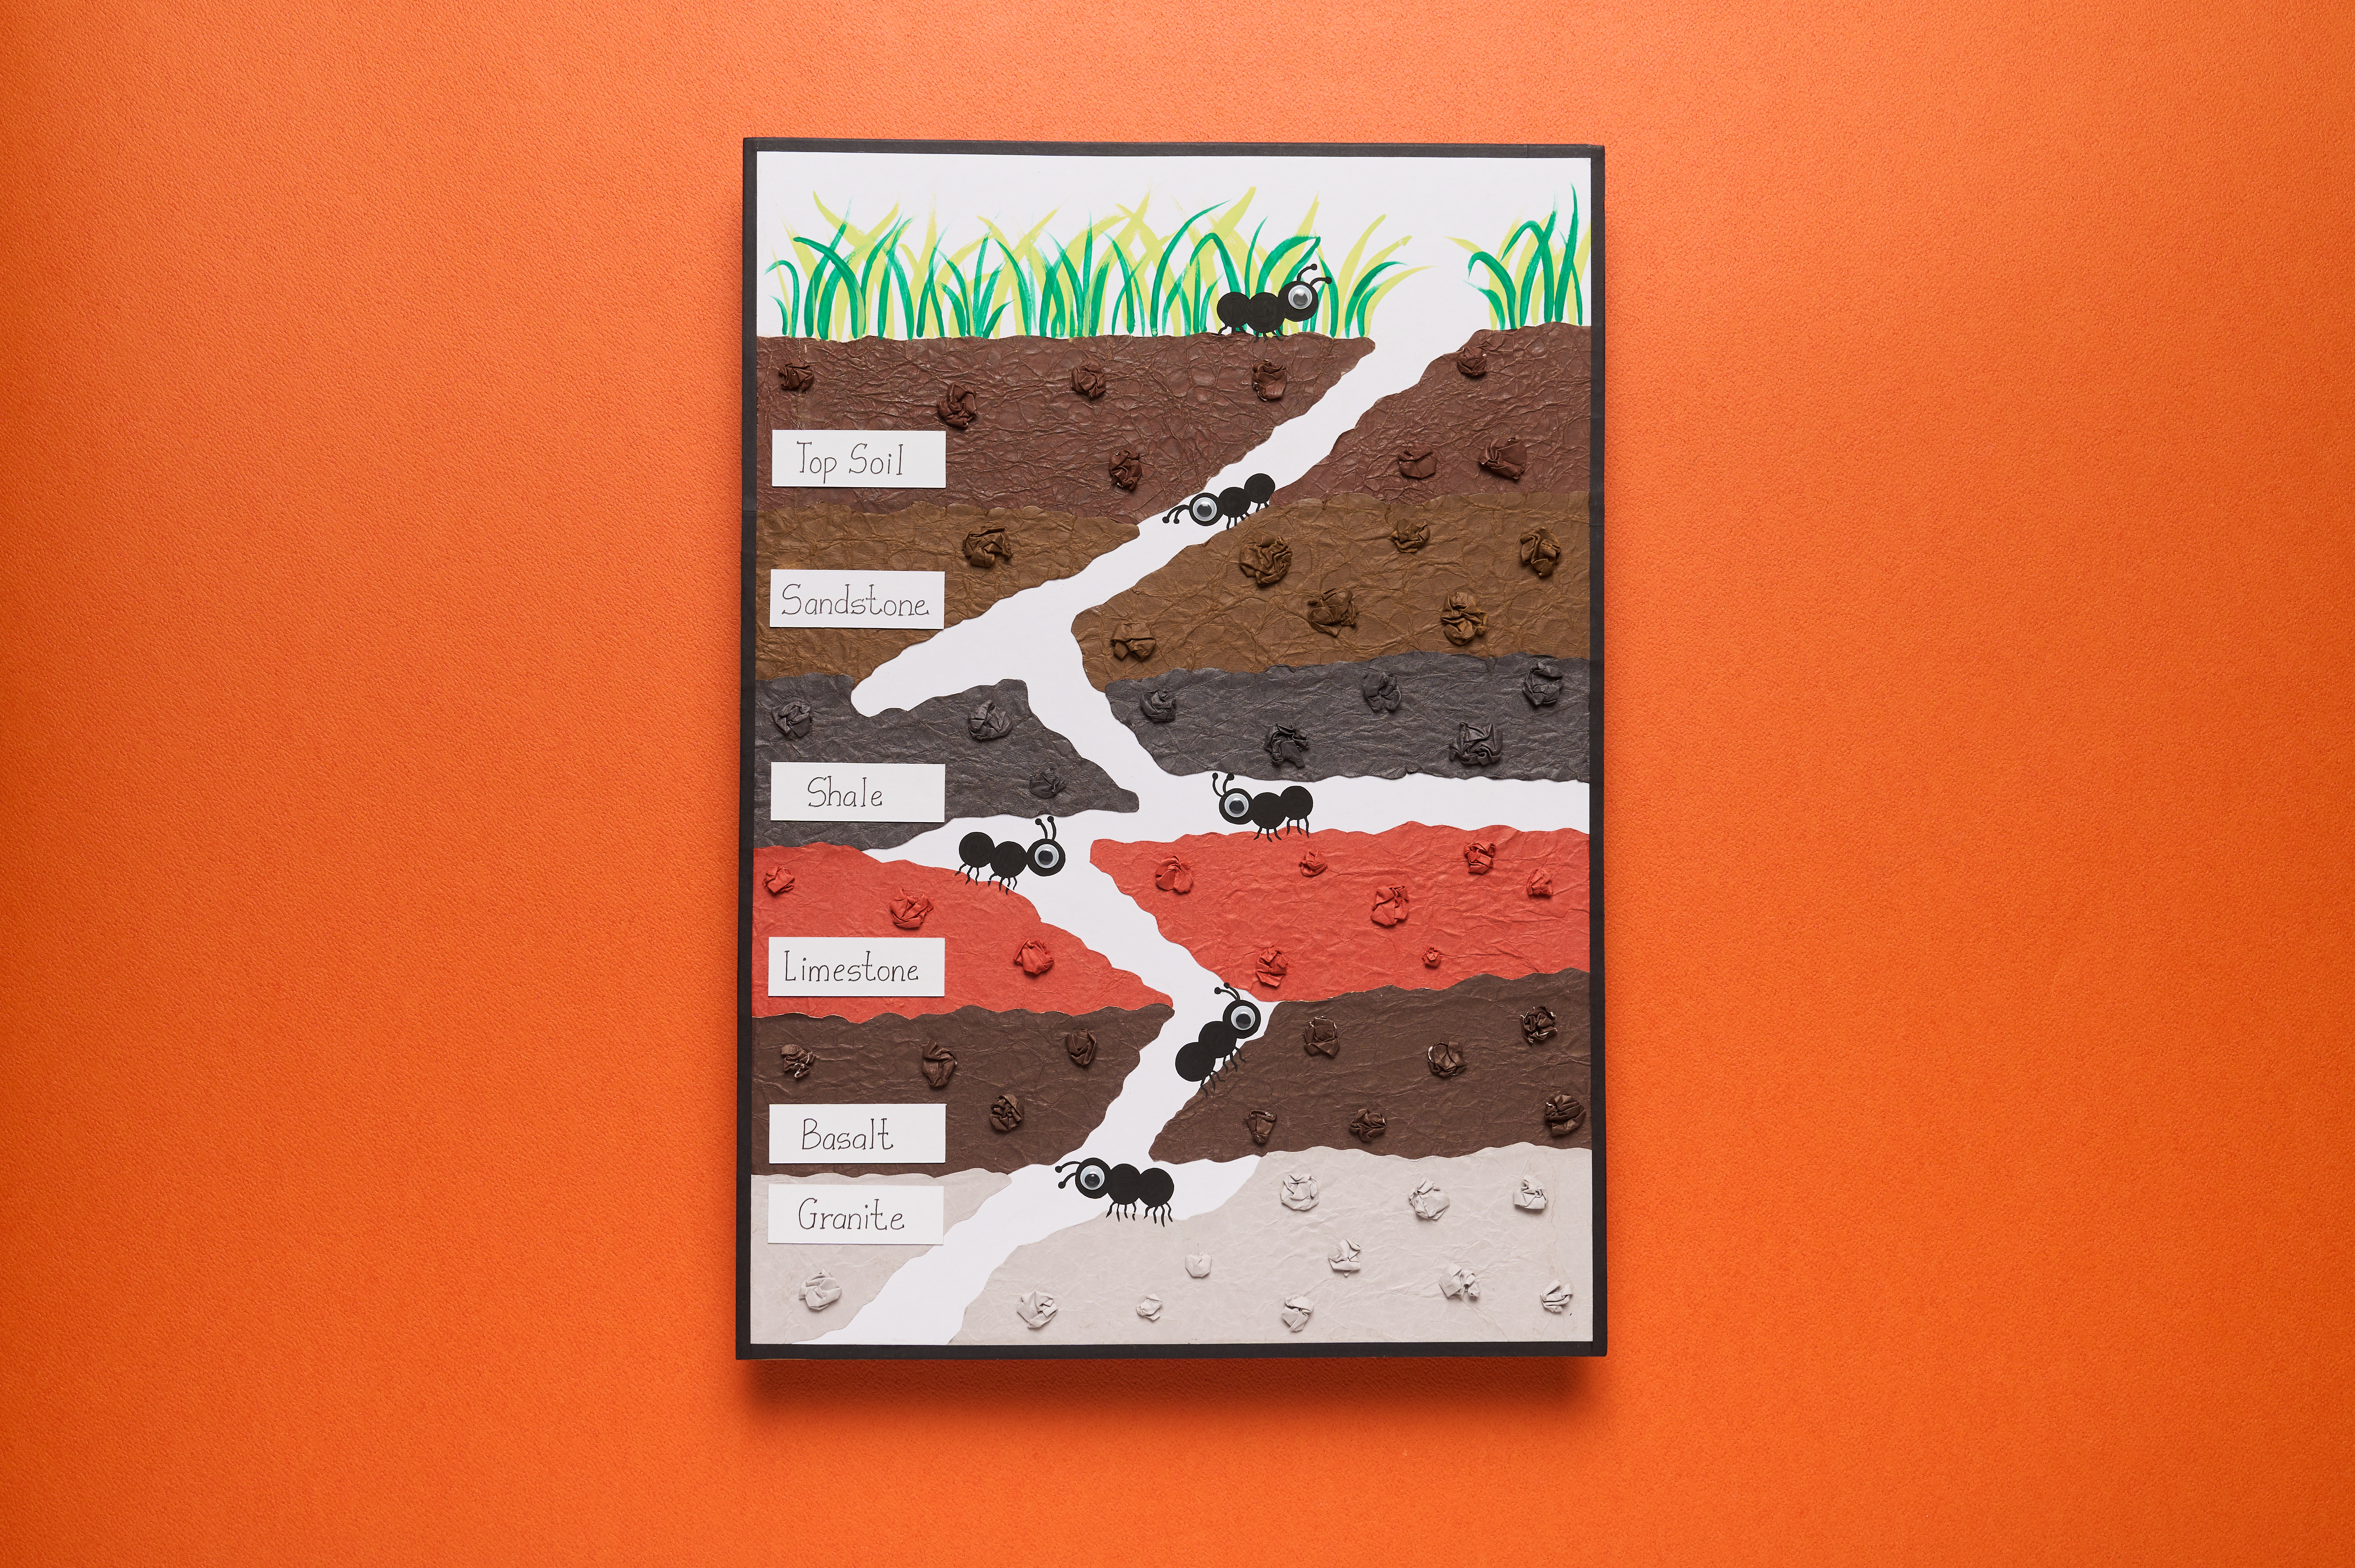
DIY Types of Rocks Using Paper
Create a colourful model showing different layers of rocks beneath the Earth's surface using textured paper. Children will learn about rock types and geological layers while developing creativity through paper tearing, painting, and assembling a science-themed display.


Steps to Create this Activity
Login to see steps

Prepare the Base
Draw the underground pathway, rock layers, and ant positions on a white drawing sheet. Fix the sheet onto the MDF board using Fevistik Power.

Make the Rock Layers
Tear coloured craft papers into uneven strips to resemble natural rock textures and arrange them according to the sketch.

Assemble the Layers
Stick each torn paper strip onto the base with Fevistik Power, leaving the winding tunnel spaces white to create the underground pathways. Cut small circles and thin strips from black paper to make the ants. Add googly eyes and stick the ants along the tunnels using Fevistik Power.

Paint the Surface
Paint grass along the top edge of the model using Rangeela Tempera Pastel Colours to represent the ground surface.

Add Labels and Details
Write and cut labels for Top Soil, Sandstone, Shale, Limestone, Basalt, and Granite. Stick them beside the corresponding layers using Fevistik Power. Add small crumpled paper pieces to each rock layer for texture and check that all labels and ants are securely attached.
Steps to Create this Activity
Login to see steps
Prepare the Base
Draw the underground pathway, rock layers, and ant positions on a white drawing sheet. Fix the sheet onto the MDF board using Fevistik Power.
Make the Rock Layers
Tear coloured craft papers into uneven strips to resemble natural rock textures and arrange them according to the sketch.
Assemble the Layers
Stick each torn paper strip onto the base with Fevistik Power, leaving the winding tunnel spaces white to create the underground pathways. Cut small circles and thin strips from black paper to make the ants. Add googly eyes and stick the ants along the tunnels using Fevistik Power.
Paint the Surface
Paint grass along the top edge of the model using Rangeela Tempera Pastel Colours to represent the ground surface.
Add Labels and Details
Write and cut labels for Top Soil, Sandstone, Shale, Limestone, Basalt, and Granite. Stick them beside the corresponding layers using Fevistik Power. Add small crumpled paper pieces to each rock layer for texture and check that all labels and ants are securely attached.


