


Craft an Elegant DIY Trophy with Handmade and Chart Paper - Activity Single - FeviCreate
Craft an Elegant DIY Trophy Step by Step
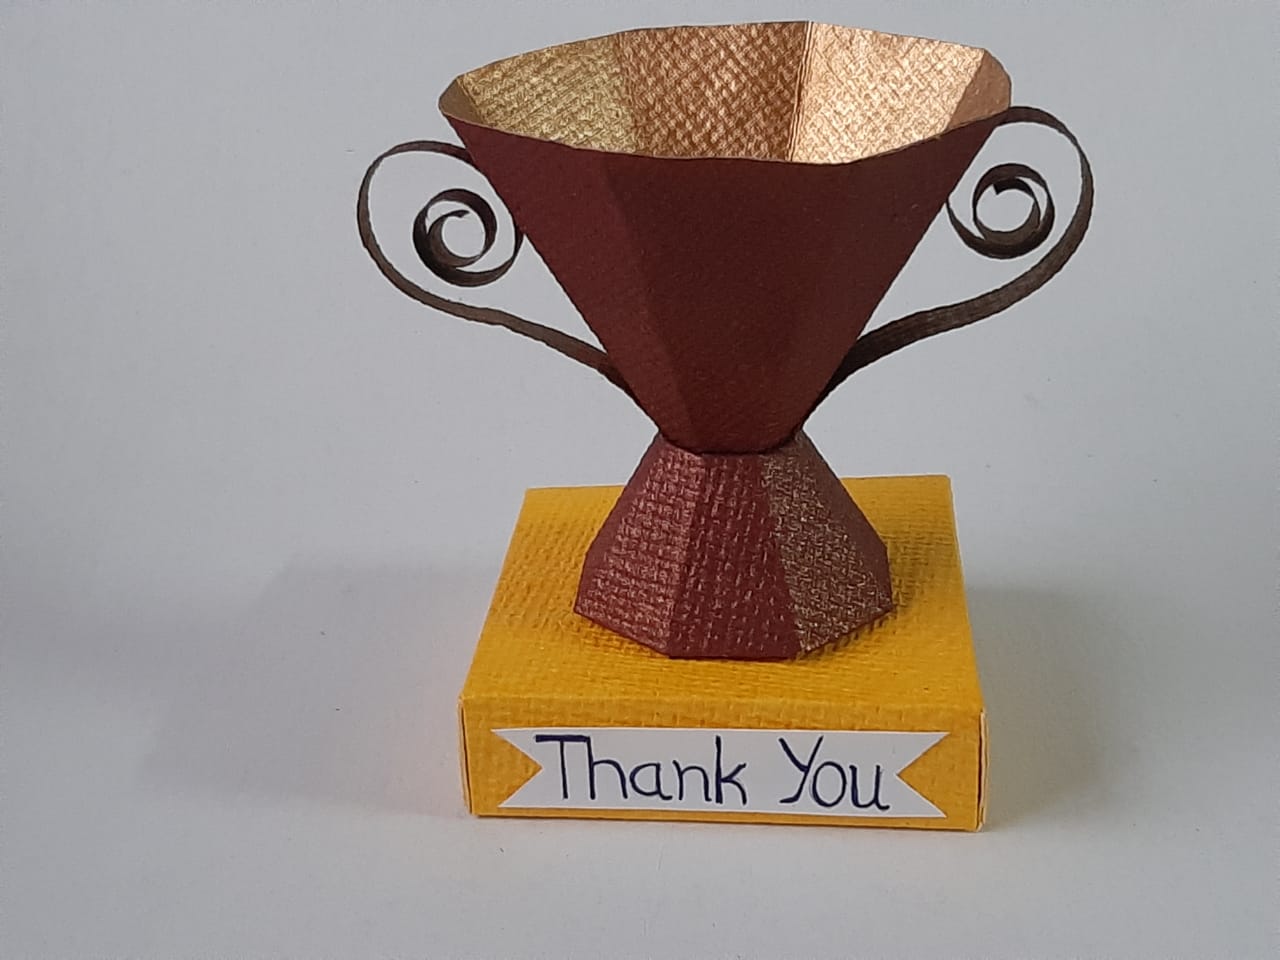
Craft an Elegant DIY Trophy with Handmade and Chart Paper. Create a stylish DIY trophy using handmade and chart paper. This craft project is perfect for celebrating achievements creatively.
Paper Crafting Celebration 30 to 60 mins 9 to 14 years Art & Craft Class 6


Steps to Create this Activity
Login to see steps

Step - 01
Take a sheet of handmade paper of your choice and draw the diagram referring to the template given with the help of pencil and scale.

Step - 02
Cut it with scissors, now fold the flaps using scale and paper cutter as shown.

Step - 03
Using Fevicol A+, seal the flaps and let it dry.

Step - 04
To create trophy base, take handmade paper of your choice and draw the diagram referring to template given with the help of pencil and scale.

Step - 05
Fold the flaps with the help of paper cutter and scale

Step - 06
Using Fevicol A+, seal the edges and let it dry. Now stick trophy cut-outs onto base as shown and let it dry.

Step - 07
To create trophy handle cut out a strip from handmade paper of your choice and twirl it inwards with the help of pencil as shown.

Step - 08
Using Fevicol A+, stick the handle as placement shown. Now take coloured chart paper of your choice and write text “THANK YOU” using felt pen of your choice. Now stick it at the base as shown. Handmade trophy is ready
Steps to Create this Activity
Login to see steps
Step - 01
Take a sheet of handmade paper of your choice and draw the diagram referring to the template given with the help of pencil and scale.
Step - 02
Cut it with scissors, now fold the flaps using scale and paper cutter as shown.
Step - 03
Using Fevicol A+, seal the flaps and let it dry.
Step - 04
To create trophy base, take handmade paper of your choice and draw the diagram referring to template given with the help of pencil and scale.
Step - 05
Fold the flaps with the help of paper cutter and scale
Step - 06
Using Fevicol A+, seal the edges and let it dry. Now stick trophy cut-outs onto base as shown and let it dry.
Step - 07
To create trophy handle cut out a strip from handmade paper of your choice and twirl it inwards with the help of pencil as shown.
Step - 08
Using Fevicol A+, stick the handle as placement shown. Now take coloured chart paper of your choice and write text “THANK YOU” using felt pen of your choice. Now stick it at the base as shown. Handmade trophy is ready


