





 Activities
 How to Videos
 Products
 Contests & Events
 Freebies
 Live TV
 Blogs




How to Make Thor's Hammer – Easy DIY Craft for Kids - Activity Single - FeviCreate
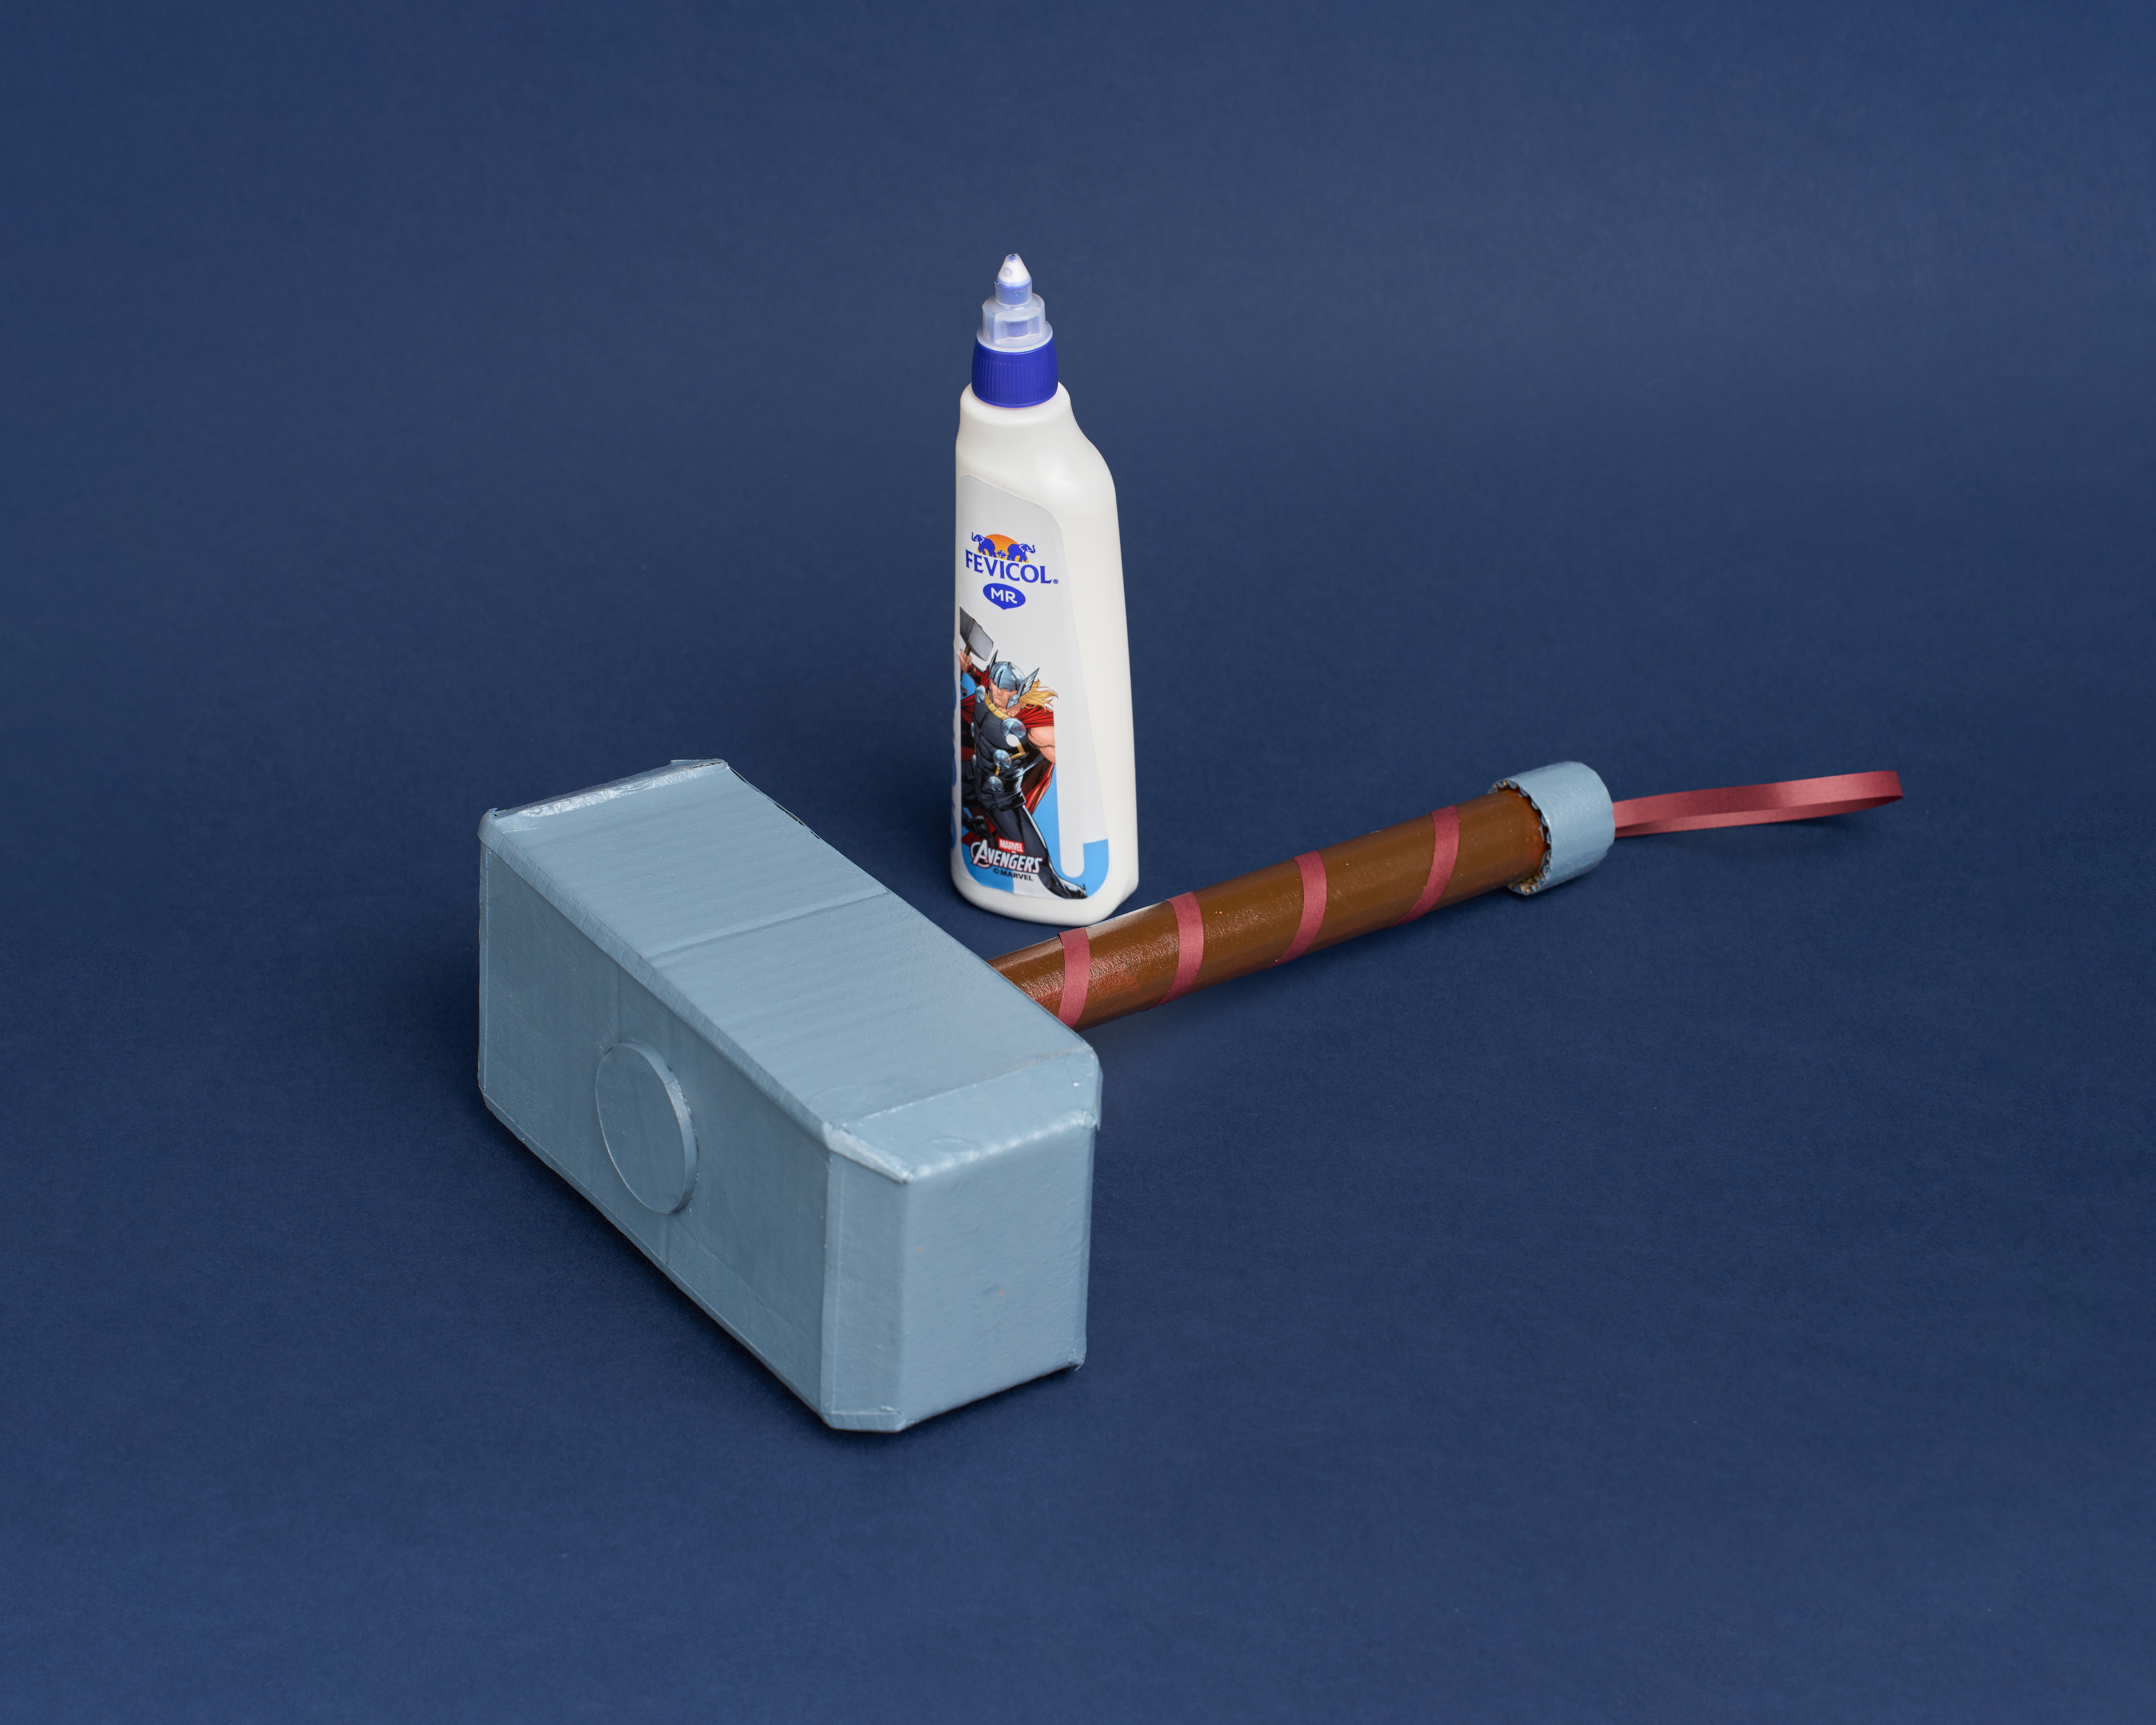
DIY Thor’s Hammer
Create your very own Mjolnir! Use corrugated sheet to build its iconic hammerhead and handle, then bring it to life with metallic-looking grey details and a touch of brown. Craft this legendary mighty hammer and get ready to possess the power of Thor!


Steps to Create this Activity
Login to see steps

Draw the Hammer Pieces
On a corrugated sheet, draw four rectangles measuring 6.5 × 3 inches and two rectangles measuring 3.5 × 4 inches. Add small slits along the sides of the two smaller rectangles and draw a small circle for the top of the hammer.

Cut Out the Pieces
Carefully cut out all the drawn shapes, including the slits on the two smaller rectangles. Keep a piece of corrugated sheet measuring 9 × 4 inches ready for the handle.

Attach the Hammerhead and Handle
Take the four larger rectangles and join their edges using Fevicol MR to create the sides of the hammerhead. Next, fit the slits of the two smaller rectangles onto the sides to secure the structure. Stick the small circular piece on top of the hammerhead. Now, roll the 9 × 4 inch corrugated sheet to form the handle and secure its edge with Fevicol MR.

Add Colour and Details
Mix Fevicryl Acrylic Colours Black and White to create grey and paint the hammerhead. Paint the handle with Burnt Sienna and let it dry. Next, apply Fevicol MR along the quilling strip and carefully wrap it around the handle in a spiral. To finish the handle, cut a narrow strip of corrugated sheet, paint it grey and wrap it around the bottom end. Secure it with Fevicol MR and add a small loop of brown quilling paper just above the grey band for detailing.

Assemble the Hammer
Apply Fevicol MR to the top of the hammer’s handle and fix it firmly to the centre of the hammerhead. Hold it in place and let it dry completely. And there you have it, the Mighty Avenger’s Hammer, which is ready to bring the thunder!
Steps to Create this Activity
Login to see steps
Draw the Hammer Pieces
On a corrugated sheet, draw four rectangles measuring 6.5 × 3 inches and two rectangles measuring 3.5 × 4 inches. Add small slits along the sides of the two smaller rectangles and draw a small circle for the top of the hammer.
Cut Out the Pieces
Carefully cut out all the drawn shapes, including the slits on the two smaller rectangles. Keep a piece of corrugated sheet measuring 9 × 4 inches ready for the handle.
Attach the Hammerhead and Handle
Take the four larger rectangles and join their edges using Fevicol MR to create the sides of the hammerhead. Next, fit the slits of the two smaller rectangles onto the sides to secure the structure. Stick the small circular piece on top of the hammerhead. Now, roll the 9 × 4 inch corrugated sheet to form the handle and secure its edge with Fevicol MR.
Add Colour and Details
Mix Fevicryl Acrylic Colours Black and White to create grey and paint the hammerhead. Paint the handle with Burnt Sienna and let it dry. Next, apply Fevicol MR along the quilling strip and carefully wrap it around the handle in a spiral. To finish the handle, cut a narrow strip of corrugated sheet, paint it grey and wrap it around the bottom end. Secure it with Fevicol MR and add a small loop of brown quilling paper just above the grey band for detailing.
Assemble the Hammer
Apply Fevicol MR to the top of the hammer’s handle and fix it firmly to the centre of the hammerhead. Hold it in place and let it dry completely. And there you have it, the Mighty Avenger’s Hammer, which is ready to bring the thunder!


