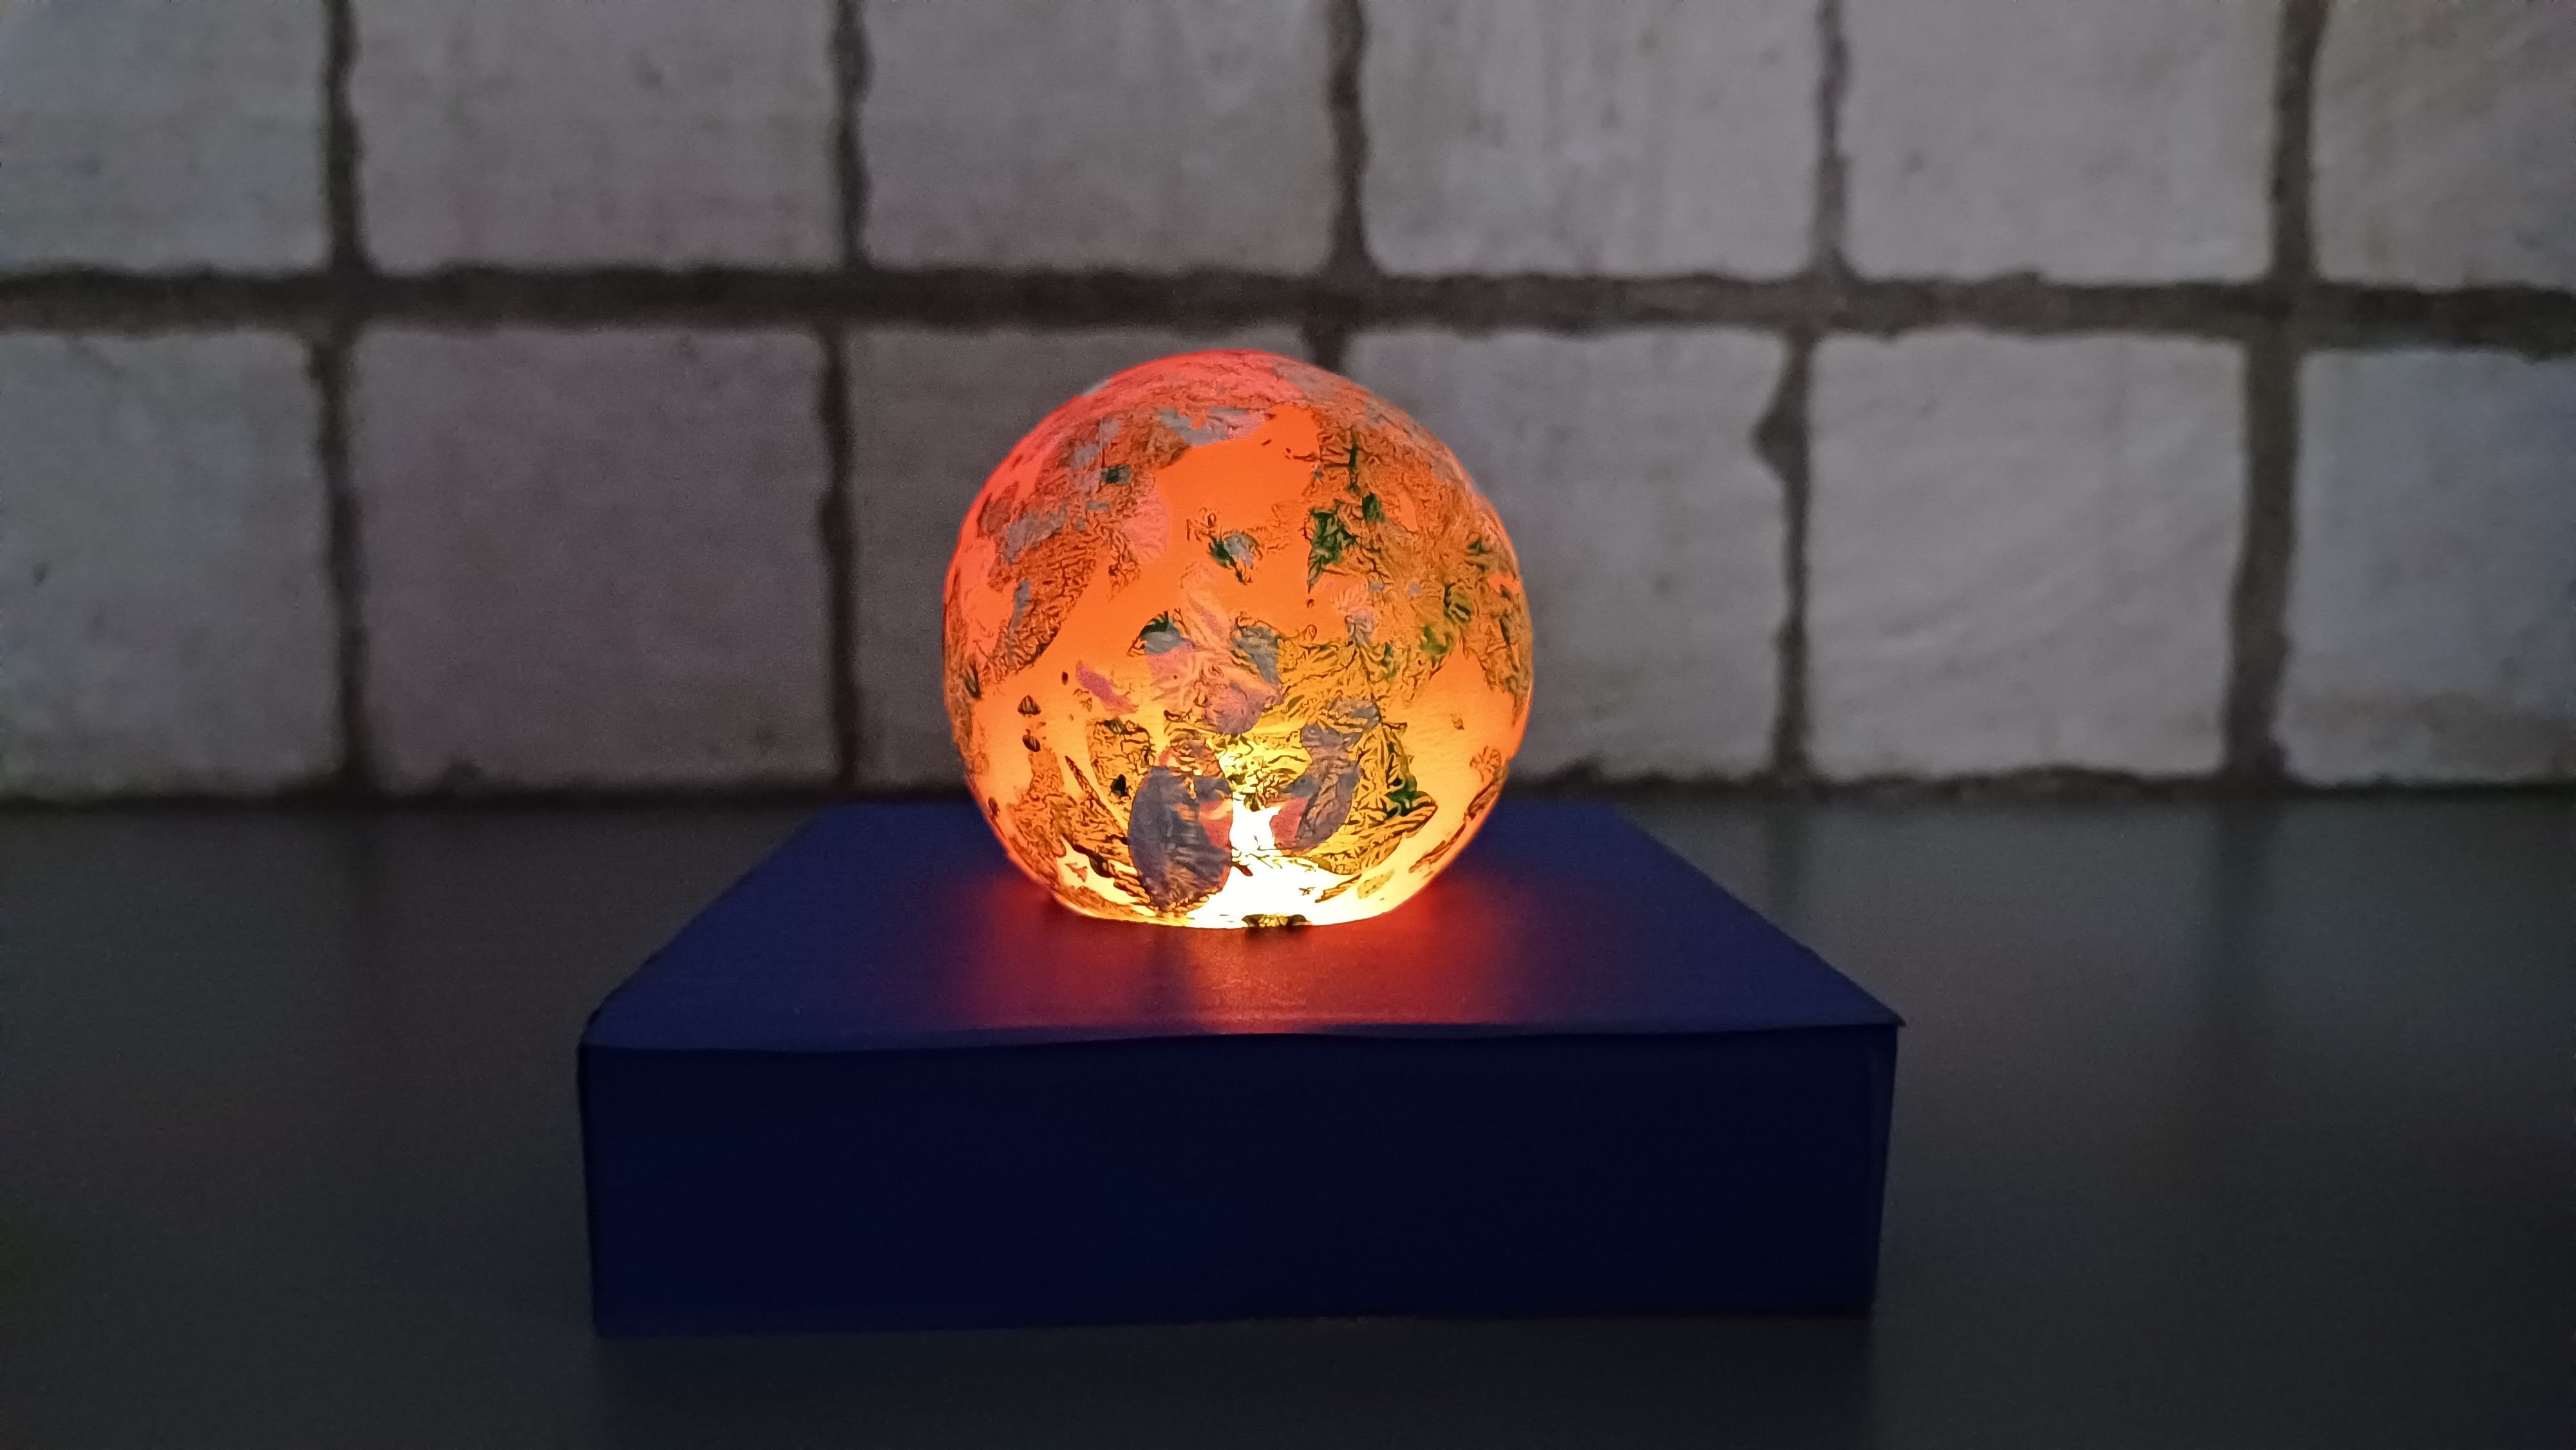
Republic Day Mini Lamps Craft and Creative Decoration Ideas - Activity Single - FeviCreate

Republic Day celebrations with DIY Mini Lamp
Create mini lamps with kids to celebrate Republic Day in a creative and vibrant way. This DIY craft project is an excellent opportunity for children to explore their artistic talents while making beautiful decorations to enhance the festive atmosphere.
Mixed Media Brand me 30 to 60 mins 9 to 14 years Art & Craft Class 9
- Search Suggestions :
- republic day craft ideas
- republic day craft activity
- mini lamp craft
Steps to Create this Activity
Login to see steps
Steps to Create this Activity
Login to see steps

Step 01
Start with a soft plastic ball to make your mini lamp.

Step - 02
Use scissors to carefully cut a small circle on both sides of the ball.

Step - 03
Take an old corrugated box and cut it into a tray shape. Place an OHP sheet on top of the tray.

Step - 04
Pour some white Fevicryl Acrylic Colour into the tray. Roll the plastic ball back and forth in the paint to create a fun, abstract design.

Step - 05
Repeat the rolling process with another colour of your choice to add more designs to the ball.

Step - 06
For the lamp base, take any old square box and cut out a circle that fits the size of the plastic ball.

Step - 07
Wrap the box with blue chart paper using Fevistik Power to give it a nice look.

Step - 08
Use Fevistik Power to stick the painted plastic ball onto the base you created.

Step - 09
Finally, place a tea light inside the ball. Your handmade mini lamp is all set and ready to shine!


