





 Activities
 How to Videos
 Products
 Contests & Events
 Freebies
 Live TV
 Blogs
Blogs




DIY Printed Pencil Box Craft | Holi | FeviCreate - Activity Single - FeviCreate
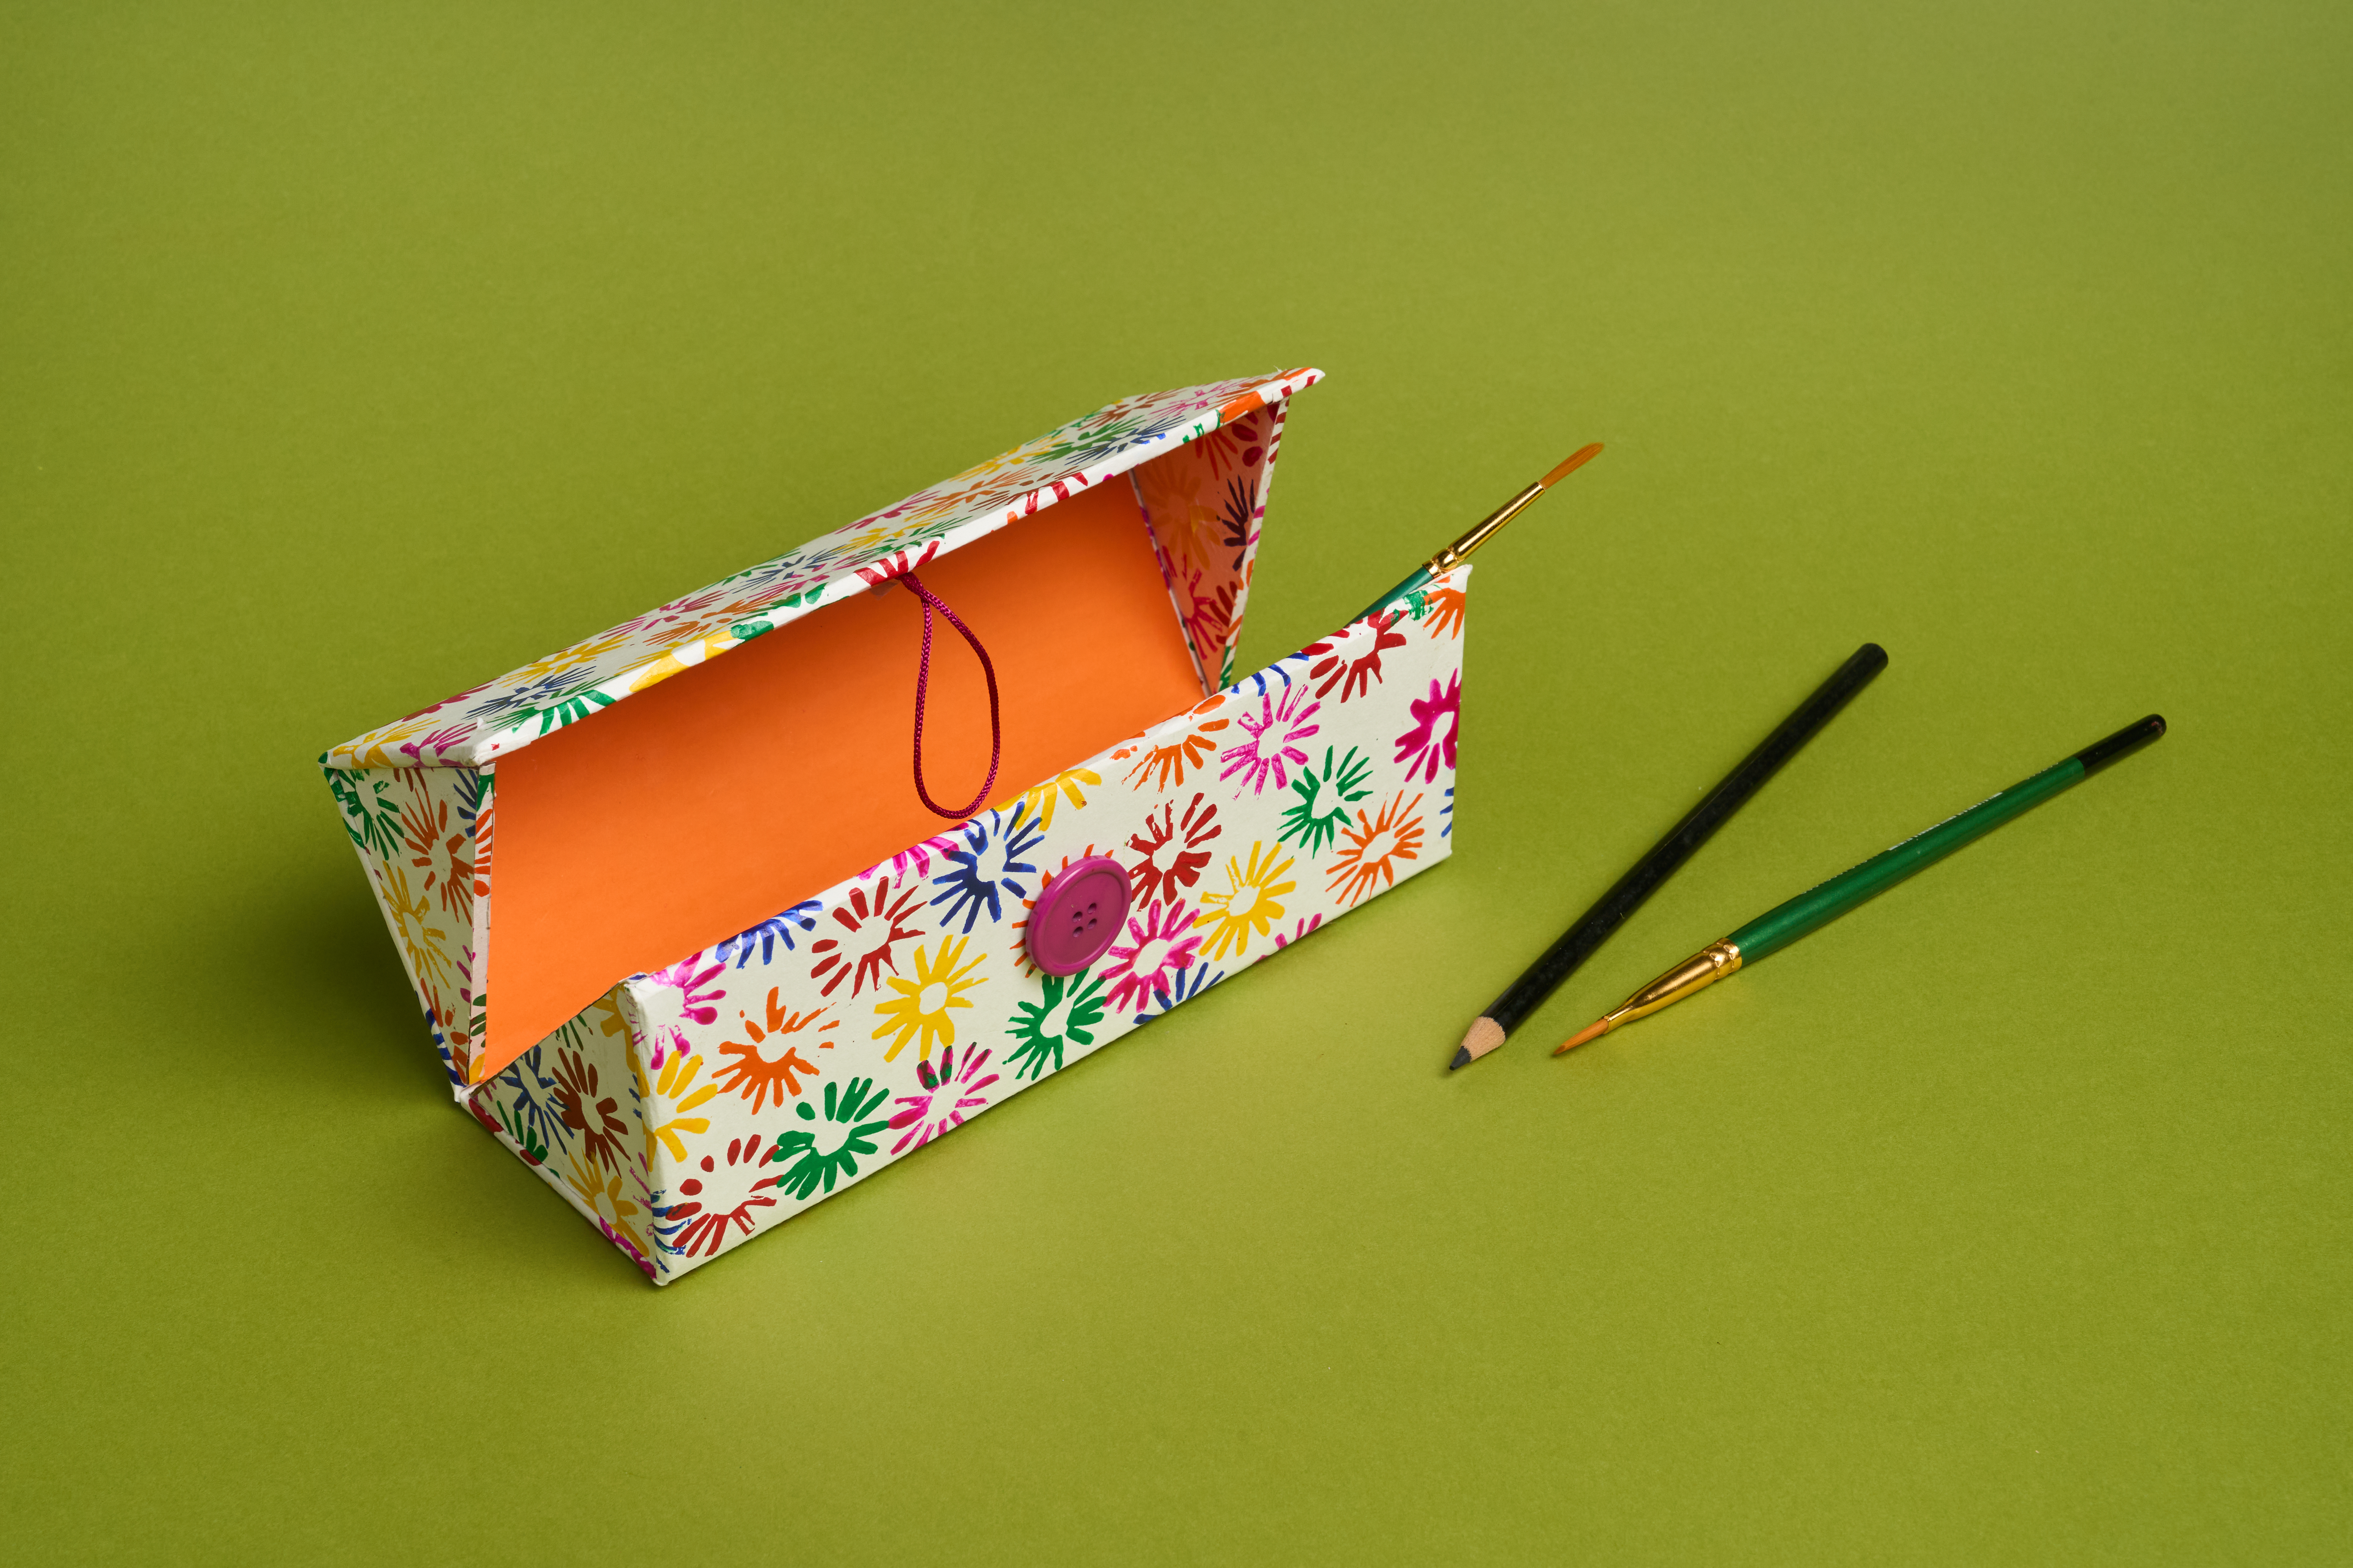
DIY Printed Pencil Box
Create a colourful printed pencil box using hand-painted paper and cardboard pieces. Children will learn simple box construction while improving measuring and assembly skills. The activity also encourages creativity through pattern printing and colourful decoration.


Steps to Create this Activity
Login to see steps

Prepare the Pieces
Cut four rectangular cardboard pieces, four triangular side pieces and three narrow cardboard strips. Arrange all the pieces according to the required box structure.

Build the Frame
Join the rectangular cardboard pieces with the narrow strips using Fevistik Power to create flexible folds for the base and lid of the pencil box.

Print the Design
Create colourful Holi-inspired prints on white paper using the Fevicryl Acrylic Colours. Allow the printed sheets to dry completely before covering the cardboard pieces.

Cover the Box
Stick the printed paper neatly over the outer surfaces of the cardboard frame and triangular side pieces using Fevistik Power, folding the edges for a clean finish.

Finish the Inside
Paste orange craft paper inside the pencil box using Fevistik Power to cover the cardboard and give the inside a bright, neat appearance.

Assemble the Pencil Box
Attach the triangular side pieces, fix the elastic loop and button closure, and fold the structure into shape. Your colourful DIY Printed Pencil Box is now ready to use!
Steps to Create this Activity
Login to see steps
Prepare the Pieces
Cut four rectangular cardboard pieces, four triangular side pieces and three narrow cardboard strips. Arrange all the pieces according to the required box structure.
Build the Frame
Join the rectangular cardboard pieces with the narrow strips using Fevistik Power to create flexible folds for the base and lid of the pencil box.
Print the Design
Create colourful Holi-inspired prints on white paper using the Fevicryl Acrylic Colours. Allow the printed sheets to dry completely before covering the cardboard pieces.
Cover the Box
Stick the printed paper neatly over the outer surfaces of the cardboard frame and triangular side pieces using Fevistik Power, folding the edges for a clean finish.
Finish the Inside
Paste orange craft paper inside the pencil box using Fevistik Power to cover the cardboard and give the inside a bright, neat appearance.
Assemble the Pencil Box
Attach the triangular side pieces, fix the elastic loop and button closure, and fold the structure into shape. Your colourful DIY Printed Pencil Box is now ready to use!


