


DIY Picnic Bag Craft for Students - Activity Single - FeviCreate
DIY Picnic Bag Craft Ideas
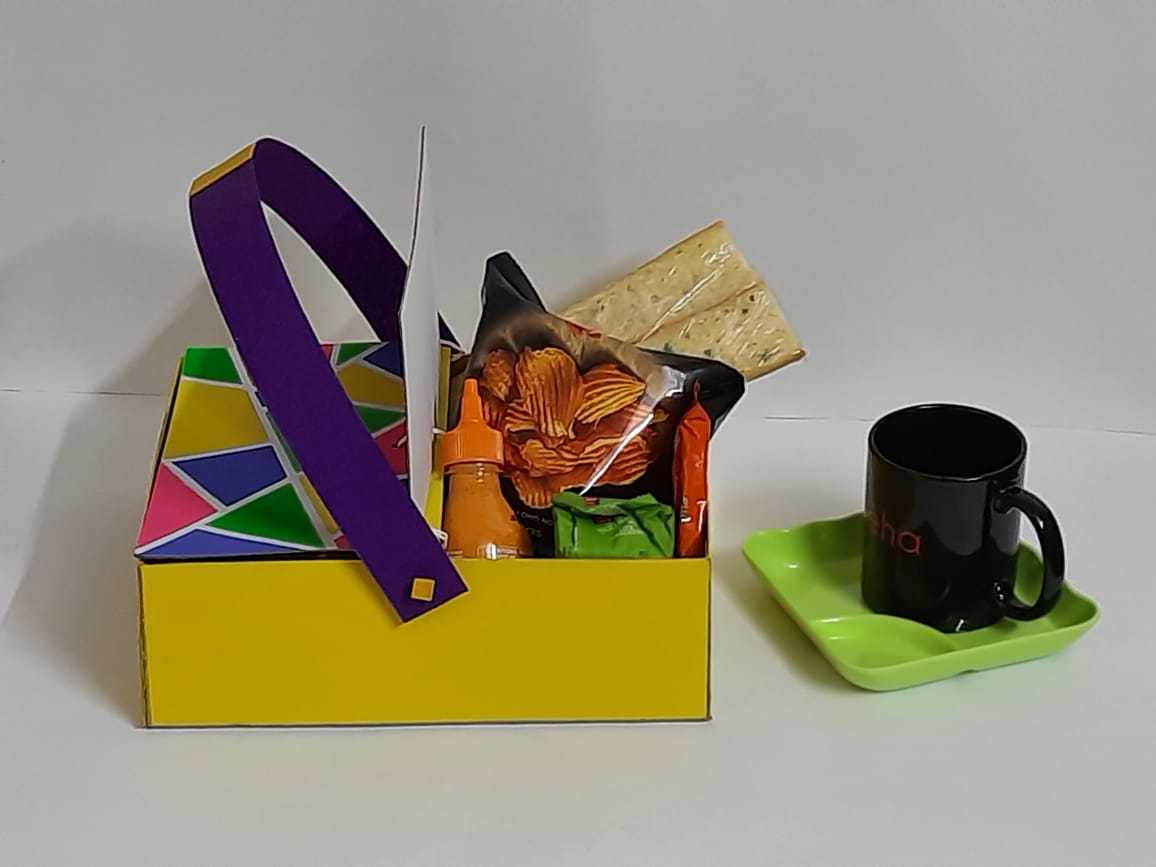
Why not turn the handbag into a handcraft quirky picnic bag with the help of the peeling technique using Fevicol, flaunt it making your picnics a seamless day of fun and food.
Paper Crafting Brand me 30 to 60 mins 9 to 14 years Art & Craft Class 7


Steps to Create this Activity
Login to see steps

Step - 01
To create box, take a sheet of mount board, draw the diagram referring to template given with the help of pencil and scale.

Step - 02
Now cut it with the help of a paper cutter

Step - 03
Using Fevicol A+, seal the edges as shown and let it dry.

Step - 04
Using Rangeela Tempera Colour of your choice, paint the box with the help of fine art brushes and let it dry.

Step - 05
To create box lid, take sheet of mount board, draw and cut diagram referring to template given. Now cut out two strips with width of 2cm approx. As shown

Step - 06
Using Fevicol A+, stick cut out strips as shown, to create lid holder

Step - 07
With the help of pencil, draw any pattern of your choice or can refer to template given.

Step - 08
Using Rangeela Tempera Colours, paint the lid with the help of fine art brushes and let it dry. Now with the help of single hole punch, create holes on sides of each rectangle at equal distance as shown. To create folding like lid, attach strip, now tie cobbler thread around it as shown

Step - 09
Make sure to check whether lids fold.

Step - 10
To create box holder, take thick coloured chart paper of your choice, cut out strip with width measuring 2” approx. As shown

Step - 11
Using Fevicol A+, stick holder as shown and let it dry. Handmade picnic bag is ready!
Steps to Create this Activity
Login to see steps
Step - 01
To create box, take a sheet of mount board, draw the diagram referring to template given with the help of pencil and scale.
Step - 02
Now cut it with the help of a paper cutter
Step - 03
Using Fevicol A+, seal the edges as shown and let it dry.
Step - 04
Using Rangeela Tempera Colour of your choice, paint the box with the help of fine art brushes and let it dry.
Step - 05
To create box lid, take sheet of mount board, draw and cut diagram referring to template given. Now cut out two strips with width of 2cm approx. As shown
Step - 06
Using Fevicol A+, stick cut out strips as shown, to create lid holder
Step - 07
With the help of pencil, draw any pattern of your choice or can refer to template given.
Step - 08
Using Rangeela Tempera Colours, paint the lid with the help of fine art brushes and let it dry. Now with the help of single hole punch, create holes on sides of each rectangle at equal distance as shown. To create folding like lid, attach strip, now tie cobbler thread around it as shown
Step - 09
Make sure to check whether lids fold.
Step - 10
To create box holder, take thick coloured chart paper of your choice, cut out strip with width measuring 2” approx. As shown
Step - 11
Using Fevicol A+, stick holder as shown and let it dry. Handmade picnic bag is ready!


