





 Activities
 How to Videos
 Products
 Contests & Events
 Freebies
 Live TV
 Blogs
Blogs




DIY Phases of the Moon Craft | FeviCreate - Activity Single - FeviCreate
DIY Phases of the Moon
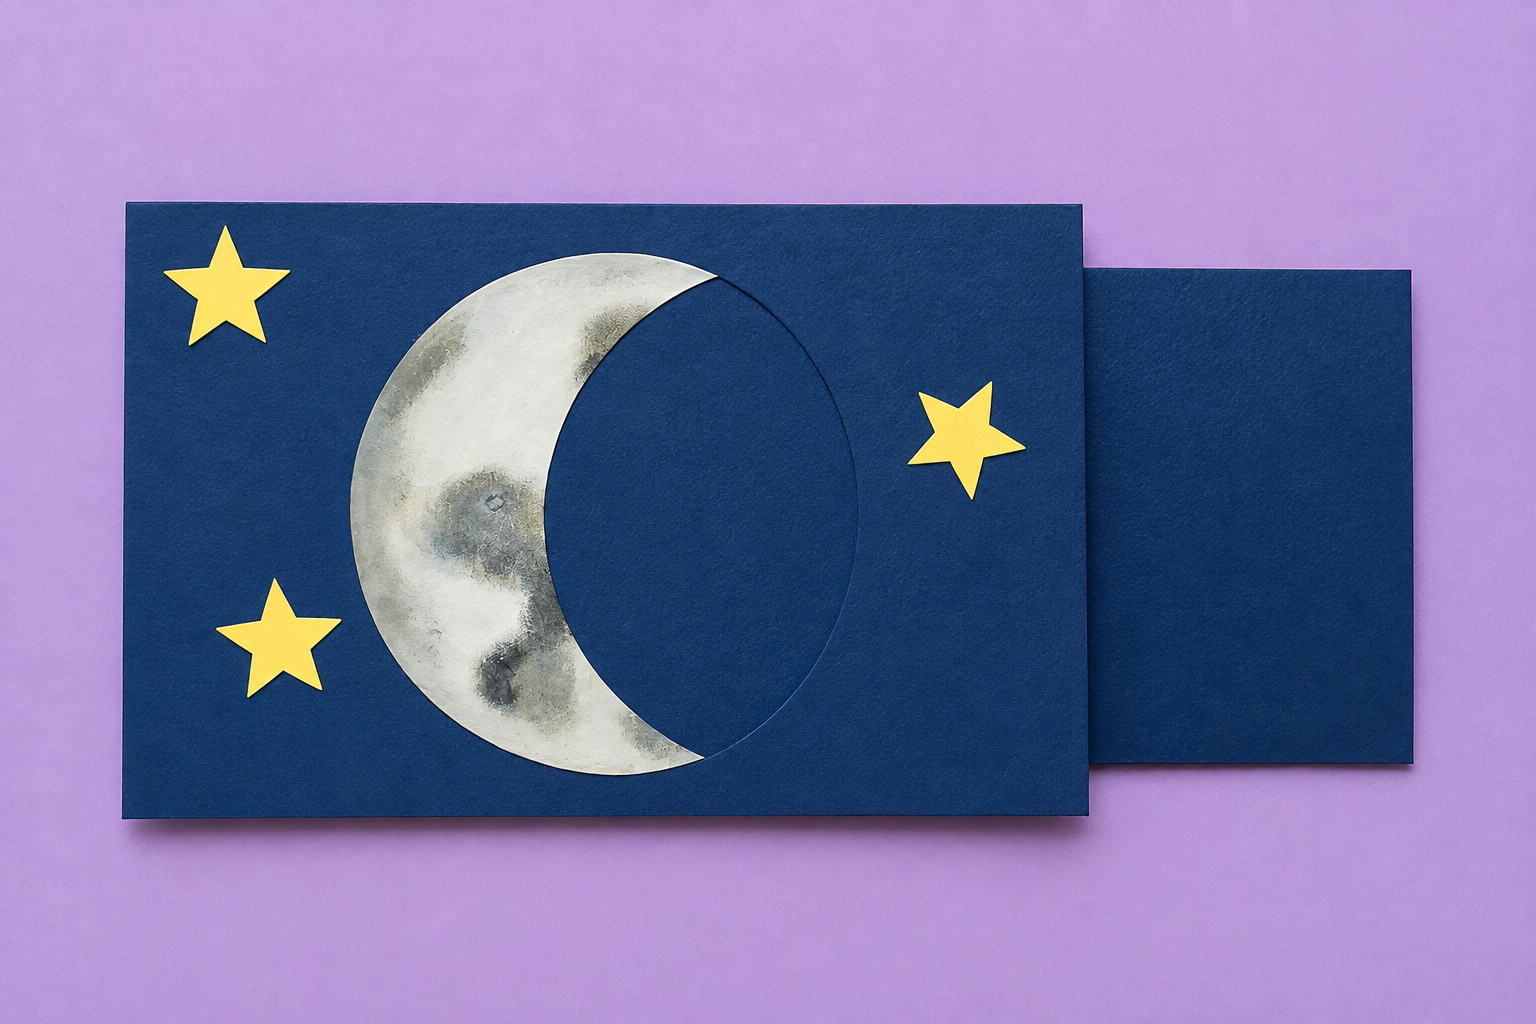
Create an interactive moon phases craft by making a realistic moon and a sliding cover that reveals different moon phases. This activity helps children understand the lunar cycle while improving observation skills and creativity through paper crafting.
Paper Crafting Rangeela Tempera Colours, Fevistik Power, Dark blue craft paper, White paper, Yellow paper, Pencil, Scissors 6 to 8 years


Steps to Create this Activity
Login to see steps

Prepare the Templates
Draw a large circle on white paper, a matching circle and rounded slider on dark blue paper, and three stars on yellow paper. Cut out all the shapes neatly.

Paint the Moon
Paint the white circle using Rangeela Tempera Colours to create a realistic moon with soft grey patches and crater details. Allow it to dry completely.

Create the Background
Stick the painted moon onto the dark blue background using Fevistik Power. Paste the yellow stars around the moon to create a night sky.

Assemble the Slider
Attach the rounded blue slider behind the background using Fevistik Power, applying adhesive only along the top and bottom edges so the slider moves freely.

Reveal the Moon Phases
Slide the blue cover across the moon to reveal different phases, changing the visible shape from a full moon to a crescent moon.

Complete the Craft
Check that the slider moves smoothly and the moon phases are clearly visible. Your interactive DIY Phases of the Moon is now ready to explore!
Steps to Create this Activity
Login to see steps
Prepare the Templates
Draw a large circle on white paper, a matching circle and rounded slider on dark blue paper, and three stars on yellow paper. Cut out all the shapes neatly.
Paint the Moon
Paint the white circle using Rangeela Tempera Colours to create a realistic moon with soft grey patches and crater details. Allow it to dry completely.
Create the Background
Stick the painted moon onto the dark blue background using Fevistik Power. Paste the yellow stars around the moon to create a night sky.
Assemble the Slider
Attach the rounded blue slider behind the background using Fevistik Power, applying adhesive only along the top and bottom edges so the slider moves freely.
Reveal the Moon Phases
Slide the blue cover across the moon to reveal different phases, changing the visible shape from a full moon to a crescent moon.
Complete the Craft
Check that the slider moves smoothly and the moon phases are clearly visible. Your interactive DIY Phases of the Moon is now ready to explore!


