


Eco Craft for Kids: DIY Paper Bag Trays - Activity Single - FeviCreate
DIY Paper Bag Trays
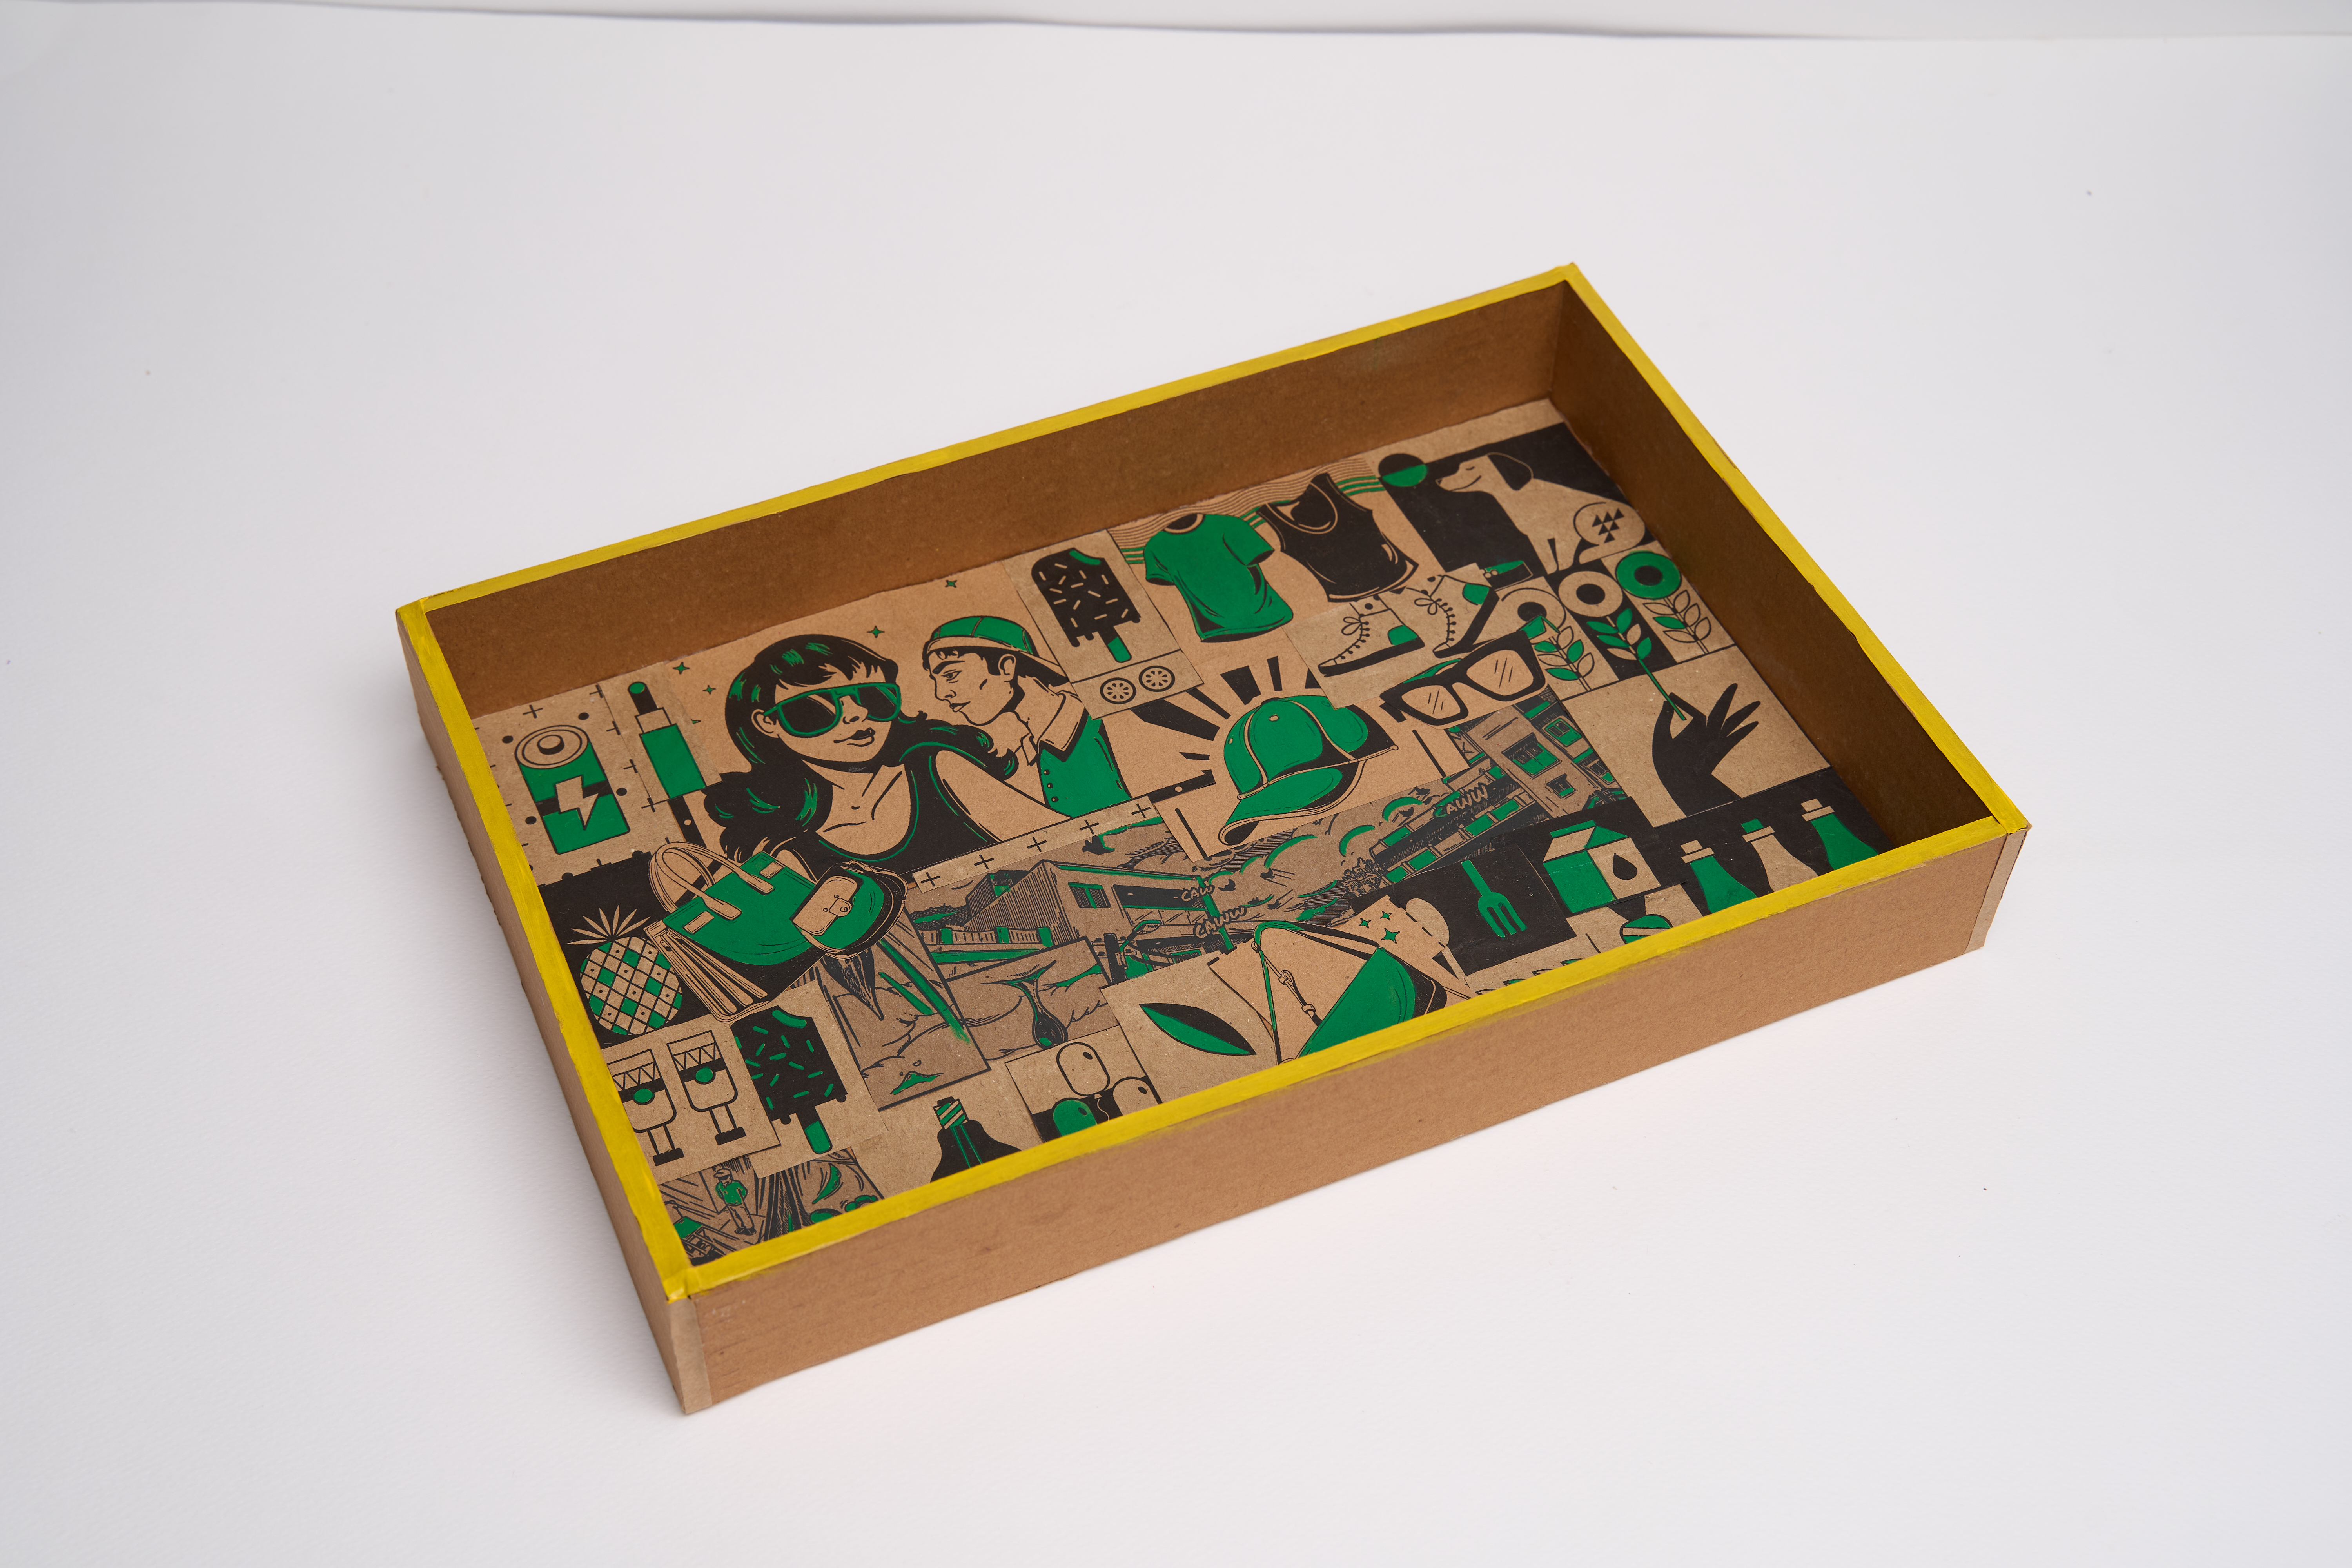
A creative and eco-friendly project that transforms a simple cardboard base and uses paper bags into a stylish, personalized decorative tray. This activity uses decoupage techniques to create a unique collage, which is then enhanced with vibrant paint, resulting in a functional piece of art.
Paper Crafting Celebration More than 60 mins 13 to 15 years Art & Craft Class 8


Steps to Create this Activity
Login to see steps

Design and Cut
Take a corrugated sheet. Use a pencil and ruler to draw one large rectangle for the tray base and four long, matching strips for the sides. Cut out all five cardboard pieces with scissors.

Assemble the Tray
Apply Fevicol MR along the edges of the rectangular cardboard base. Stick the strips onto the glued edges to build the walls of the tray. This will create a solid base.

Cut the Figures
Take a brown paper bag. Cut out all the figures you want to use in your design. Create a collection of various shapes and sizes to make your collage.

Create the Collage
Arrange your cut-out paper figures on the inner base of the tray to decide on a layout. Apply Fevicol MR and stick them down firmly onto the tray base, smoothing out any bubbles.

Paint Your Design
Use the Fevicryl Acrylic Colours to bring your design to life. Paint over the paper figures and sides of the tray for details. Let all the paint dry completely.

Final Finish and Use
Your unique, upcycled tray is now ready! Let it cure completely before using it to organize and display lightweight items.
Steps to Create this Activity
Login to see steps
Design and Cut
Take a corrugated sheet. Use a pencil and ruler to draw one large rectangle for the tray base and four long, matching strips for the sides. Cut out all five cardboard pieces with scissors.
Assemble the Tray
Apply Fevicol MR along the edges of the rectangular cardboard base. Stick the strips onto the glued edges to build the walls of the tray. This will create a solid base.
Cut the Figures
Take a brown paper bag. Cut out all the figures you want to use in your design. Create a collection of various shapes and sizes to make your collage.
Create the Collage
Arrange your cut-out paper figures on the inner base of the tray to decide on a layout. Apply Fevicol MR and stick them down firmly onto the tray base, smoothing out any bubbles.
Paint Your Design
Use the Fevicryl Acrylic Colours to bring your design to life. Paint over the paper figures and sides of the tray for details. Let all the paint dry completely.
Final Finish and Use
Your unique, upcycled tray is now ready! Let it cure completely before using it to organize and display lightweight items.


