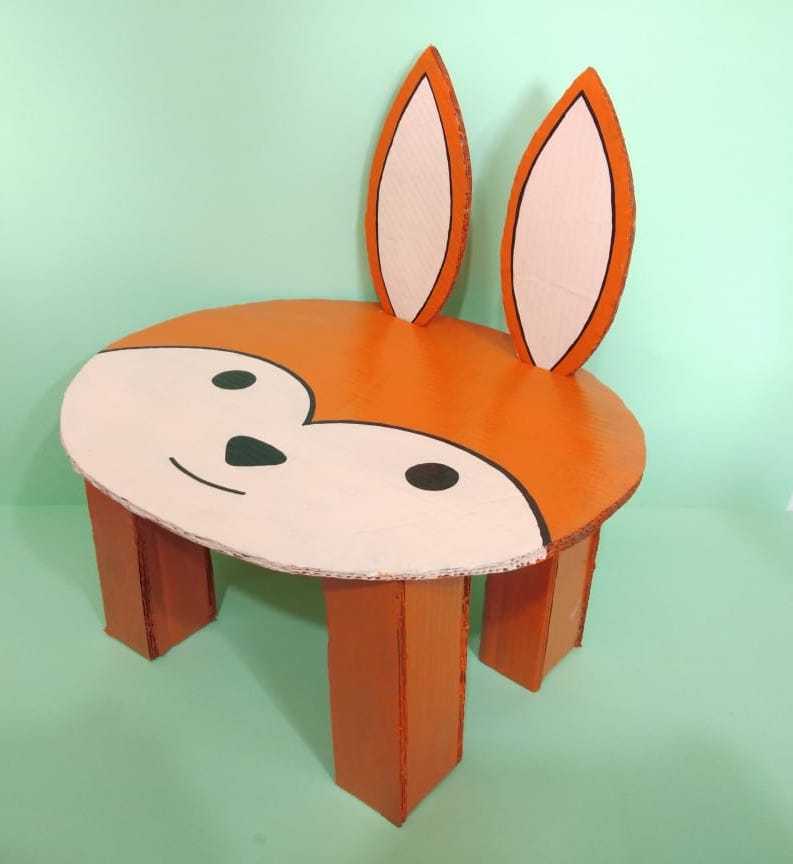
DIY Laptop Table Using Cardboard & Paper - Activity Single - FeviCreate

DIY Laptop Table
Children can make a practical laptop table using cardboard, paper, and Fevistik glue, personalising it with patterns, colours, and textures. This activity promotes problem-solving, fine motor skills, and design thinking while giving kids a sense of accomplishment.
Mixed Media Best Out of Waste More than 60 mins 9 to 14 years Art & Craft Class 7
- Search Suggestions :
- best out of waste
- brand me
- diy laptop table
- class7
Steps to Create this Activity
Login to see steps
Steps to Create this Activity
Login to see steps

Step - 01
To create laptop table, take waste corrugated sheet, draw 16 column grid with height of 12” and width 2” approx. With the help of pencil now draw face of your Favourite animal, here we have drawn a face of fox

Step - 02
Cut them finely with the help of scissors

Step - 03
Using Fevicryl Acrylic Colour of your choice paint it with the help of fine art brushes and let it dry. Now using Felt pen give an outline and draw features

Step - 04
Using Fevicol A+, construct legs as shown

Step - 05
Using Fevicryl Acrylic Colour of your choice paint it with the help of fine art brushes and let it dry.

Step - 06
Using Fevicol A+, assemble parts as shown and let it dry

Step - 07
Similarly, you can create laptop table using any of your favourite animals.


