


DIY Krishna Wall Decor Craft with Cardboard and Clay - Activity Single - FeviCreate
DIY Krishna Wall Decor Craft with Cardboard & Clay
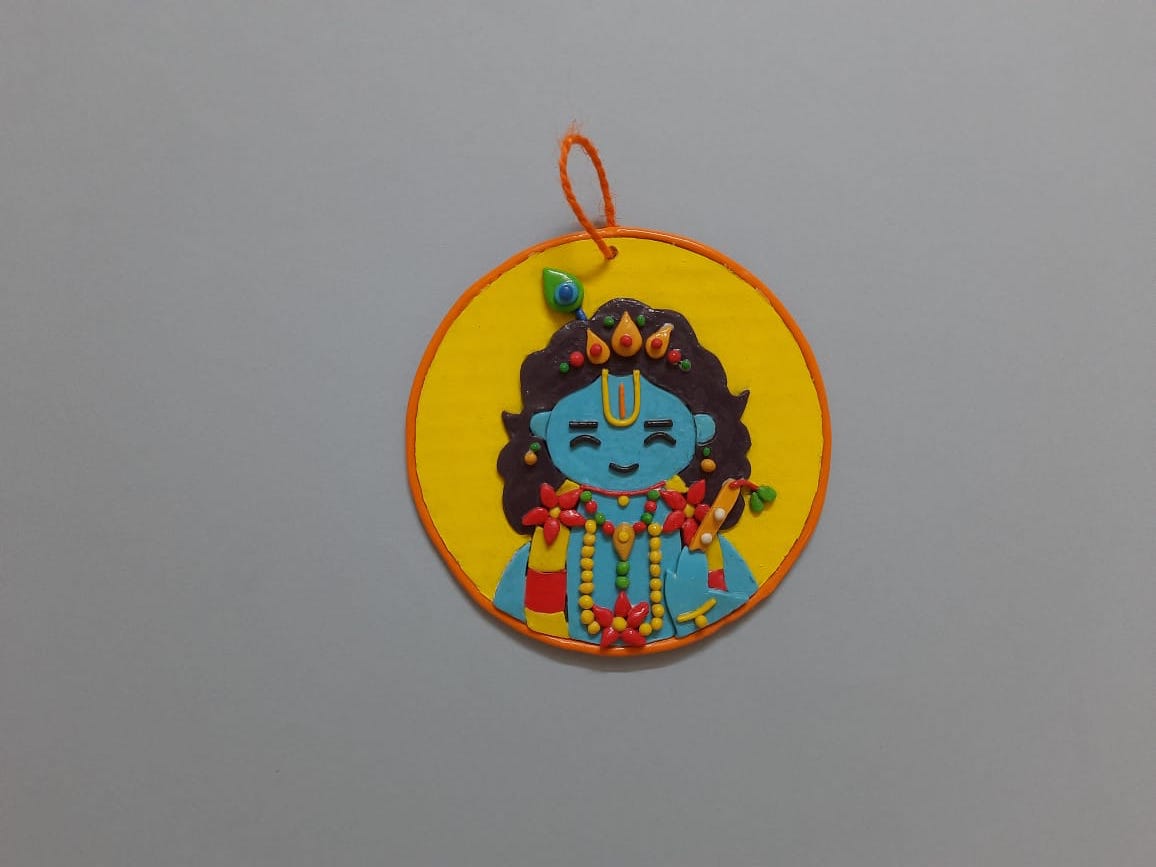
Make your house more beautiful and enhance by creating Krishna Wall decor using clay and paper
Mixed Media Celebration More than 60 mins 9 to 14 years Art & Craft Class 6


Steps to Create this Activity
Login to see steps

Step - 01
To create Krishna wall décor, take a corrugated sheet and with the help of compass draw a circle measuring diameter of 12 cm. Now draw the diagram referring to the template given with the help of pencil.

Step - 02
Cut it with the help of scissors.

Step - 03
Using Rangeela Creative Clay, create features of Krishna referring to the template given.

Step - 04
Using Fevicol A+ assemble features made onto the cut-out referring to template given. Make sure to create a relief like structure as shown.

Step - 05
Using Rangeela Creative clay, create features of Krishna's face and stick it using Fevicol A+ and let it dry. Make sure features are proportionate to face.

Step - 06
Using Rangeela Tempera colour of your choice paint the background with the help of fine art brushes and let it dry.

Step - 07
To enhance, take Rangeela Creative Clay of your choice, roll it into a thin coil as shown

Step - 08
Using Fevicol A+, stick coil giving border as shown and let it dry.

Step - 09
To create holder, take compass poke a hole above and tie any cord around it. Personalised Krishna wall decor is ready !
Steps to Create this Activity
Login to see steps
Step - 01
To create Krishna wall décor, take a corrugated sheet and with the help of compass draw a circle measuring diameter of 12 cm. Now draw the diagram referring to the template given with the help of pencil.
Step - 02
Cut it with the help of scissors.
Step - 03
Using Rangeela Creative Clay, create features of Krishna referring to the template given.
Step - 04
Using Fevicol A+ assemble features made onto the cut-out referring to template given. Make sure to create a relief like structure as shown.
Step - 05
Using Rangeela Creative clay, create features of Krishna's face and stick it using Fevicol A+ and let it dry. Make sure features are proportionate to face.
Step - 06
Using Rangeela Tempera colour of your choice paint the background with the help of fine art brushes and let it dry.
Step - 07
To enhance, take Rangeela Creative Clay of your choice, roll it into a thin coil as shown
Step - 08
Using Fevicol A+, stick coil giving border as shown and let it dry.
Step - 09
To create holder, take compass poke a hole above and tie any cord around it. Personalised Krishna wall decor is ready !


