





 Activities
 How to Videos
 Products
 Contests & Events
 Freebies
 Live TV
 Blogs




DIY Iron Man Mask Craft for Kids | Fevicreate - Activity Single - FeviCreate
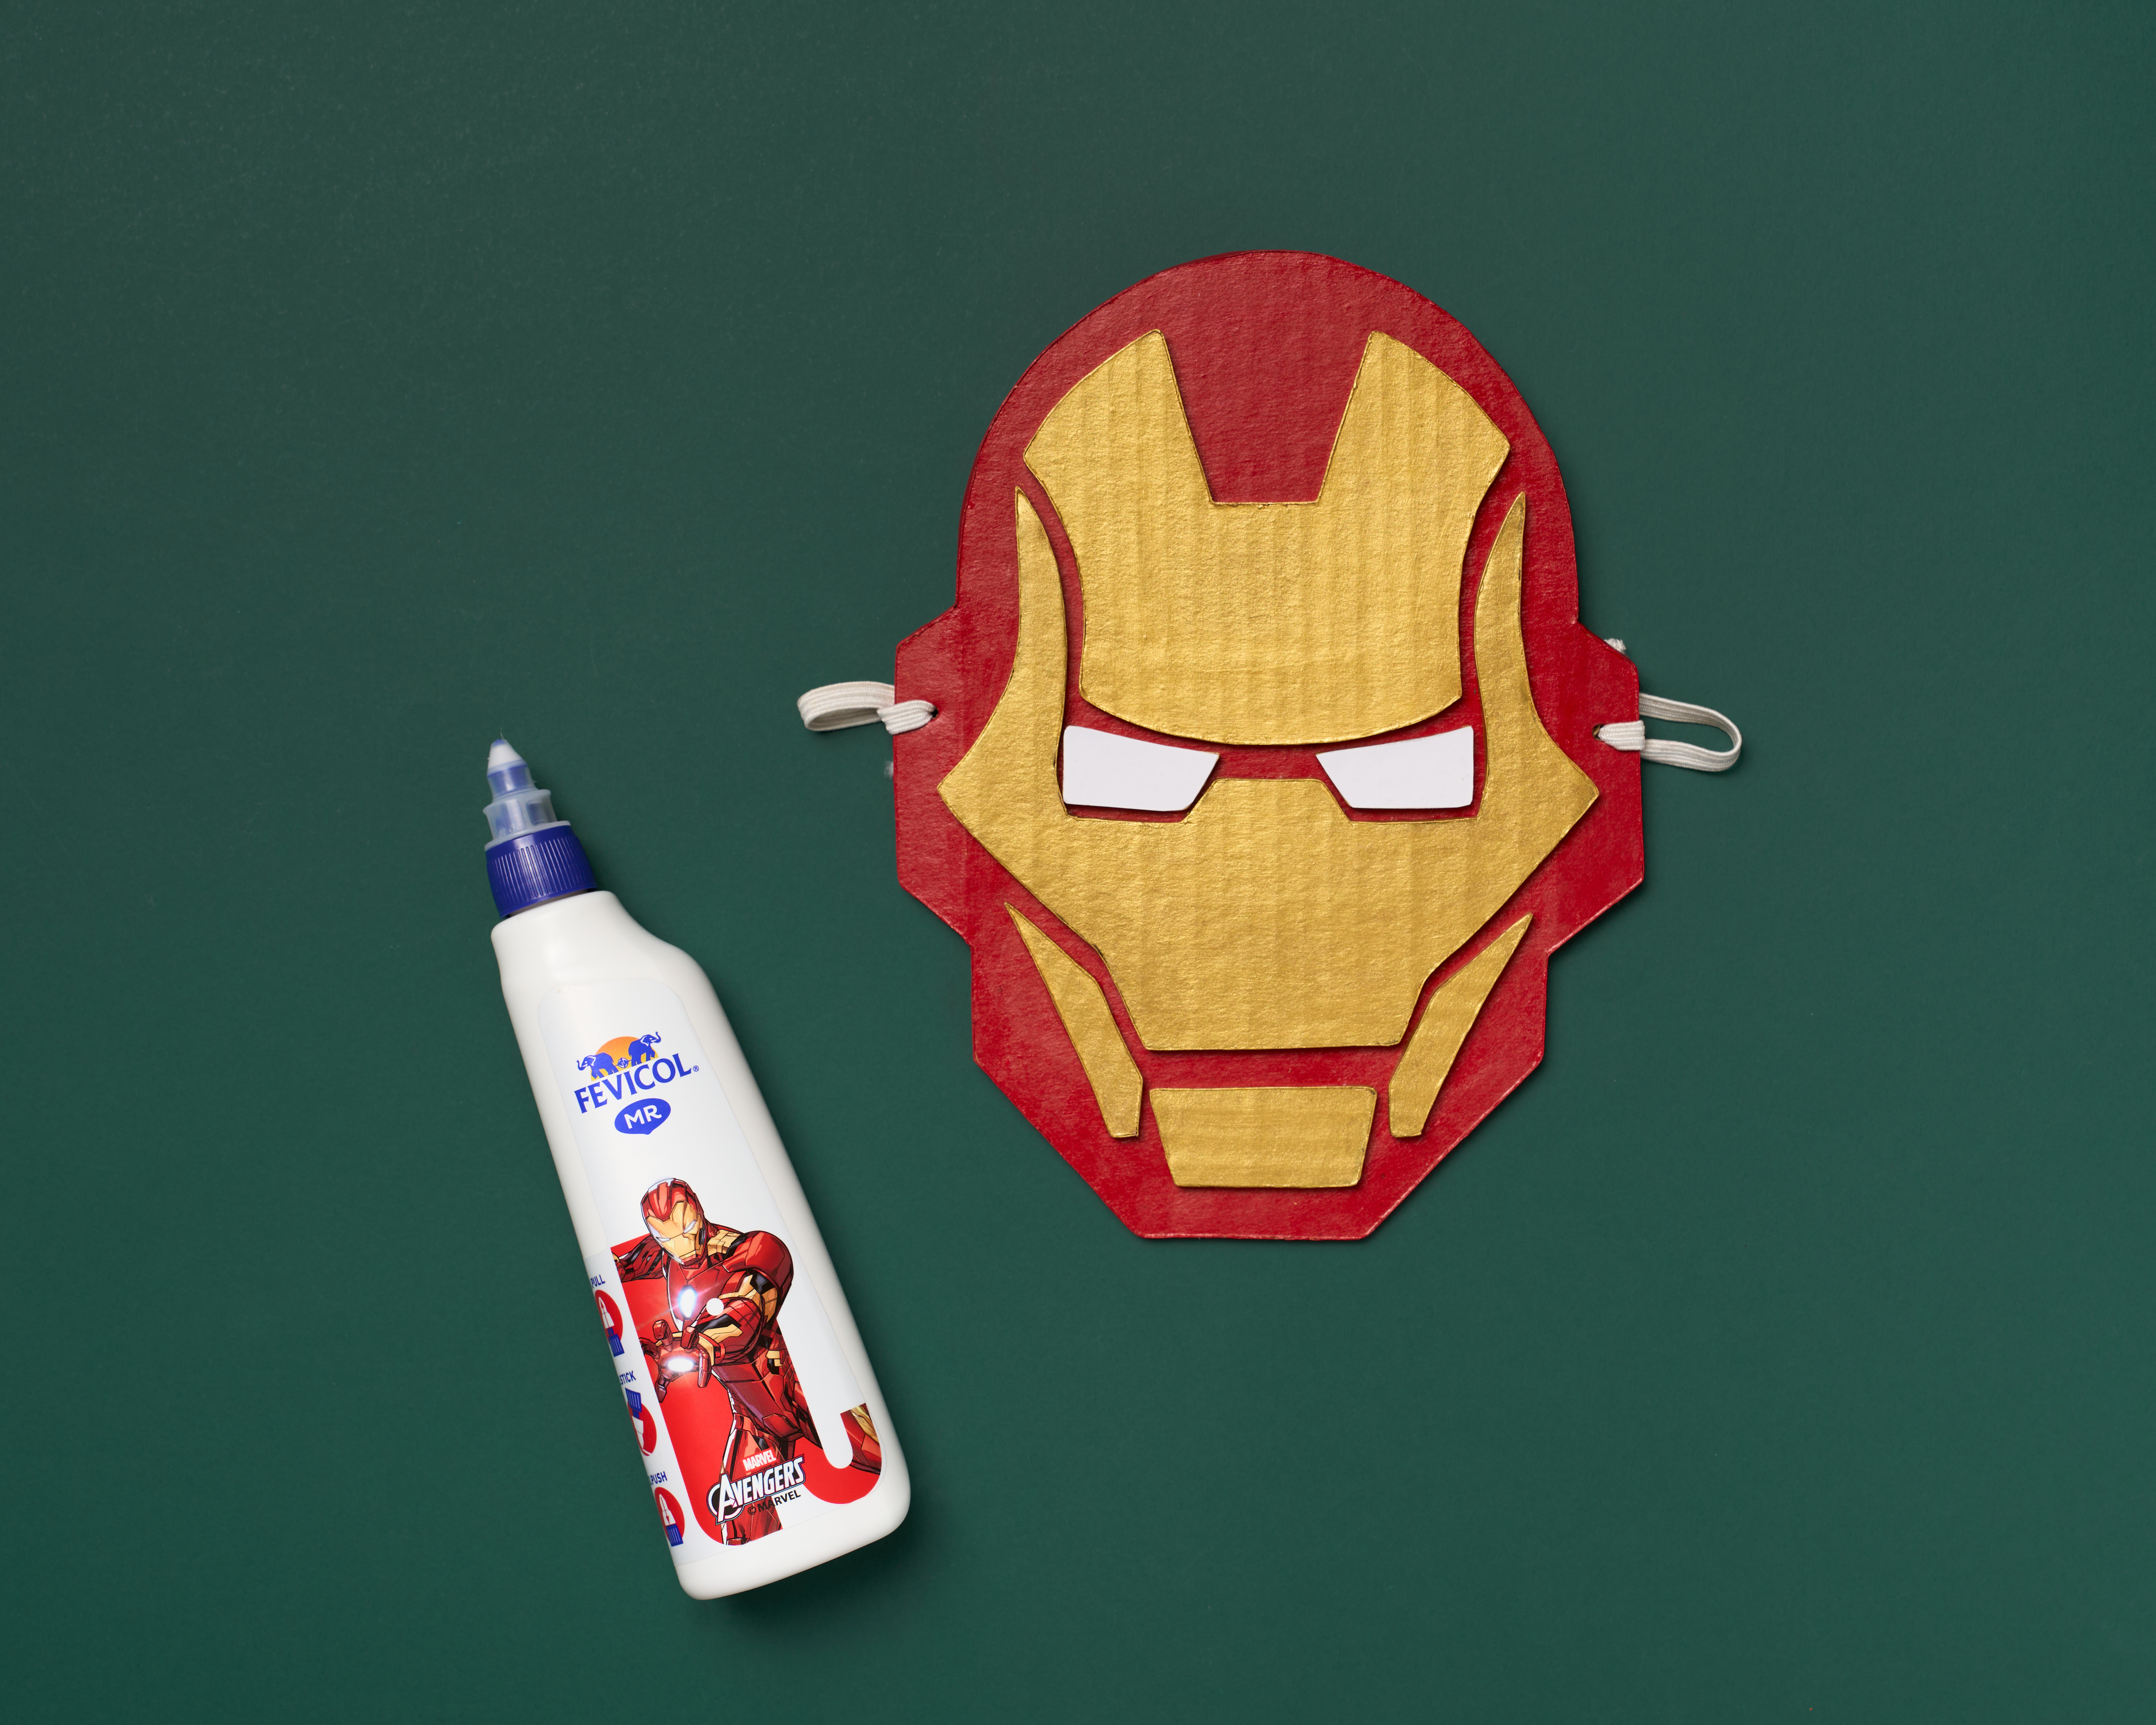
DIY Iron Man Mask
Get ready to step into the world of superheroes with your very own Iron Man mask! Use corrugated sheet to create the mask's iconic shape, add his signature red and gold colours and bring his powerful look to life. Put it on and get ready for some superhero adventures!


Steps to Create this Activity
Login to see steps

Sketch the Mask
Take a corrugated sheet and use a pencil to draw the outline of Iron Man's mask. On another side, sketch the different parts of the mask separately, along with his eye shapes.

Cut Out the Shapes
Carefully cut out the main mask shape and all the smaller parts along their outlines. Make sure the edges are neat and well-defined.

Add Iron Man's Classic Colours
Paint the main mask shape using Fevicryl Acrylic Colour – Crimson 04. Colour the smaller feature pieces with Fevicryl Acrylic Colour – Pearl Metallic Gold 352 to create Iron Man’s signature heavy-metal look. Once dry, cut small pieces of white chart paper to cover the eye sections and stick them in place using Fevicol MR. Let everything dry completely.

Assemble the Mask
Neatly arrange all the gold-coloured feature pieces on the red mask, matching them to your original sketch. Once you're happy with the placement, stick each piece using Fevicol MR. Next, poke a small hole on either side of the mask near the ears using a pencil.

Add the Elastic Band
Pass an elastic thread through the holes from the back of the mask and tie a knot on each side to secure it. Make sure the elastic is long enough to fit comfortably around your head.
Steps to Create this Activity
Login to see steps
Sketch the Mask
Take a corrugated sheet and use a pencil to draw the outline of Iron Man's mask. On another side, sketch the different parts of the mask separately, along with his eye shapes.
Cut Out the Shapes
Carefully cut out the main mask shape and all the smaller parts along their outlines. Make sure the edges are neat and well-defined.
Add Iron Man's Classic Colours
Paint the main mask shape using Fevicryl Acrylic Colour – Crimson 04. Colour the smaller feature pieces with Fevicryl Acrylic Colour – Pearl Metallic Gold 352 to create Iron Man’s signature heavy-metal look. Once dry, cut small pieces of white chart paper to cover the eye sections and stick them in place using Fevicol MR. Let everything dry completely.
Assemble the Mask
Neatly arrange all the gold-coloured feature pieces on the red mask, matching them to your original sketch. Once you're happy with the placement, stick each piece using Fevicol MR. Next, poke a small hole on either side of the mask near the ears using a pencil.
Add the Elastic Band
Pass an elastic thread through the holes from the back of the mask and tie a knot on each side to secure it. Make sure the elastic is long enough to fit comfortably around your head.


