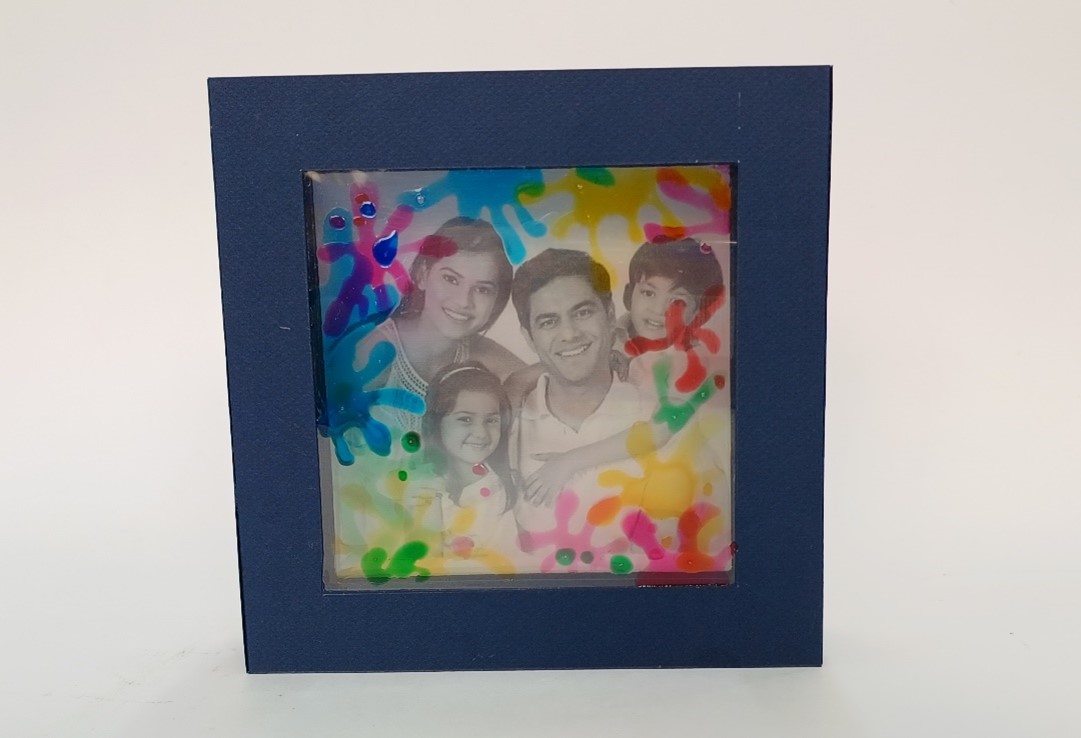
Capture & Cherish Festive Moments with DIY Holi Photo Frames - Activity Single - FeviCreate

Make Your Own DIY Holi Photo Frames For A Festive Keepsake
Using simple crafting techniques, you can create colourful frames that add a festive touch to your photos.
Get crafty this Holi with DIY photo frames! Use bright colors, glitter, and creative elements to design festive frames that capture your joyful moments. These handmade keepsakes add a personal touch to your Holi memories, making them perfect for gifting or decorating. Celebrate the festival of colors in a creative way!
Paper Crafting Brand me 30 to 60 mins 9 to 14 years Art & Craft Class 9
Steps to Create this Activity
Login to see steps
Steps to Create this Activity
Login to see steps

Step - 01
Start by taking coloured chart paper in your favourite colours. Draw three frames and an outer layer based on the template you have.

Step - 02
Carefully cut out the frames and the outer layer using scissors.

Step - 03
Next grab an OHP sheet and draw squares that fit the sizes of your frames. Cut these squares out and use Fevistik Power to stick them onto the frame cutouts. With Fevicryl Glass Colors, create a fun flash effect pattern on each frame and let it dry. Don’t forget to fold the flaps

Step - 04
Now use Fevistik Power to attach the frames to the outer layer as shown in your design.

Step - 05
Take a picture of your loved ones and trim it to fit perfectly inside the last frame.

Step - 06
Using Fevistik Power again, stick the photo behind the last frame, and make sure to secure the flaps at the back. Your beautiful handmade Holi photo frame is now ready.

Step - 07
Use the design template for reference as you work on your project.


