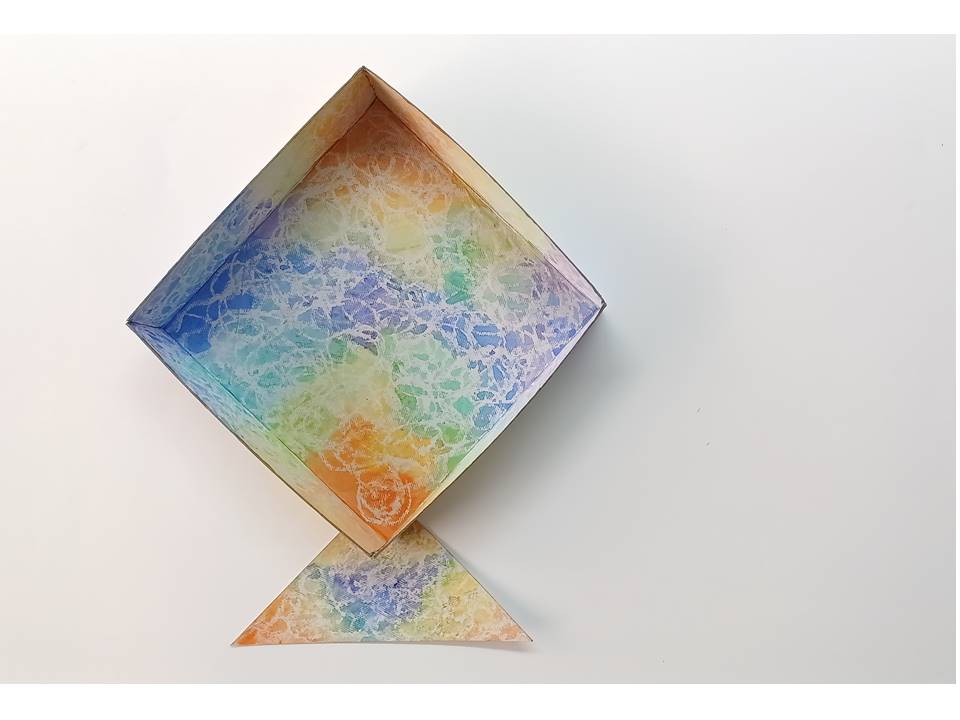
Handmade Kite Tray Crafts and DIY Ideas for Stylish Home Trays - Activity Single - FeviCreate

DIY Kite Tray Crafts
Create Handmade Trays for Stylish Home Decor
Add a personal touch to your home with handmade trays! These DIY ideas show you how to create beautiful and functional trays that brighten up any space. Whether for serving drinks or displaying decor, these stylish trays are perfect for making your home feel cozy and inviting. Get creative and start crafting!
Painting Brand me 30 to 60 mins 9 to 14 years Art & Craft Class 8
- Search Suggestions :
- handmade trays
- tray crafts
- homemade trays
Steps to Create this Activity
Login to see steps
Steps to Create this Activity
Login to see steps

Step - 01
Start with a mount board and draw your kite tray design using a template as a guide.

Step - 02
Carefully cut out the shape with scissors.

Step - 03
Fold the flaps. Then, take a candle and make random scribbles on the cutout. After that, use Fevicryl Acrylic Colours to paint on different washes and let it dry completely.

Step - 04
Do the same for the kite tail: draw it, cut it out, and add color.

Step - 05
Use Fevistik Power to put together the flaps and shape them into a tray.

Step - 06
Next, glue the cutouts together with Fevistik Power. Grab an OHP sheet, and cut it to fit the size of your tray.

Step - 07
Finally, attach the OHP sheet to the tray, and your handmade kite tray is all set.


