Step-by-Step Guide to Make DIY Greeting Card Craft for Kids - Activity Single - FeviCreate

DIY Greeting Carf Craft for Kids
Fevicreate Art & Craft Activities are structured activities that involve a step by step method to create an end product. This crafting journey gives you something to show, you enjoy your journey and get a sense of achievement too. What more can one ask for!
Paper Crafting Celebration 30 to 60 mins 9 to 14 years Art & Craft Class 7
- Search Suggestions :
- celebration gifting
- diy greeting card
- class7
Steps to Create this Activity
Login to see steps
Steps to Create this Activity
Login to see steps

Step - 01
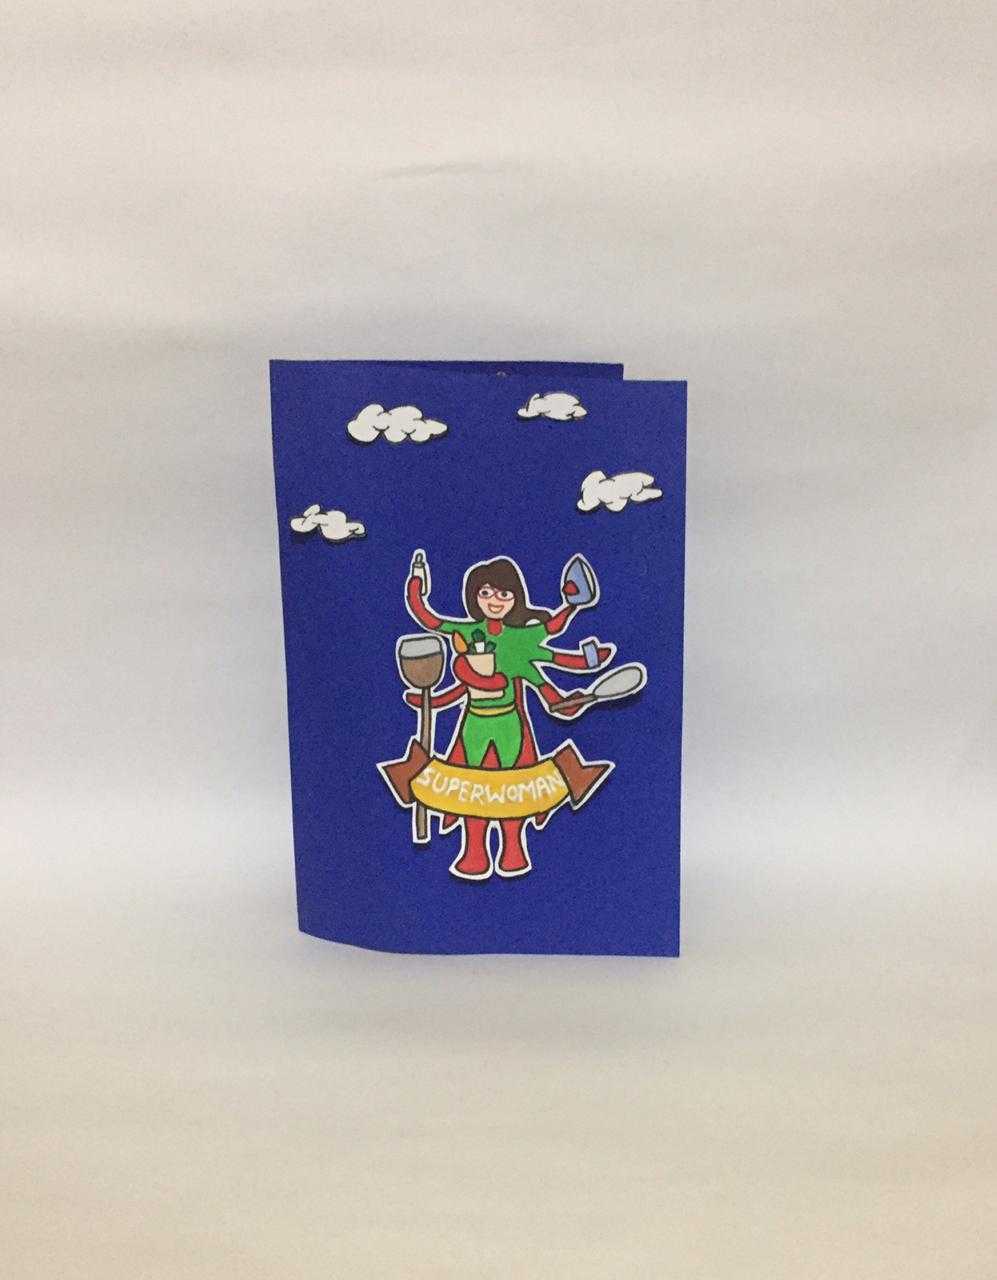
To create greeting card, take white coloured chart paper draw a design referring to the template given.

Step - 02
Using Rangeela Tempera Colours paint it with the help of fine art brushes and let it dry. Now give an outline with the help of felt pen.

Step - 03
Using Fevicryl 3D outliner of your choice write text “SUPERWOMAN”

Step - 04
To create the fanfold sphere, draw circles referring to the template.

Step - 05
Cut them with scissors and fold each circle into half as shown

Step - 06
Using Fevistik, assemble cut outs as shown

Step - 07
To create the greeting card, take A4 size coloured chart paper fold it into half. now using Fevistik stick the spheres as shown

Step - 08
Create bunting with the help of chart paper and any cord and write text “happy women’s day” using Felt pen

Step - 09
Using Fevistik stick bunting as shown and let it dry. To enhance further stick cut outs of flowers around the card.

Step - 10
Using Fevistik, stick the Superwoman figure on the outside using Fevicol A+ and clouds around.


