


Make a Fun Eyeglass Holder at Home - Activity Single - FeviCreate
Make a Handy Eyeglass Holder with Craft Materials
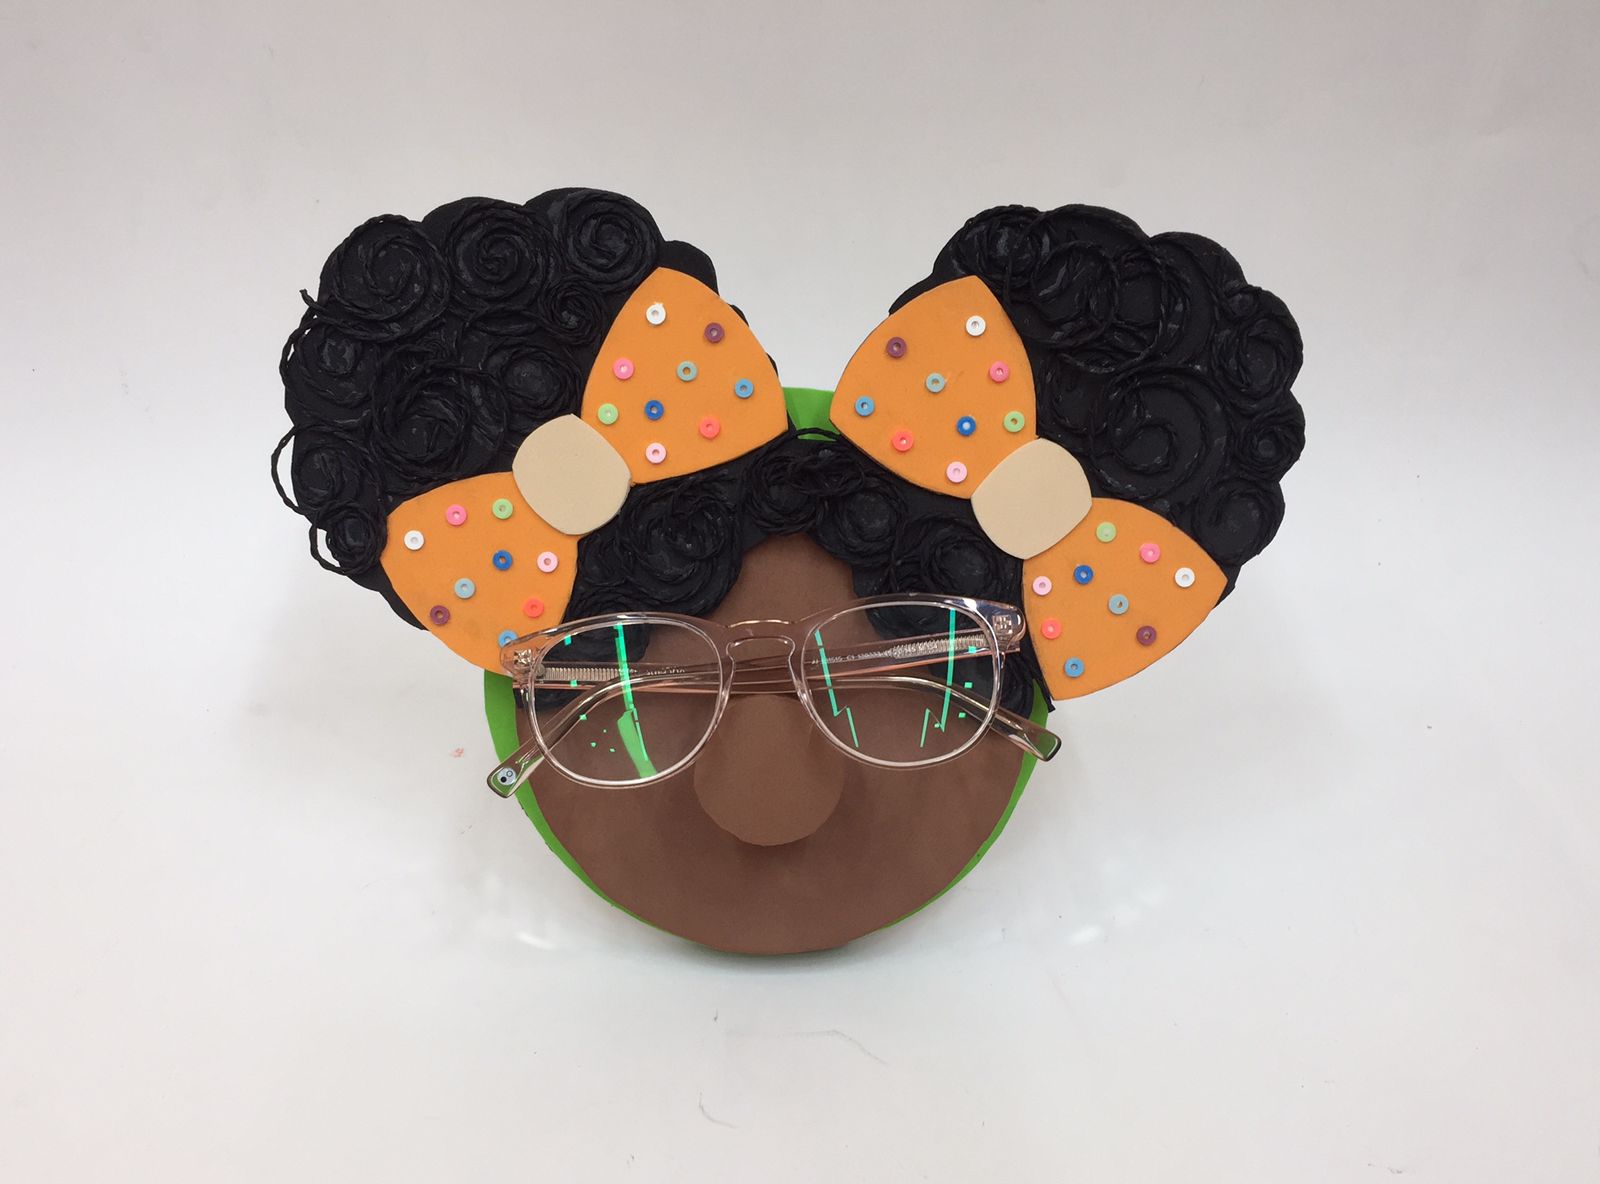
Keep your glasses safe and easy to find with this fun DIY eyeglass holder made from paper and basic craft materials. Kids will enjoy making it with simple cuts, folds, and colours. It’s not just creative—it’s useful too! Try this hands-on paper craft at home for a mix of fun and function.
Paper Crafting Brand me 30 to 60 mins 9 to 14 years Art & Craft Class 5


Steps to Create this Activity
Login to see steps

Step - 01
On a corrugated sheet, draw a diagram of a caricature. Refer to the given template or create one of your own!

Step - 02
Cut the design with scissors.

Step - 03
On coloured foam sheets, use a pencil to draw the diagram of elements, by referring to the given template, for example, base, face, nose, hair and bow.

Step - 04
Cut them with scissors.

Step - 05
Make sure the corrugated sheet and foam elements are uniformly cut.

Step - 06
Using Fevistik Power, stick foam cut-outs onto corrugated cut-outs and let them dry.

Step - 07
Then, fold the corrugated strip into a triangle shape and seal edges using Fevistik Power. To create an eyeglass holder, take a corrugated strip and roll it into a cylinder. Stick the edges and let it dry. To create a relief-like structure, take a corrugated strip, roll it into a coil and seal the edges. Let this dry.

Step - 08
Using Fevistik Power, stick the coil in the centre as shown, and let it dry.

Step - 09
Take a foam sheet and cover the cylindrical structure with it. Create a nose and stick it in the centre as shown using Fevistik Power; let it dry.

Step - 10
Using Fevistik Power, stick foam cut-outs and let them dry. To enhance the hair, take paper cords and create tiny curls; stick these on the hair. To add detailing to the bow, take elements of your choice and stick them randomly on the bow. Stick the triangular holder behind this as support, and let it dry.

Step - 11
Your tabletop Eyeglass Holder is ready!

Step - 12
Design Template
Steps to Create this Activity
Login to see steps
Step - 01
On a corrugated sheet, draw a diagram of a caricature. Refer to the given template or create one of your own!
Step - 02
Cut the design with scissors.
Step - 03
On coloured foam sheets, use a pencil to draw the diagram of elements, by referring to the given template, for example, base, face, nose, hair and bow.
Step - 04
Cut them with scissors.
Step - 05
Make sure the corrugated sheet and foam elements are uniformly cut.
Step - 06
Using Fevistik Power, stick foam cut-outs onto corrugated cut-outs and let them dry.
Step - 07
Then, fold the corrugated strip into a triangle shape and seal edges using Fevistik Power. To create an eyeglass holder, take a corrugated strip and roll it into a cylinder. Stick the edges and let it dry. To create a relief-like structure, take a corrugated strip, roll it into a coil and seal the edges. Let this dry.
Step - 08
Using Fevistik Power, stick the coil in the centre as shown, and let it dry.
Step - 09
Take a foam sheet and cover the cylindrical structure with it. Create a nose and stick it in the centre as shown using Fevistik Power; let it dry.
Step - 10
Using Fevistik Power, stick foam cut-outs and let them dry. To enhance the hair, take paper cords and create tiny curls; stick these on the hair. To add detailing to the bow, take elements of your choice and stick them randomly on the bow. Stick the triangular holder behind this as support, and let it dry.
Step - 11
Your tabletop Eyeglass Holder is ready!
Step - 12
Design Template


