





 Activities
 How to Videos
 Products
 Contests & Events
 Freebies
 Live TV
 Blogs
Blogs




DIY New Year Chalkboard Craft | FeviCreate - Activity Single - FeviCreate
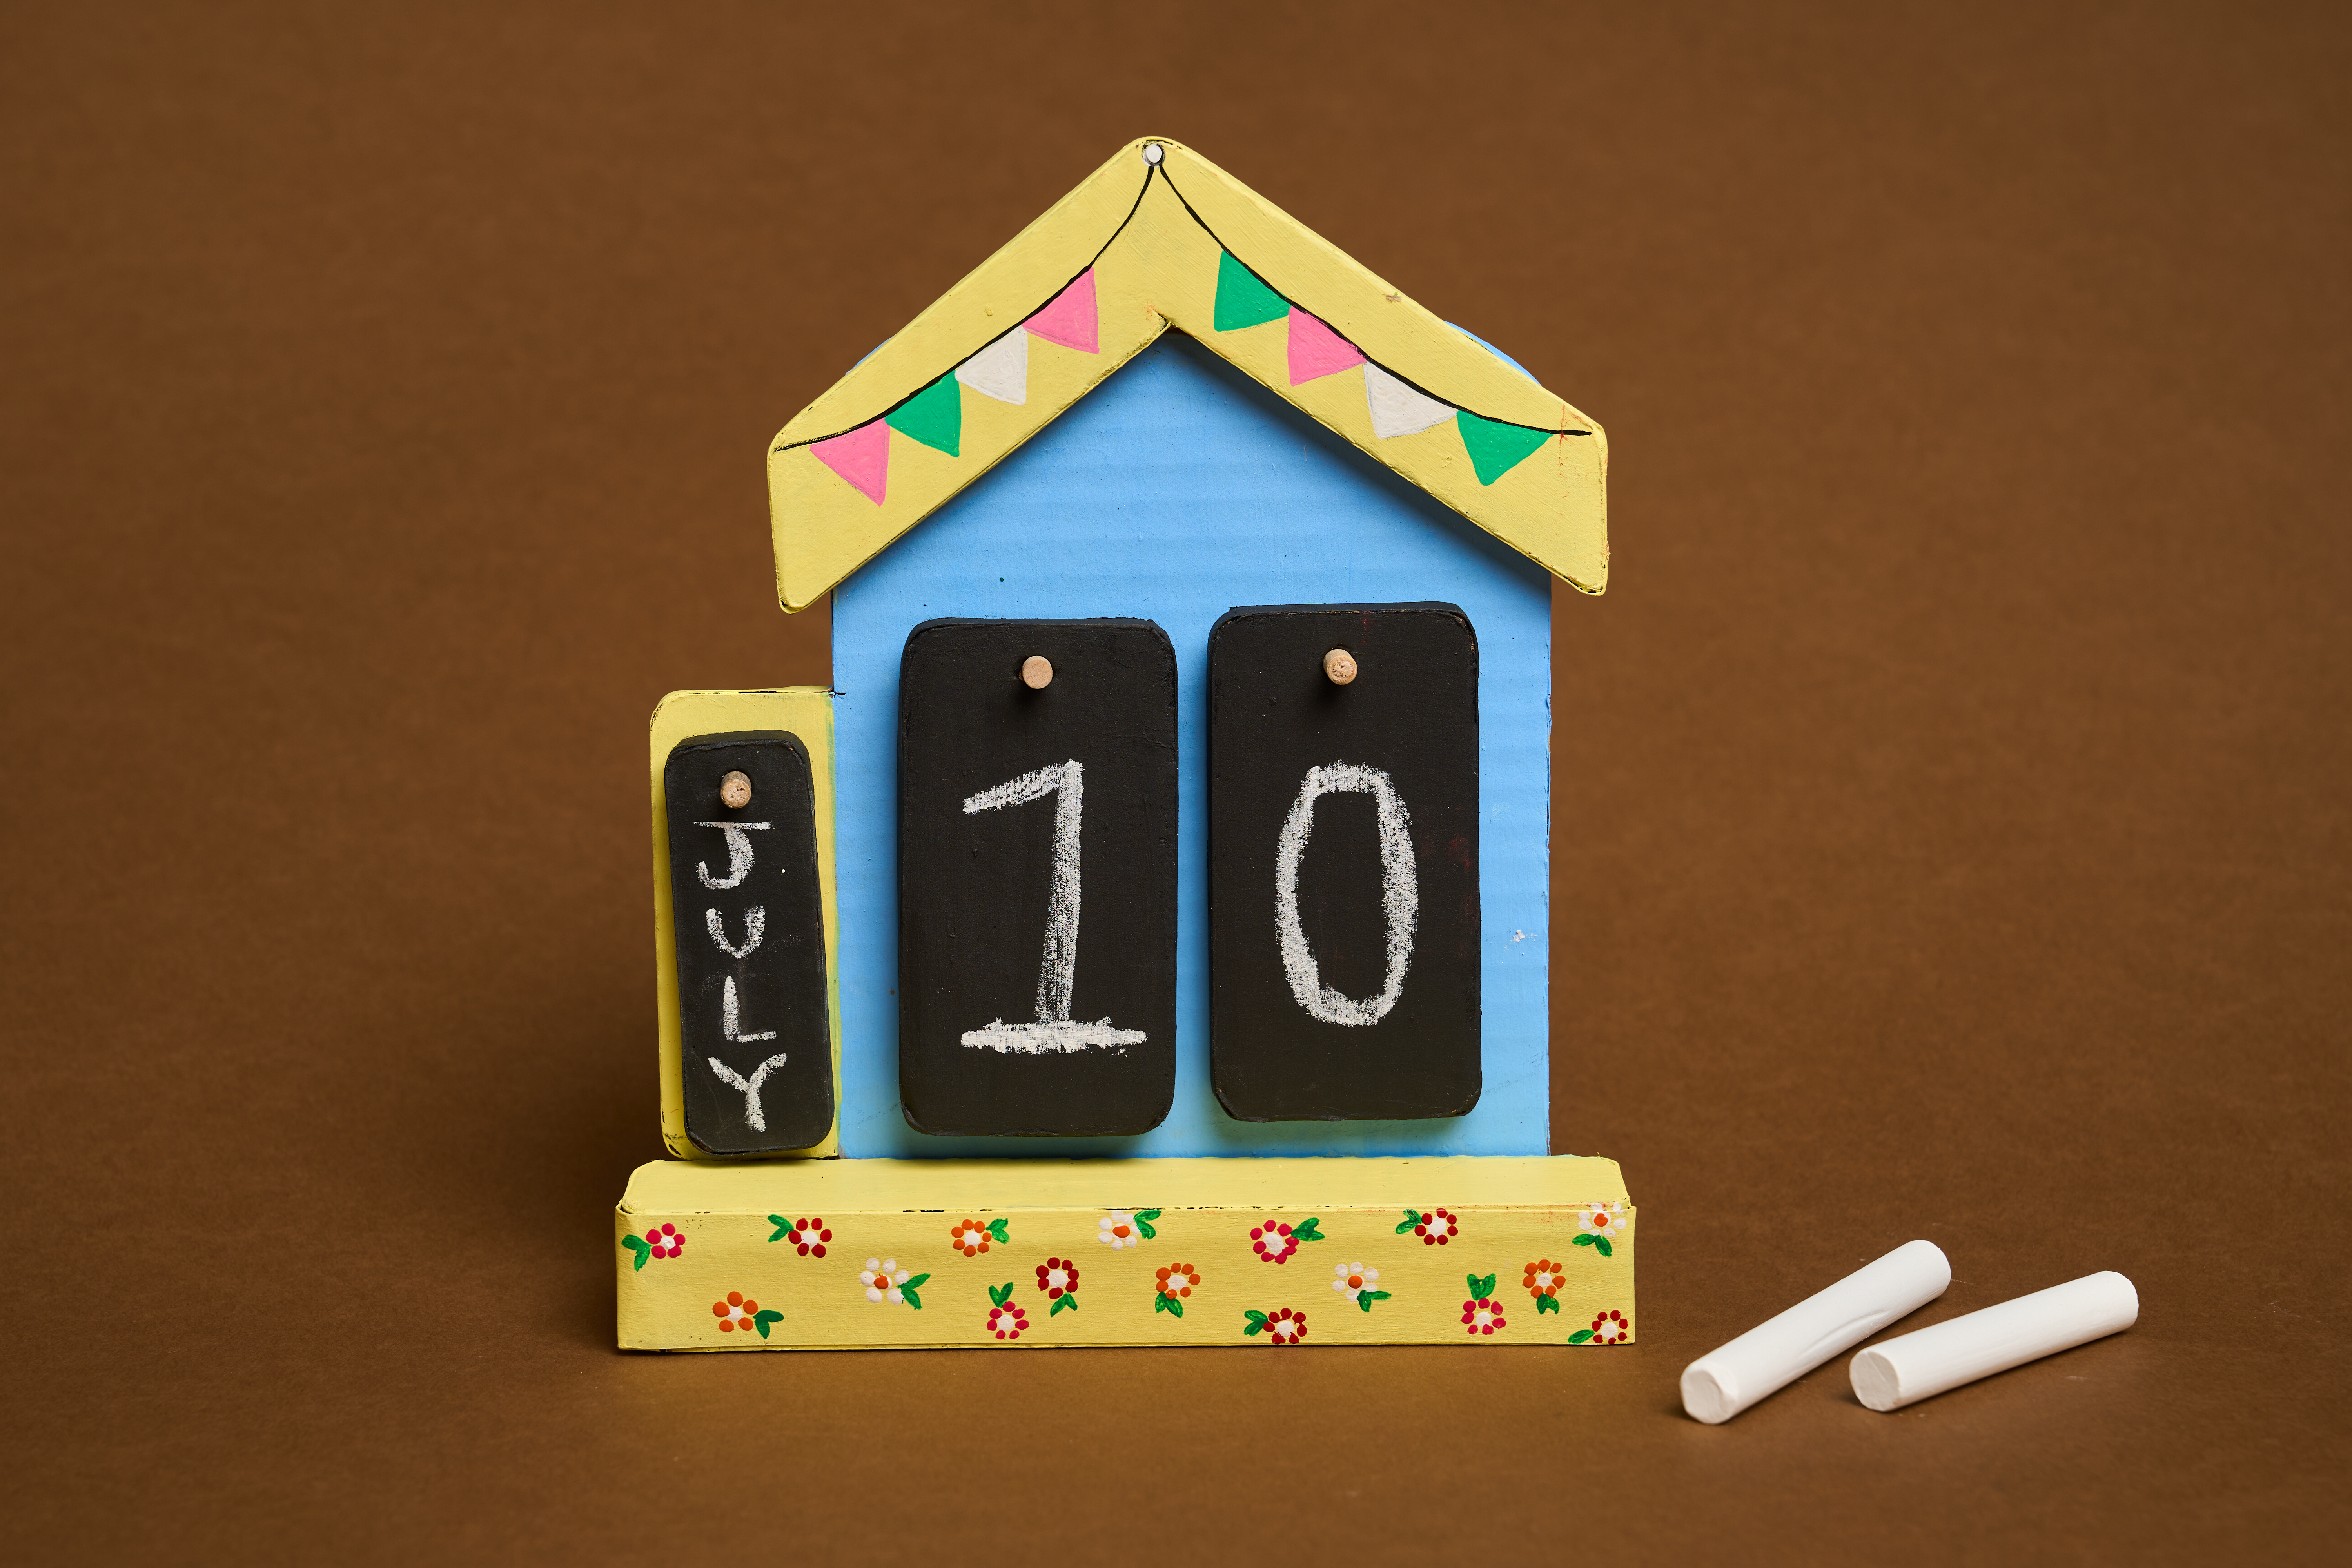
DIY Chalkboard - New Year
Encourages children to plan, organize, and express their goals for the upcoming year. Building the interlocking pieces teaches basic spatial engineering, while mixing the custom paint introduces a fun lesson in material textures.
Paper Crafting Learning 30 to 60 mins 10 to 12 years Class 4


Steps to Create this Activity
Login to see steps

Take the base
Start by selecting a flat corrugated sheet to serve as the sturdy base for your project.

Mark the dimensions
Use a pencil and scale to measure and mark the exact dimensions for your hut-shaped chalkboard design.

Cut the pieces
Use a cutter or scissors to cut along the lines you have drawn. Use a pin to prick the necessary holes in the back piece and the sliding rectangles.

Stick the pieces
Apply Fevicol MR to adjoin the parts, assembling the main hut structure. To create the sliding date feature, insert toothpicks through the pricked holes. This will allow the two small date rectangles to slide and adjust.

Paint the base
Take the Fevicryl sunflower kit and paint the hut chalkboard base in the colours of your choice. Be sure to paint the sliding rectangles black to write the numbers with chalk.

Final Touchup
Paint detailed floral designs on the base with a thin paintbrush. Use a piece of chalk to add numbers or words to the black surfaces.
Steps to Create this Activity
Login to see steps
Take the base
Start by selecting a flat corrugated sheet to serve as the sturdy base for your project.
Mark the dimensions
Use a pencil and scale to measure and mark the exact dimensions for your hut-shaped chalkboard design.
Cut the pieces
Use a cutter or scissors to cut along the lines you have drawn. Use a pin to prick the necessary holes in the back piece and the sliding rectangles.
Stick the pieces
Apply Fevicol MR to adjoin the parts, assembling the main hut structure. To create the sliding date feature, insert toothpicks through the pricked holes. This will allow the two small date rectangles to slide and adjust.
Paint the base
Take the Fevicryl sunflower kit and paint the hut chalkboard base in the colours of your choice. Be sure to paint the sliding rectangles black to write the numbers with chalk.
Final Touchup
Paint detailed floral designs on the base with a thin paintbrush. Use a piece of chalk to add numbers or words to the black surfaces.


