Step-by-Step to Make Dinosaur Container Craft for Preschool - Activity Single - FeviCreate

Easy to Make Dinosaur Container
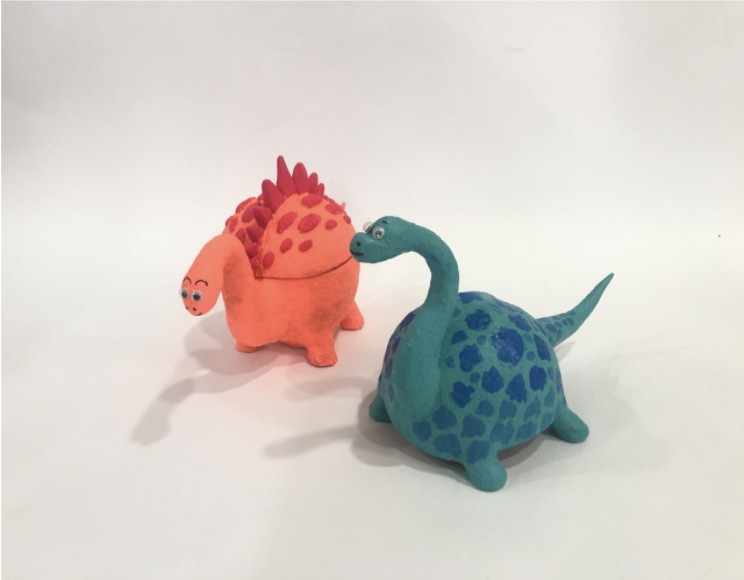
Have some used coconut shells at home? well, fevicreate them into a container by creating a character making it look very appealing
Mixed Media Best Out of Waste 30 to 60 mins 9 to 14 years Art & Craft Class 7
- Search Suggestions :
- best out of waste
- brand me
- dinosaur container
- class7
Steps to Create this Activity
Login to see steps
Steps to Create this Activity
Login to see steps

Step - 01
To make the dinosaur body, take two cleaned coconut shells. Take Fevicryl Mouldit: mix resin base and hardener well using hands to create even white dough. Take talcum powder and roll into a coil.

Step - 02
Using Mouldit dough create parts of the dinosaur using Fevicryl Mouldit (legs, neck, tail, and bony plates) and let them half dry.

Step - 03
Stick the legs on the coconut shell base using Fevicol A+. Let it dry. Then, stick other parts using Fevicol A+ as shown and let it dry

Step - 04
In a bowl, make a mixture of Fevicol A+ and water. Now apply a thin layer of tissue paper over the body and lid and let it dry

Step - 05
Now stick scales on the lid using Fevicol A+ as shown. Let it dry

Step - 06
Mix Fevicryl Neon Acrylic Orange and Fevicryl Acrylic White in a colour palette. Paint the dinosaur and Fevicryl Neon Acrylic pink colour, paint bony plates and scales using fine art brush and let it dry.

Step - 07
Next stick googly eyes using Fevicol A+. Using CD marker, draw eyebrows, nose and mouth. Your personalised dinosaur container is ready!


