





 Activities
 How to Videos
 Products
 Contests & Events
 Freebies
 Live TV
 Blogs
Blogs




3D Moon Phases Model | Science Day - Fevicreate - Activity Single - FeviCreate
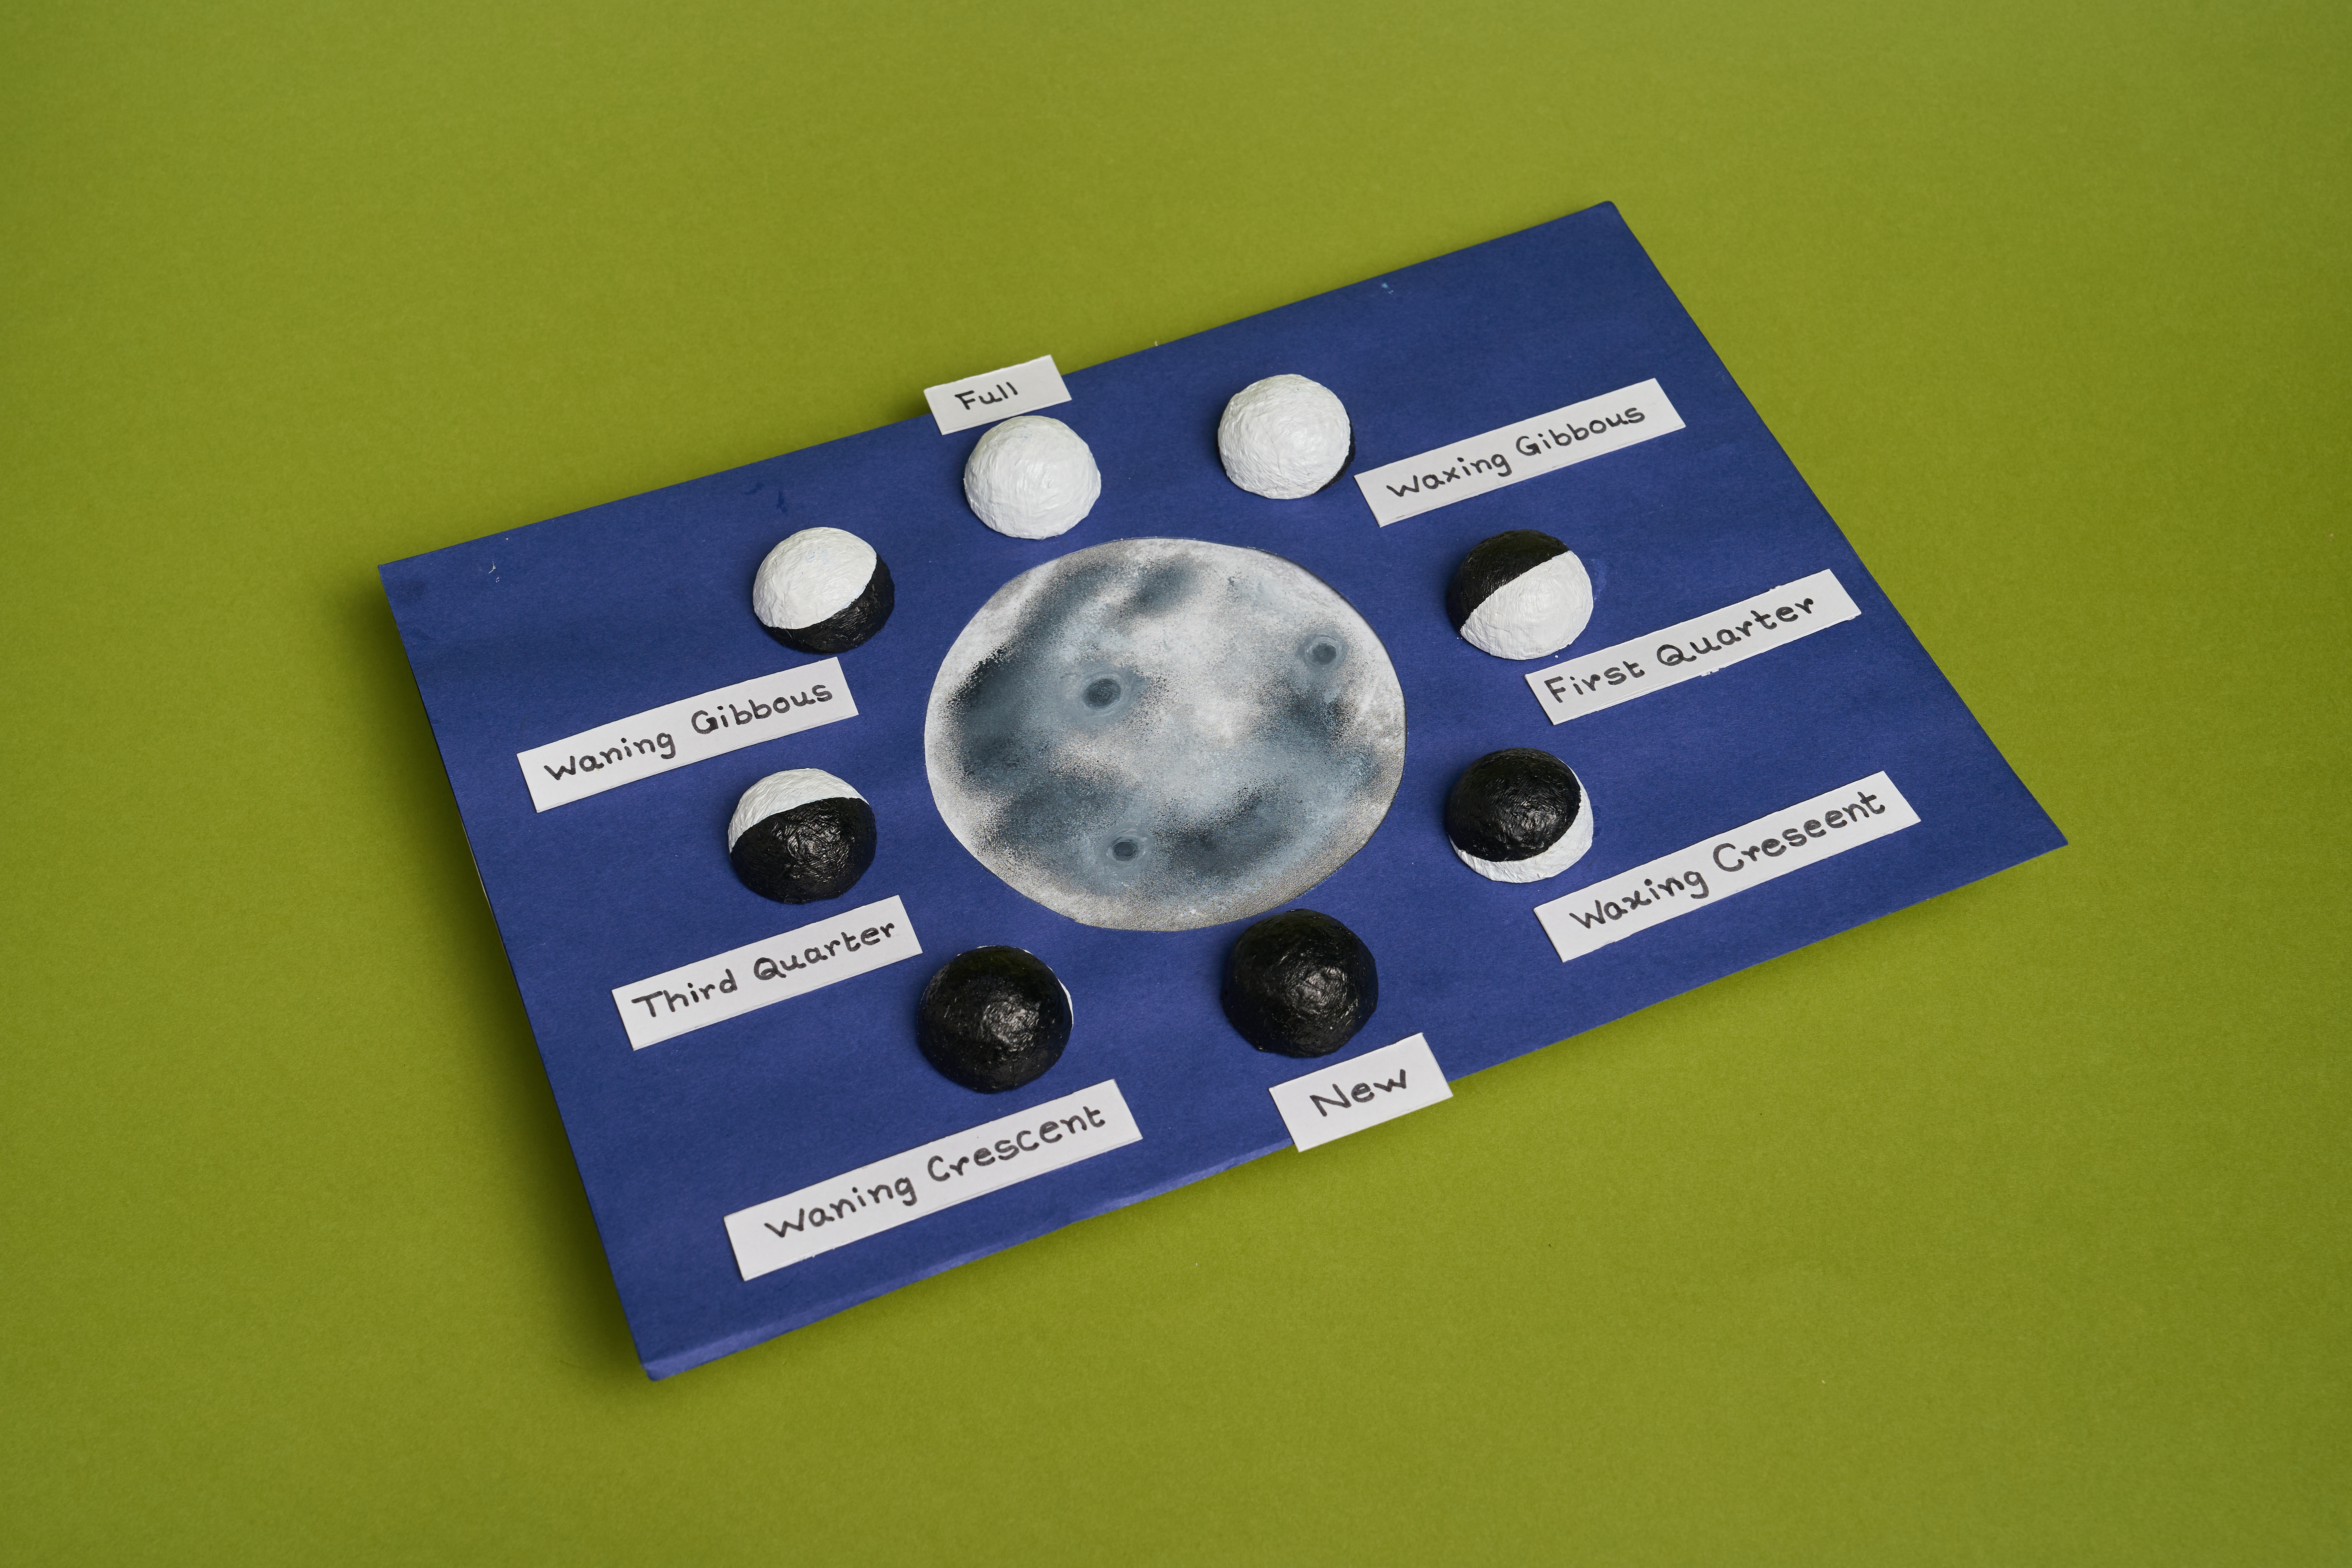
Create 3D Moon Phases Model - Science Day
Create a 3D model of the Moon's phases using handmade paper mache balls and a colourful display board. This activity helps children understand the lunar cycle while developing observation skills and creative model-making techniques.


Steps to Create this Activity
Login to see steps

Prepare the Paper Mache Balls
Tear tissue paper into small pieces and mix it with water and Fevicol MR. Roll the mixture into eight semi-circular small balls and allow them to dry completely.

Paint the Moon Phases
Paint the dried paper mache balls with colours from the Fevicryl Lilac Kit Set of 6 to create the different phases of the Moon. Let them dry well.

Make the Display Board
Cut a rectangle from the blue chart paper and a stand from the black chart paper. Cut a large circle from the white chart paper for the Moon and stick the pieces together using Fevicol MR.

Create the Moon Surface
Shade the large white circle with colours from the Fevicryl Lilac Kit Set of 6 to create a realistic Moon texture. Stick it at the centre of the blue board using Fevicol MR.

Arrange the Moon Phases
Stick the painted paper mache balls around the central Moon using Fevicol MR, arranging them in the correct sequence of the lunar cycle.

Add the Labels
Write the names of each Moon phase on white paper strips and stick them beside the corresponding paper mache balls using Fevicol MR.

Finish the Model
Check that all the Moon phases are correctly placed and firmly attached. Your 3D Phases of the Moon model is now ready for display.
Steps to Create this Activity
Login to see steps
Prepare the Paper Mache Balls
Tear tissue paper into small pieces and mix it with water and Fevicol MR. Roll the mixture into eight semi-circular small balls and allow them to dry completely.
Paint the Moon Phases
Paint the dried paper mache balls with colours from the Fevicryl Lilac Kit Set of 6 to create the different phases of the Moon. Let them dry well.
Make the Display Board
Cut a rectangle from the blue chart paper and a stand from the black chart paper. Cut a large circle from the white chart paper for the Moon and stick the pieces together using Fevicol MR.
Create the Moon Surface
Shade the large white circle with colours from the Fevicryl Lilac Kit Set of 6 to create a realistic Moon texture. Stick it at the centre of the blue board using Fevicol MR.
Arrange the Moon Phases
Stick the painted paper mache balls around the central Moon using Fevicol MR, arranging them in the correct sequence of the lunar cycle.
Add the Labels
Write the names of each Moon phase on white paper strips and stick them beside the corresponding paper mache balls using Fevicol MR.
Finish the Model
Check that all the Moon phases are correctly placed and firmly attached. Your 3D Phases of the Moon model is now ready for display.


