


Christmas Ornament Ball Craft for Kids – Simple DIY Holiday Activity - Activity Single - FeviCreate
Christmas Ornament
This fun craft teaches you how to make a 3D shape by cutting sticks into different sizes, which is like learning to count and measure! Sticking the tiny ornaments and wrapping the base helps your fingers get strong and steady (fine motor skills). When the sticks stand tall, you learn about balance and building a structure that stays up all by itself!


Steps to Create this Activity
Login to see steps

Prepare the Ornament Base
Take a Smiley Ball (or a plain foam/sponge ball) as the base for your ornament. Take a small amount of tissue paper.

Cover & Paint the Ball
Apply Fevicol MR liberally over the entire surface of the ball. Carefully wrap and stick the tissue paper smoothly over the ball, ensuring the entire surface is covered. Let this base dry completely.

Paint the Ball
Take Fevicryl Acrylic Colour (Red). Paint the entire covered ball with the red colour. You may apply two coats for even coverage. Let the paint dry completely.

Decorate the ball
Take golden paper. Use a punching machine or scissors to cut out many star shapes of similar size. Apply Fevicol MR to the back of each golden star cutout. Stick the stars neatly onto the entire surface of the painted red ball, covering it fully with decorations. Let the glue dry completely.

Prepare the Hanging Loop
Take a piece of golden thread to use as the hanging loop. Use a needle or pin to prick a hole at the top of the sponge ball and insert the thread, securing the ends inside or with a knot on the top.

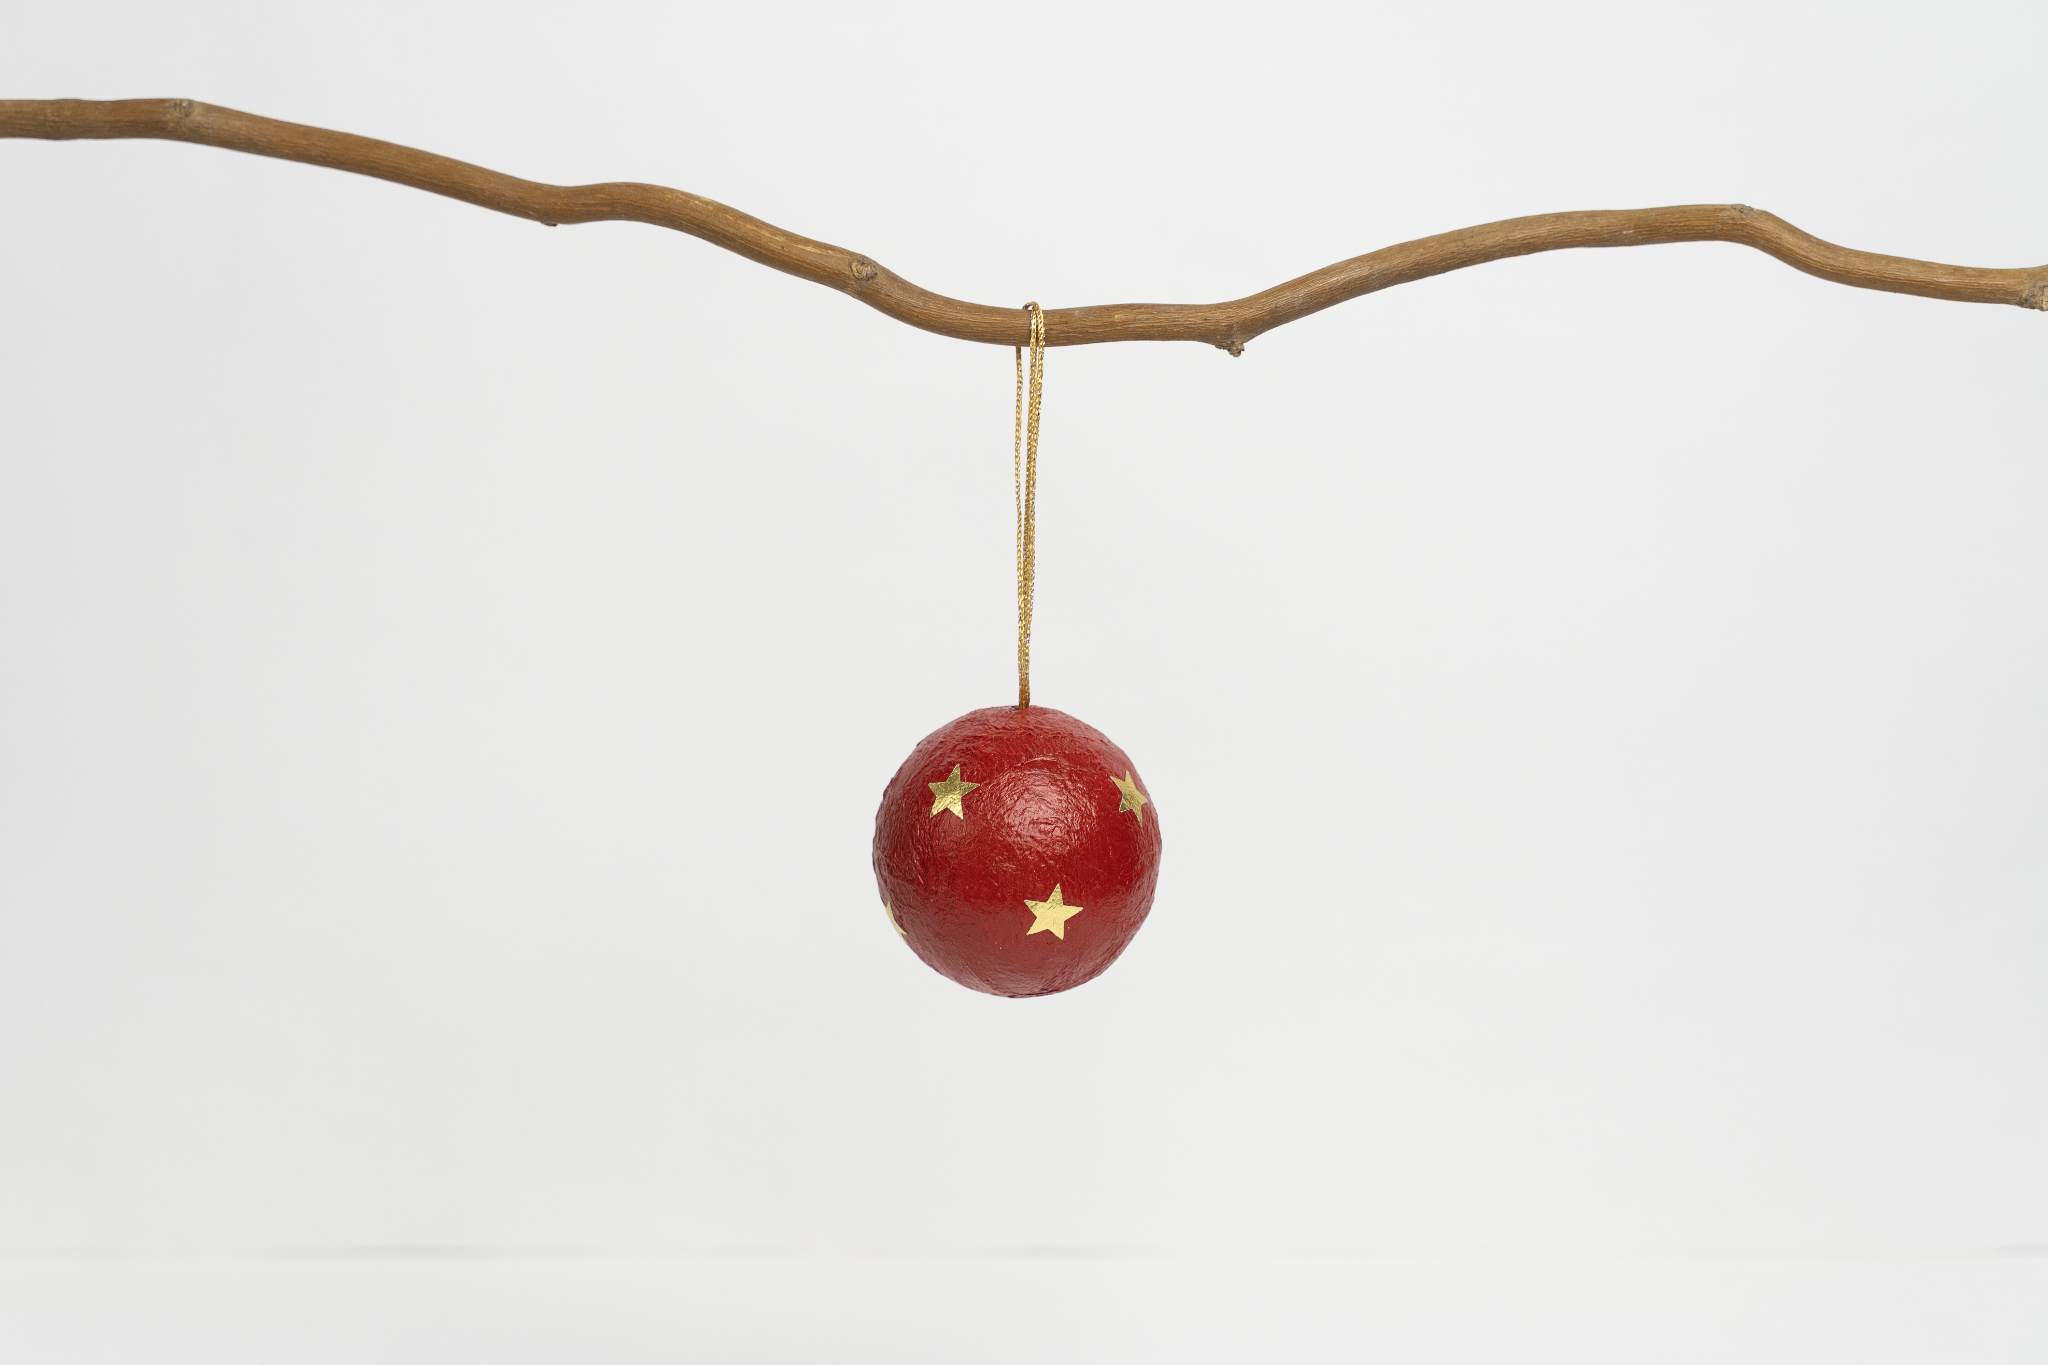
Final Look
Your vibrant, handmade Christmas Ornament Ball is ready to be hung on your tree!
Steps to Create this Activity
Login to see steps
Prepare the Ornament Base
Take a Smiley Ball (or a plain foam/sponge ball) as the base for your ornament. Take a small amount of tissue paper.
Cover & Paint the Ball
Apply Fevicol MR liberally over the entire surface of the ball. Carefully wrap and stick the tissue paper smoothly over the ball, ensuring the entire surface is covered. Let this base dry completely.
Paint the Ball
Take Fevicryl Acrylic Colour (Red). Paint the entire covered ball with the red colour. You may apply two coats for even coverage. Let the paint dry completely.
Decorate the ball
Take golden paper. Use a punching machine or scissors to cut out many star shapes of similar size. Apply Fevicol MR to the back of each golden star cutout. Stick the stars neatly onto the entire surface of the painted red ball, covering it fully with decorations. Let the glue dry completely.
Prepare the Hanging Loop
Take a piece of golden thread to use as the hanging loop. Use a needle or pin to prick a hole at the top of the sponge ball and insert the thread, securing the ends inside or with a knot on the top.
Final Look
Your vibrant, handmade Christmas Ornament Ball is ready to be hung on your tree!


